
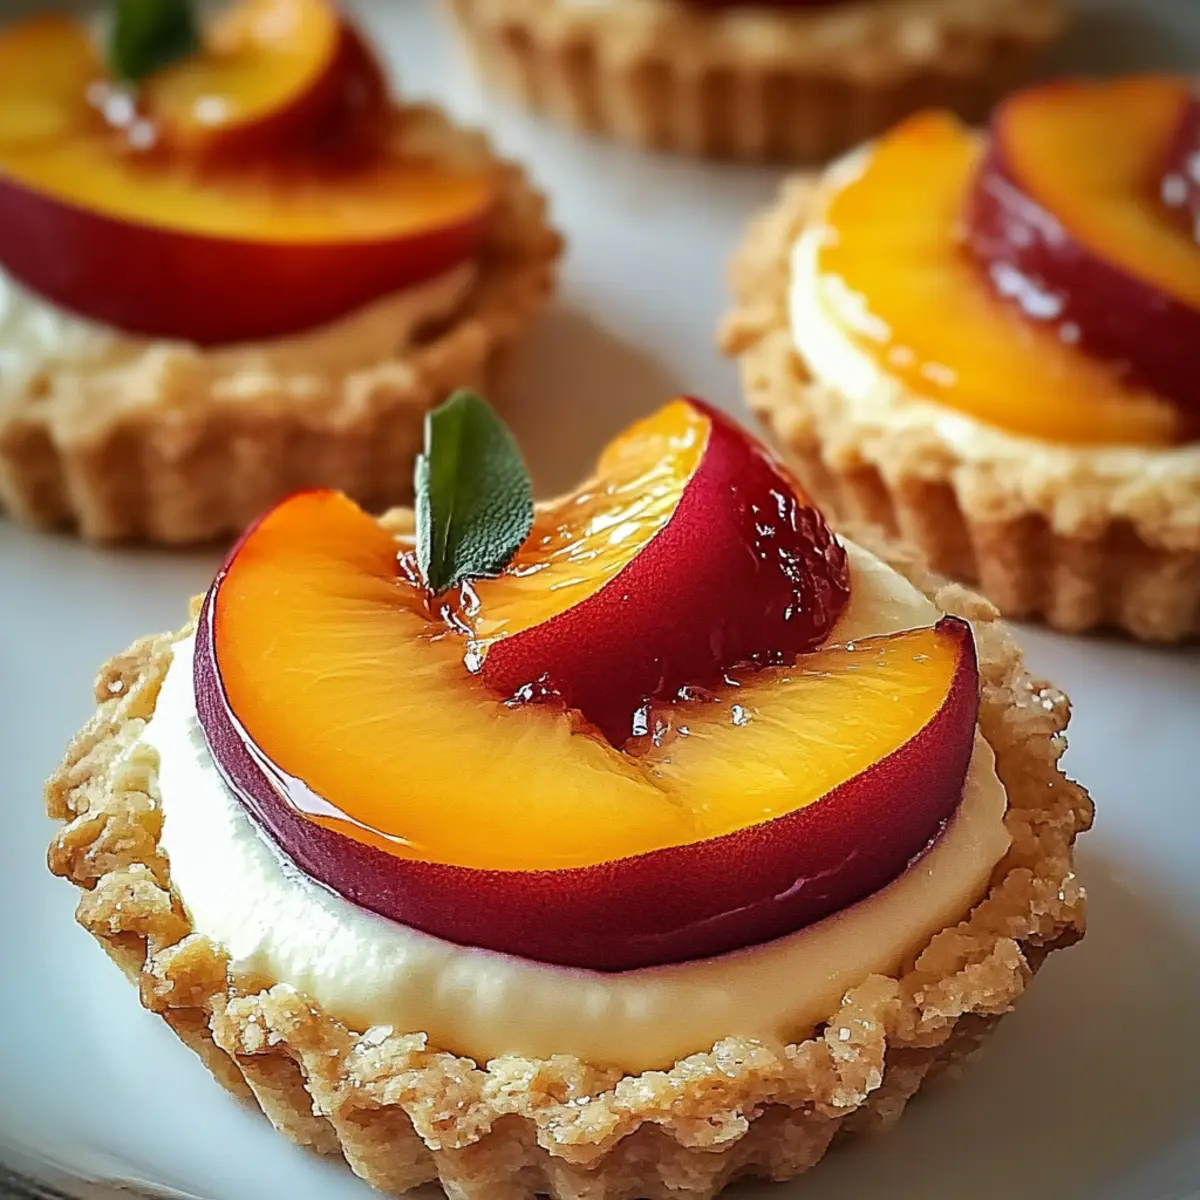
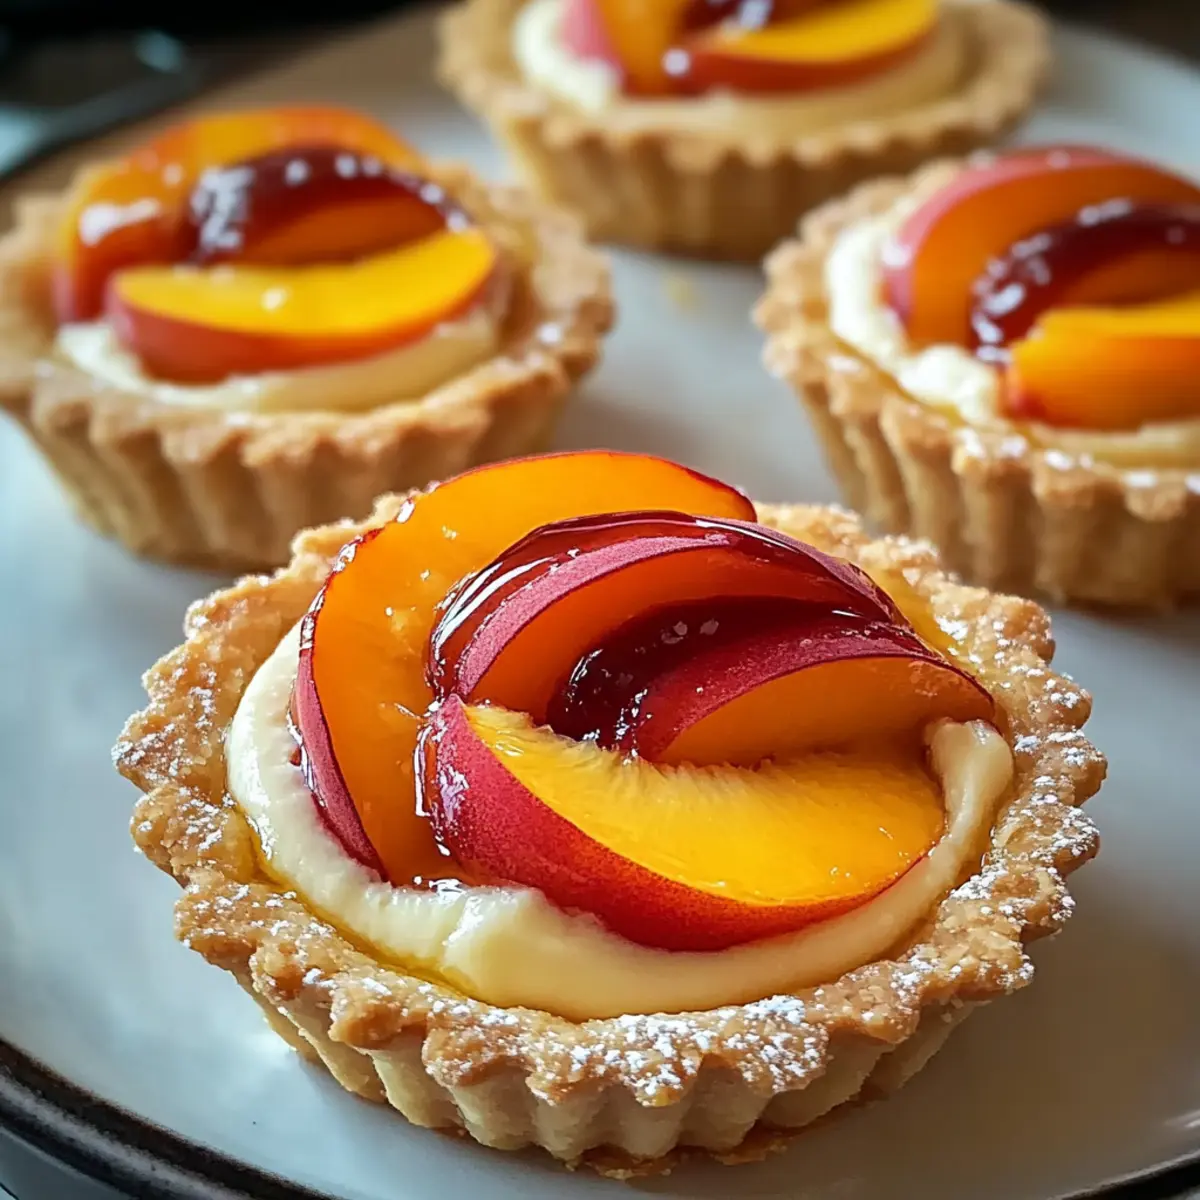
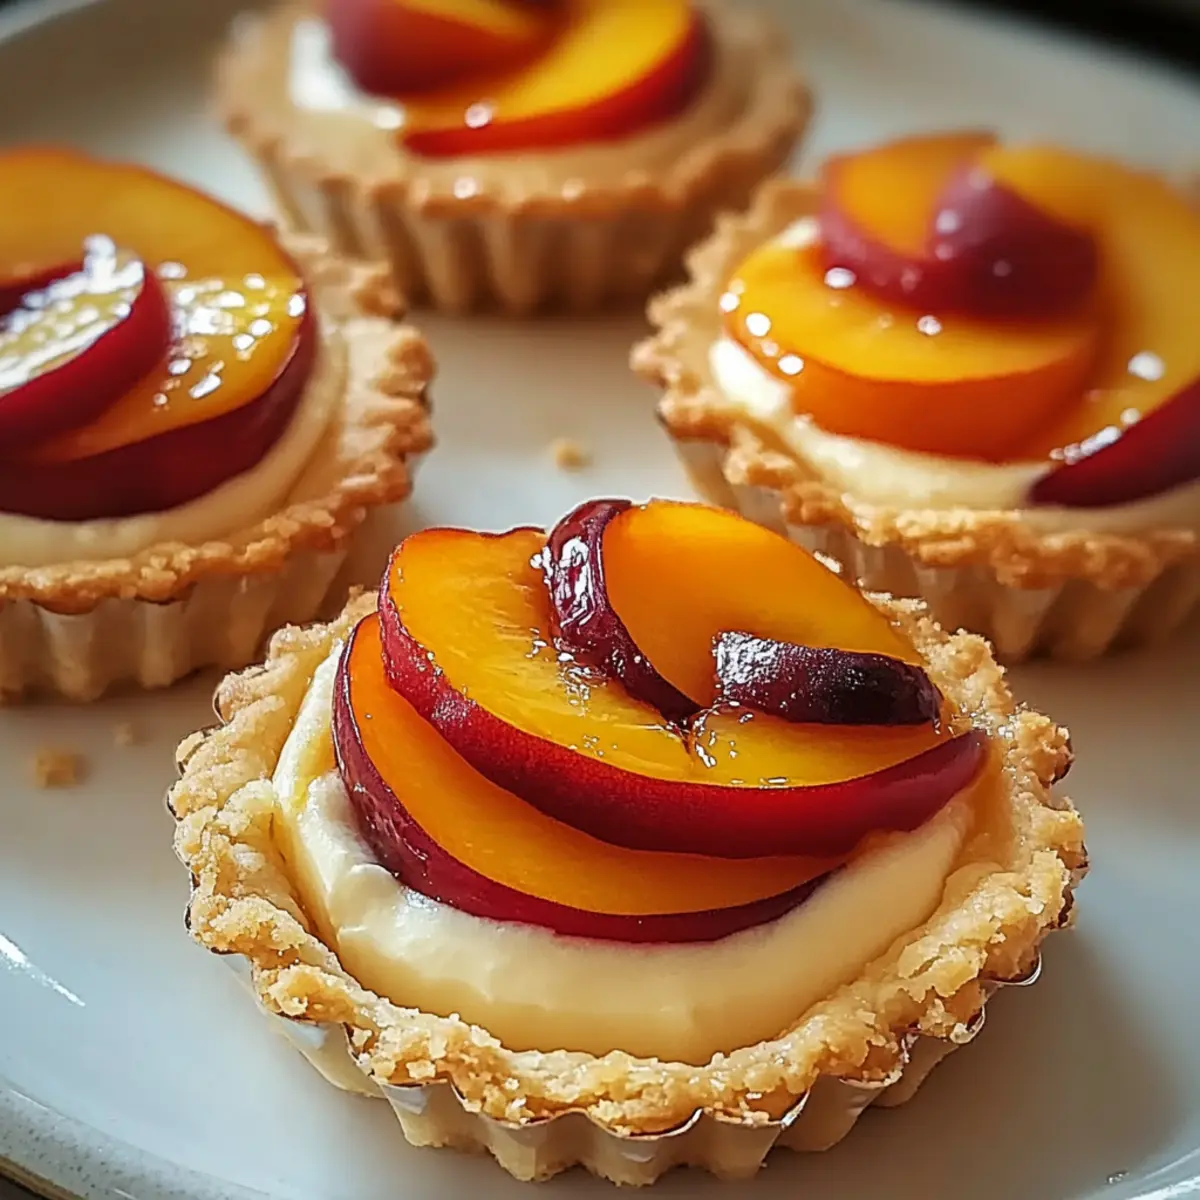
As the sun sets on a warm summer day, nothing beats the sweet aroma wafting from the kitchen while I prepare these delightful Mini Peach and Cream Cheese Tarts. With a flaky pastry shell cradling a rich and creamy filling, each tiny tart is crowned with a juicy peach slice, making it a perfect bite-sized treat. This recipe is not only beginner-friendly but also an easy dessert that comes together in less than an hour—ideal for those of us looking for a hassle-free way to impress friends and family. Plus, these little gems can be made ahead of time, freeing you to enjoy the summer fun. Curious to find out just how simple they are to whip up? Let’s get started!

Why are these tarts a must-try?
Beginner-Friendly: This recipe requires no advanced baking skills, making it perfect for novices hoping to impress.
Bursting with Flavor: The combination of creamy filling and fresh peach creates a delightful flavor explosion, suitable for summer gatherings.
No-Bake Option: Assemble the tarts ahead of time and bake just before serving, saving you precious time.
Versatile Fruit Toppings: Swap peaches for your favorite seasonal fruits or experiment with berries, keeping it interesting every time.
These Mini Peach and Cream Cheese Tarts are sure to be a crowd-pleaser, just like my Cranberry Cream Cheese or Pistachio Mushroom Cheesecake recipes! Enjoy the sweetness of summer in every bite!
Mini Peach and Cream Cheese Tarts Ingredients
• Here’s everything you need to create these delightful summer treats!
For the Crust
- Pie Crust – A flaky base that holds the creamy filling; feel free to use store-bought for convenience.
For the Filling
- Cream Cheese – This rich, creamy ingredient brings decadence to each tart; make sure it’s softened for easy mixing.
- Granulated Sugar – Sweetens the cream cheese mixture; you can substitute it with honey for a touch of natural sweetness.
- Vanilla Extract – Enhances the overall flavor; if you’re out, simply omit it—but the flavor won’t be as lively.
- Lemon Juice – Adds a refreshing brightness; lime juice works well as a substitute if you prefer.
For the Topping
- Canned or Fresh Peaches – Use these juicy fruits to crown your tarts, with fresh peaches providing a more intense flavor and a gorgeous look.
- Apricot Preserves – This glossy glaze will make your tarts shine; any fruit preserve, such as peach or orange, can serve as an alternative.
- Water – A little water helps to thin the apricot preserves for effortless glazing.
Enjoy creating these delightful Mini Peach and Cream Cheese Tarts that will surely impress your guests!
Step‑by‑Step Instructions for Mini Peach and Cream Cheese Tarts
Step 1: Preheat Your Oven
Begin by preheating your oven to 375°F (190°C). While it warms up, prepare a baking sheet by lining it with parchment paper, ensuring an easy release for your Mini Peach and Cream Cheese Tarts. This step is crucial as it allows your tarts to bake evenly and achieve that perfect golden crust.
Step 2: Prepare the Pie Crust
On a lightly floured surface, roll out your pie crust to about 1/8 inch thick. Using a 3-inch cookie cutter, cut out approximately 12 circles. Gather any scraps of dough, re-roll, and cut additional circles as needed. The rolled dough will shape the base of your mini tarts, ready to hold the luscious filling.
Step 3: Form the Pastry Cups
Gently press each dough circle into the muffin tin cavities, forming little pastry cups. Ensure the dough reaches the top edges for a delightful rim. As you go, check that the cups are even in thickness to guarantee uniform baking. These will cradle your cream cheese filling and juicy peach topping.
Step 4: Mix the Cream Cheese Filling
In a mixing bowl, combine the softened cream cheese, granulated sugar, vanilla extract, and lemon juice. Using a hand mixer, beat the mixture until completely smooth and creamy, about 2-3 minutes. The creamy filling should be light and airy to create a delightful contrast with the flaky crust of your Mini Peach and Cream Cheese Tarts.
Step 5: Fill the Pastry Cups
Spoon the cream cheese mixture into each pastry cup, filling them about two-thirds full. This allows space for the peach topping without overflowing. As you fill, be careful to keep the tops flat and even. The cream cheese filling is what makes these tarts irresistibly creamy and indulgent.
Step 6: Top with Peaches
Carefully place a slice of fresh or canned peach atop each filled pastry cup. Press down gently to ensure the peach adheres to the creamy filling. The juicy peaches will not only add flavor but also bring a burst of summer color to your Mini Peach and Cream Cheese Tarts.
Step 7: Bake the Tarts
Place the muffin tin in your preheated oven and bake for 15 to 20 minutes, or until the crusts are golden brown and the filling is set. Keep an eye on them towards the end of baking; a beautifully golden top indicates they’re ready to come out. The aroma will fill your kitchen with delightful hints of peach!
Step 8: Prepare the Apricot Glaze
While the tarts are baking, melt the apricot preserves and a splash of water in a small saucepan over low heat. Stir until smooth, about 3-4 minutes. This glossy glaze will elevate the appearance of your tarts, giving them a glossy finish that looks as good as it tastes.
Step 9: Glaze the Peaches
Once tarts are out of the oven, allow them to cool in the tin for a few minutes, then transfer them to a wire rack. After they’re slightly cooled, brush the warm glaze over each peach slice for a shiny, attractive finish. The glaze will also add a touch of sweetness to each tart.
Step 10: Cool and Serve
Let the Mini Peach and Cream Cheese Tarts cool completely on the wire rack. This cooling step is important to avoid a soggy crust. Once cooled, they’re ready to serve as a delightful summer dessert that combines the richness of cream cheese with the sweetness of ripe peaches.
Make Ahead Options
These Mini Peach and Cream Cheese Tarts are a fantastic option for meal prep enthusiasts! You can prepare the pastry cups and the cream cheese filling up to 24 hours in advance—just refrigerate the filling in an airtight container to keep it fresh and smooth. Form the tarts, fill them with the mixture, and store them in the fridge without baking until you’re ready to serve. When it’s time to impress your guests, simply bake the tarts for 15-20 minutes until golden and set. This method ensures that your delightful summer dessert retains its flaky texture and creamy filling, making it just as delicious as if you made it the same day!
Storage Tips for Mini Peach and Cream Cheese Tarts
Fridge: Store the tarts in an airtight container in the refrigerator for up to 3 days to maintain their freshness and creamy texture.
Freezer: If you want to keep them longer, freeze the unbaked tarts for up to 2 months. Assemble them, then cover tightly before freezing.
Reheating: To enjoy warm tarts, bake directly from the freezer at 375°F (190°C) for about 20-25 minutes, until heated through and the crust is flaky.
Make-Ahead: Pre-assemble the Mini Peach and Cream Cheese Tarts without baking, and refrigerate them for a day or two before baking to save time before serving.
Mini Peach and Cream Cheese Tarts Variations
Feel free to let your creativity shine with these fun twists on the classic recipe that will tantalize your taste buds!
-
Berry Blast: Swap peach slices for a mixture of fresh blueberries and raspberries. The tangy berries brighten up each tart beautifully.
When fresh berries are in season, their vibrant colors and flavors make these tarts even more irresistible. -
Nutty Delight: Add chopped walnuts or pecans to the cream cheese filling for a satisfying crunch. This nutty element offers an exciting texture that complements the creaminess.
The crunchiness creates contrast, making each bite even more enjoyable. -
Cinnamon Twist: Sprinkle in a teaspoon of ground cinnamon or nutmeg to the cream cheese filling.
The warm spices will add a cozy flavor profile, perfect for fall gatherings, and can transport your tarts to a welcoming holiday dessert. -
Coconut Cream: Replace half of the cream cheese with coconut cream for a tropical twist.
This substitution will infuse a delightful hint of coconut while keeping the creaminess intact. Pair it with a fresh mango topping for an exotic combination! -
Sugar-Free Option: Utilize a sugar substitute like stevia or erythritol instead of granulated sugar for a healthier alternative.
This twist allows everyone to indulge guilt-free, ensuring no one misses out on these delicious treats. -
Chocolate Drizzle: After glazing, drizzle melted dark chocolate over the tarts for a decadent touch.
This simple addition transforms your sweet peach tarts into a luxurious dessert, appealing to both kids and adults alike. -
Spicy Zing: For those who enjoy a kick, add a pinch of cayenne pepper to the cream cheese filling.
This unexpected heat builds an exciting flavor contrast that adventurous eaters will love, giving your tarts a unique edge.
Explore these variations and create unique versions of the Mini Peach and Cream Cheese Tarts that your friends and family will adore! You can even think about adding a companion dessert like my delightful Blue Cheese Stuffed Pears for an exciting spread. Enjoy every bite!
What to Serve with Mini Peach and Cream Cheese Tarts
Indulging in these delightful tarts has never been sweeter when you pair them with delicious companions that enhance their flavor and presentation.
-
Whipped Cream: This light and airy topping adds a cloud-like texture that balances the creamy tarts beautifully.
-
Fresh Berries: A mix of blueberries and strawberries adds a vibrant pop of color and a tart contrast, perfect for those summer gatherings.
-
Mint Leaves: A sprig of fresh mint not only brightens the plate but also adds a refreshing hint that complements the sweetness of the peaches.
-
Vanilla Ice Cream: The rich and creamy ice cream creates an indulgent contrast against the fruit and cream cheese, making each bite heavenly.
-
Sparkling Lemonade: This bubbly and citrusy drink pairs perfectly with the tarts, enhancing the summer vibes and refreshing your palate.
-
Chocolate Drizzle: A light drizzle of melted dark chocolate can elevate these treats to a whole new level of decadence, creating an irresistible flavor combination.
-
Coconut Cream: This tropical twist adds a creamy sweetness that brings out the flavors of the peaches beautifully while enhancing the overall dessert experience.
Expert Tips for Mini Peach and Cream Cheese Tarts
-
Soften Cream Cheese: Always ensure your cream cheese is softened to room temperature for the smoothest filling. Cold cream cheese will be lumpy and hard to mix.
-
Watch Your Bake Time: Keep a close eye as the tarts bake; a beautifully golden crust signals they are ready. Overbaking can lead to a tough pastry.
-
Avoid Soggy Crust: Allow the tarts to cool completely on a wire rack. Cooling in the pan can create condensation, making the crust soggy.
-
Use Fresh Peaches: When in season, opt for fresh peaches for a more pronounced flavor and attractive presentation on your Mini Peach and Cream Cheese Tarts.
-
Experiment with Glazes: Feel free to customize the glaze; try using peach or orange marmalade for a unique twist that pairs beautifully with the peaches.
Mini Peach and Cream Cheese Tarts Recipe FAQs
What type of peaches should I use for the tarts?
Absolutely! Fresh peaches are ideal for these tarts when in season, as they offer a stronger flavor and vibrant color. However, if fresh peaches aren’t available, canned peaches work beautifully too—just ensure you drain them well before slicing to avoid excess moisture.
How long can I store the tarts in the fridge?
Store your Mini Peach and Cream Cheese Tarts in an airtight container in the refrigerator for up to 3 days. They’re best enjoyed fresh, but you can still savor them as they hold their delightful flavors within that timeframe.
Can I freeze these tarts?
Yes! You can freeze assembled but unbaked Mini Peach and Cream Cheese Tarts for up to 2 months. Just cover the muffin tin tightly with plastic wrap and pop it in the freezer. When you’re ready to enjoy them, bake directly from frozen at 375°F (190°C) for about 20-25 minutes until golden brown and flaky.
What if the cream cheese filling is lumpy?
If your cream cheese filling turns out lumpy, it may not have been softened adequately. Make sure to leave it at room temperature for at least 30 minutes before mixing. For a smoother filling, use an electric mixer to beat the cream cheese until creamy and fluffy, ensuring a velvety result for your tarts.
Are there any dietary considerations for these tarts?
Definitely! If you’re catering to dietary restrictions, note that cream cheese can be substituted with dairy-free alternatives for a vegan-friendly option. Additionally, check for allergies related to the ingredients such as gluten or nuts, especially if you use specialty pie crusts. Always review labels if using store-bought components.
Can I make these tarts ahead of time?
Very! To make ahead, you can assemble the Mini Peach and Cream Cheese Tarts without baking. Refrigerate them for up to 2 days before throwing them in the oven. This way, you can have a delicious dessert ready to bake just before serving, allowing you to enjoy your time with guests!
Irresistible Mini Peach and Cream Cheese Tarts for Summer Bliss
Ingredients
Equipment
Method
- Preheat your oven to 375°F (190°C) and prepare a baking sheet lined with parchment paper.
- On a lightly floured surface, roll out pie crust to 1/8 inch thick and cut out approximately 12 circles.
- Gently press each dough circle into the muffin tin cavities to form pastry cups.
- Combine softened cream cheese, granulated sugar, vanilla extract, and lemon juice in a mixing bowl and beat until smooth.
- Spoon the cream cheese mixture into each pastry cup, filling them about two-thirds full.
- Carefully place a slice of peach atop each filled pastry cup, pressing gently.
- Bake for 15-20 minutes until the crusts are golden brown and the filling is set.
- Melt apricot preserves and a splash of water in a saucepan over low heat until smooth.
- Brush the warm glaze over each peach slice after allowing the tarts to cool slightly.
- Let the tarts cool completely on a wire rack before serving.
Leave a Reply