
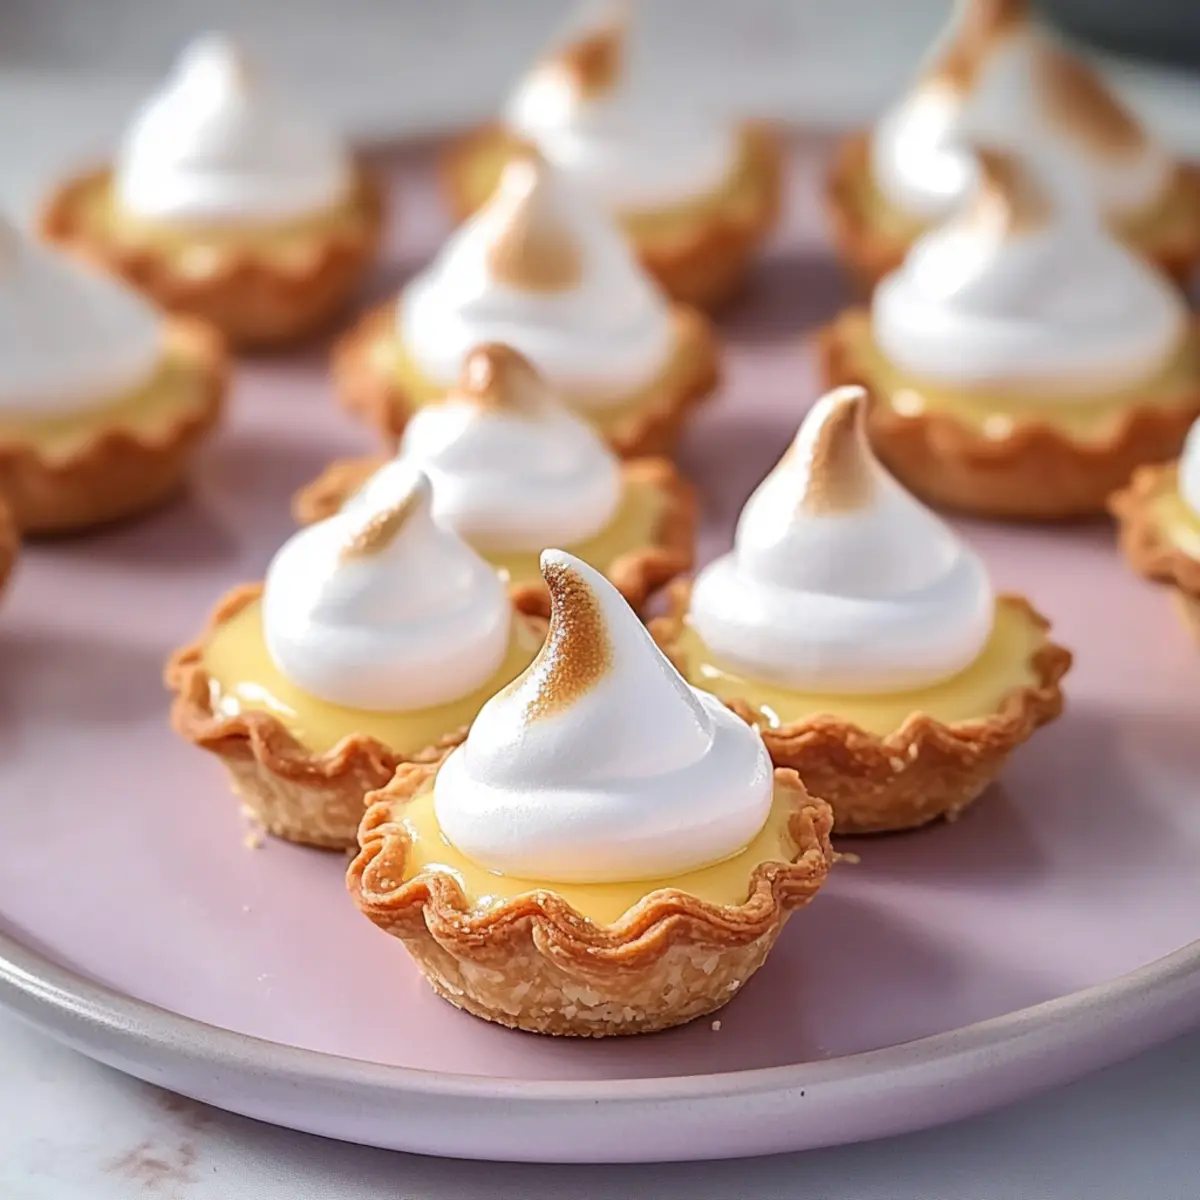
As I watched my friend’s face light up upon biting into a tiny tart, I knew I had stumbled upon something special. These Mini Lemon Meringue Tarts are not just an ordinary dessert; they’re a whimsical blend of a buttery, crisp pastry filled with zesty lemon curd and crowned with fluffy meringue that’s lightly toasted. Perfect for gatherings or tea parties, this bite-sized delight offers quick prep and a sophisticated touch that’s bound to impress your guests. With each mini tart, you’ll experience a delightful balance of sweetness and tartness, making them an irresistible treat for lemon lovers. Curious about the simple steps to create these adorable tarts? Let’s dive in!
Why Are Mini Lemon Meringue Tarts So Loved?
Irresistible Delight: These bite-sized treats pack a flavorful punch, merging buttery crusts with tangy lemon filling and airy meringue.
Quick and Easy: With simple ingredients and straightforward steps, you can whip these up in no time, making them perfect for unexpected guests.
Crowd Pleaser: Ideal for any gathering, they bring a touch of elegance and whimsy that will surely impress your friends and family—just like in the famous Peanut Butter Meringue.
Versatile Customization: Feel free to switch out the lemon for lime or orange for a citrus twist!
Memorable Presentation: Their adorable size makes them perfect for sharing or showcasing at parties, ensuring a delightful experience in every bite.
Mini Lemon Meringue Tarts Ingredients
For the Pastry
• Unsalted Butter – Adds richness and moisture to the pastry; can use margarine if dairy-free.
• Superfine Sugar – Provides sweetness for a smooth texture; granulated sugar may create a slightly grainy meringue.
• Eggs (whole and yolks) – Offers structure and richness; use large eggs for best results.
• Vanilla Extract – Enhances flavor in the pastry; no substitutions suggested.
• Salt – Balances sweetness in the pastry.
• Cake Flour – Creates a tender pastry shell; all-purpose flour can be used, but results may vary.
For the Lemon Curd Filling
• Condensed Milk – Forms the sweet base of the lemon curd; no substitutions suggested.
• Fresh Lemon Juice & Zest – Provides tanginess and aroma; essential for authentic flavor.
• Egg Yolks – Necessary for a rich lemon curd; ensure they’re fresh for the best taste.
For the Meringue
• Egg Whites – Essential for stability when whipped; make sure they are free of yolk.
• Superfine Sugar (for meringue) – Sweetens and strengthens the meringue texture.
These Mini Lemon Meringue Tarts are a true culinary joy, and with this ingredient list, you’re one step closer to creating this delightful treat!
Step‑by‑Step Instructions for Mini Lemon Meringue Tarts
Step 1: Prepare the Pastry
In a mixing bowl, cream together 1 cup of unsalted butter and 1/2 cup of superfine sugar until light and fluffy, about 3-5 minutes. Beat in 1 whole egg and 1 egg yolk along with 1 teaspoon of vanilla extract. Gradually mix in 2 cups of cake flour and a pinch of salt until a soft dough forms. Wrap in plastic wrap and refrigerate for 1 hour to firm up.
Step 2: Blind Bake Shells
Preheat your oven to 290°F (140°C). Roll out the chilled pastry dough on a floured surface until about 1/8 inch thick. Cut out circles and gently press them into mini tart tins. Line each with parchment paper and fill with rice or pie weights to prevent puffing. Bake for 15 minutes, until the edges are lightly golden. Remove from the oven and let cool completely.
Step 3: Make Lemon Curd Filling
In a bowl, whisk together one can of condensed milk, 4 egg yolks, and 1/2 cup of fresh lemon juice along with the zest of 2 lemons until smooth and well-combined. Pour the filling into the pre-baked pastry shells, ensuring even distribution. Bake the tarts at 320°F (160°C) for 15 minutes, or until the filling is just set and slightly jiggly in the center. Allow cooling in the tins for about 15 minutes, then transfer to a wire rack to cool completely.
Step 4: Prepare Meringue
For the meringue, set up a double boiler and combine 4 egg whites with 1/2 cup of superfine sugar in the top bowl. Whisk continuously over simmering water until the sugar has dissolved and the mixture is warm to the touch, about 4-5 minutes. Transfer to a stand mixer and beat on high speed until stiff peaks form and the meringue is glossy, roughly 5-7 minutes.
Step 5: Assemble the Tarts
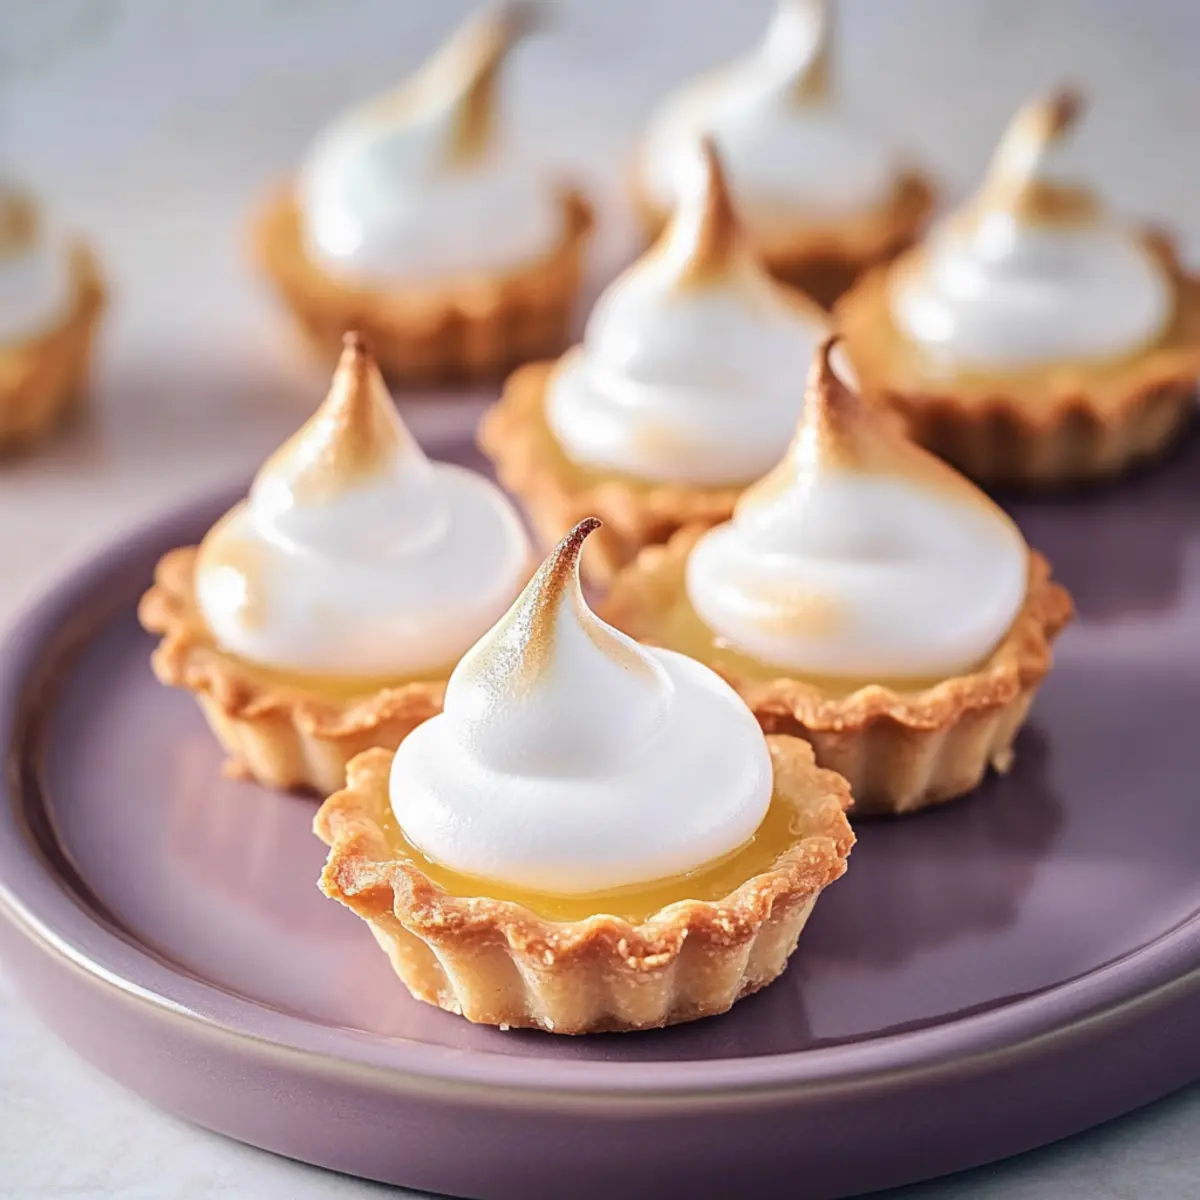
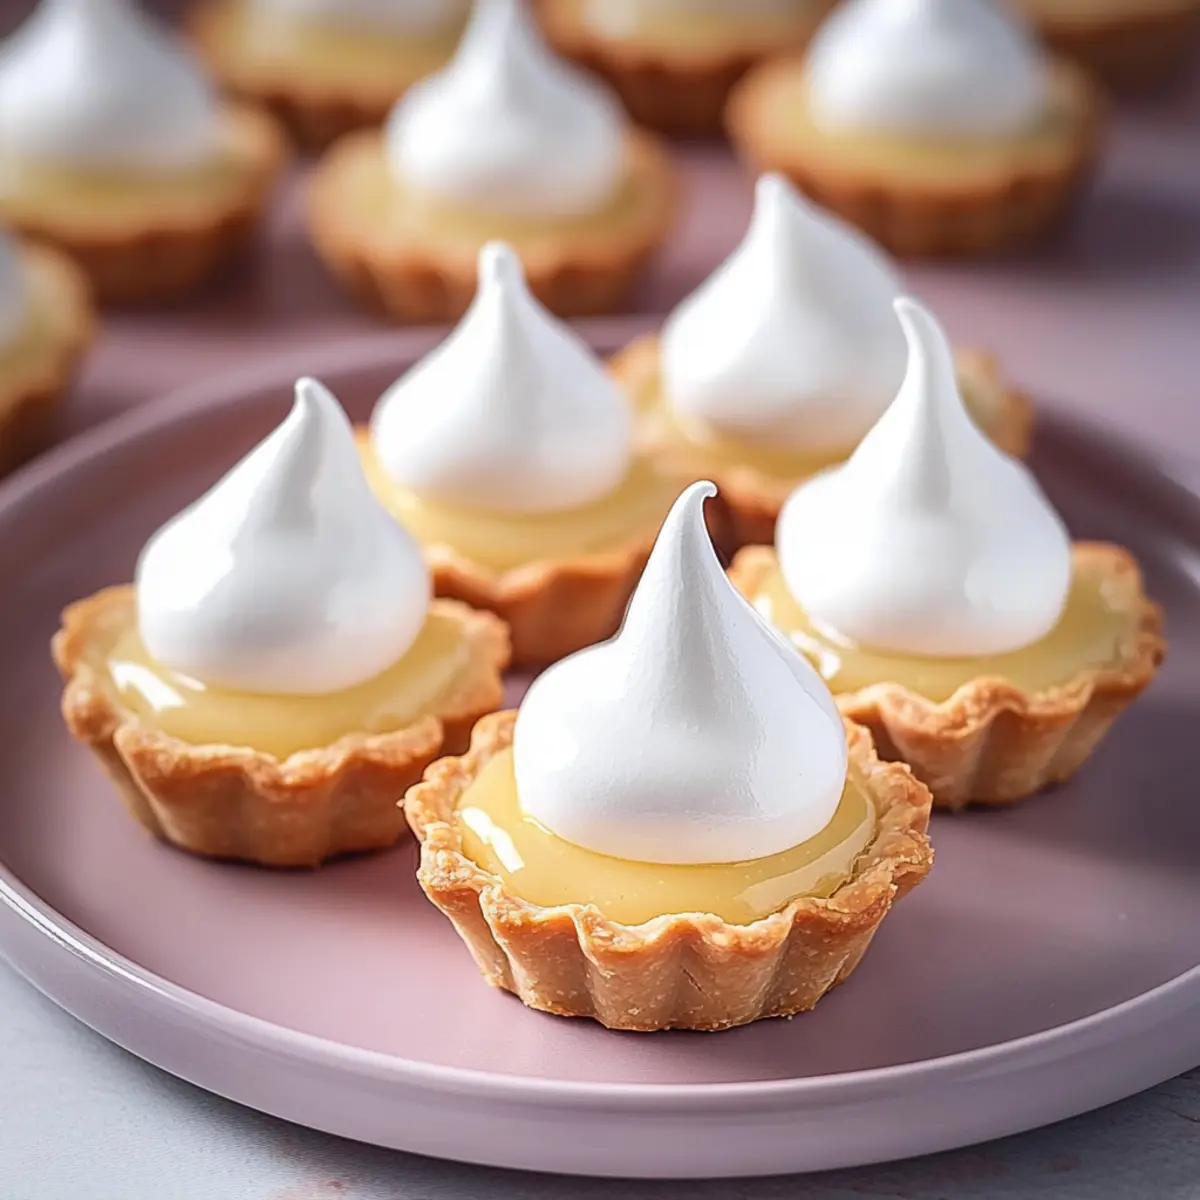
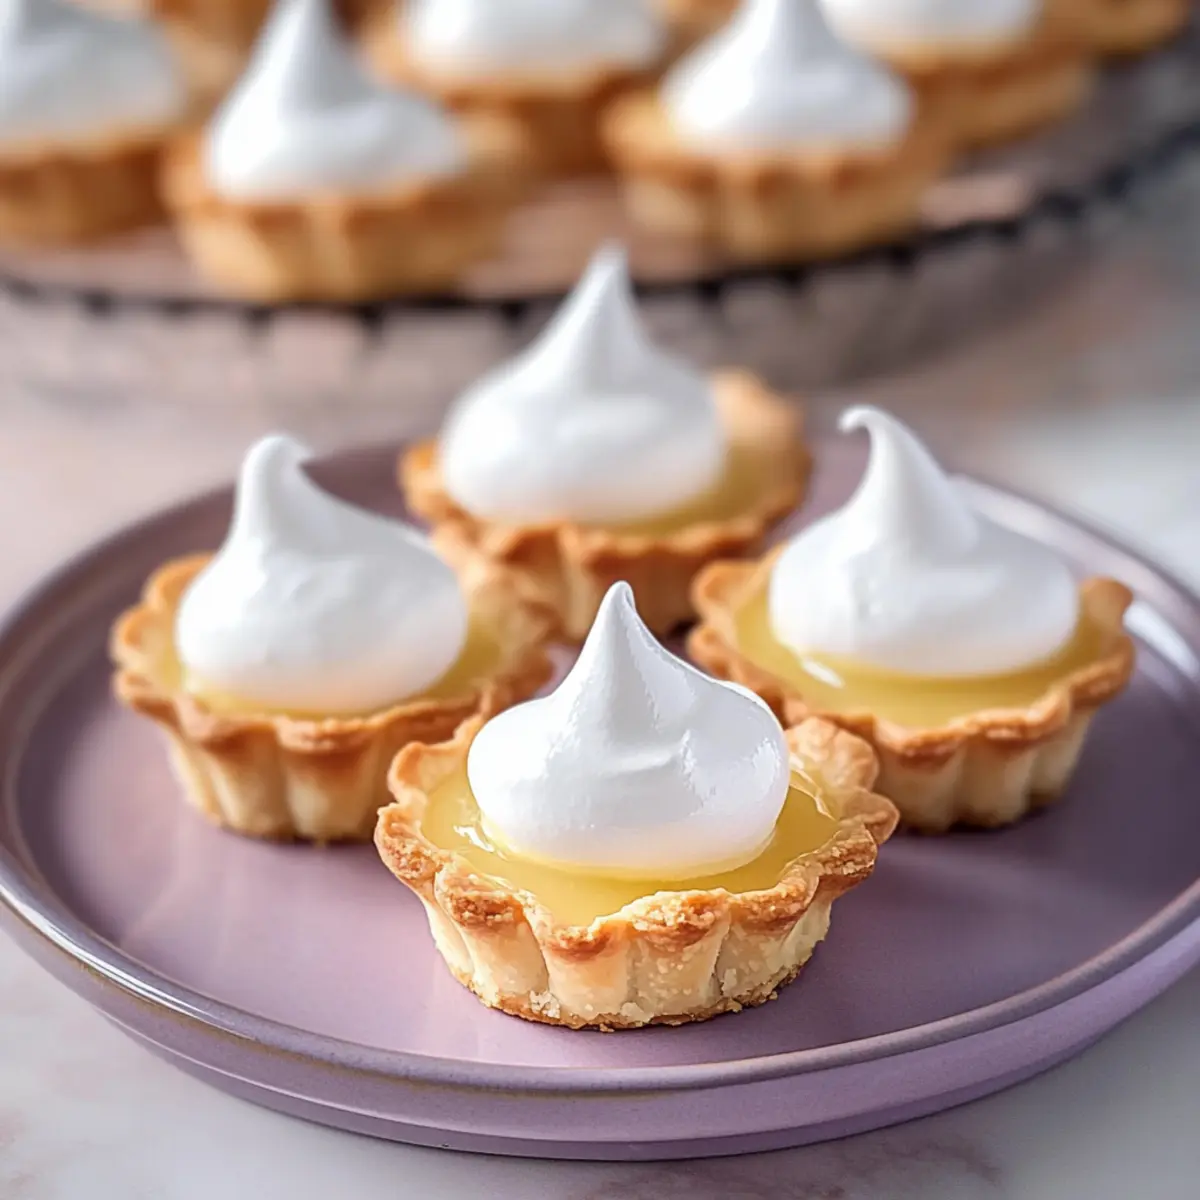
Once the lemon curd tarts are completely cool, spoon or pipe the prepared meringue onto each tart, creating peaks for an appealing look. Use a spatula to spread the meringue evenly, ensuring you cover the filling completely.
Step 6: Torch the Meringue
Carefully use a kitchen torch to toast the tops of the meringue, moving the flame in small circles until the meringue turns a beautiful golden brown. Keep a close eye on the color to prevent burning. If you don’t have a torch, you can place the tarts under a broiler for 1-2 minutes; just be vigilant!
Step 7: Serve and Enjoy
Allow the Mini Lemon Meringue Tarts to cool for a few minutes before serving. They are best enjoyed fresh, when the airy meringue contrasts with the tart lemon filling and buttery crust. Consider garnishing each with a small mint leaf for an extra pop of color.
What to Serve with Mini Lemon Meringue Tarts
Elevate your dessert experience by exploring these delightful pairings that complement the bright flavors of one-bite wonders.
- Fresh Berries: The tartness of raspberries or strawberries enhances the lemon’s brightness, creating a refreshing contrast with every bite.
- Whipped Cream: A dollop of lightly sweetened whipped cream adds a luxurious creaminess that balances the tangy filling. This irresistible duo will have everyone reaching for seconds.
- Mint Tea: The herbal notes of mint tea refresh the palate while providing a soothing contrast to the zesty tarts. This is perfect for a sophisticated tea party.
- Chocolate Drizzle: For a touch of decadence, a light drizzle of dark chocolate adds a rich flavor dimension that harmonizes beautifully with the lemony tarts.
- Lemon Sorbet: Light and cooling, this sorbet echoes the tarts’ citrus essence, making for a delightful palate cleanser between bites.
- Pistachio Crumble: A sprinkle of crunchy pistachio in the meringue will add an unexpected texture and nutty flavor that pairs wonderfully with the sweetness.
- Prosecco: The effervescence and light fruitiness of prosecco complement the tarts’ flavors while enhancing the celebratory feel. A perfect pairing for any gathering.
- Coconut Macaroons: These sweet coconut bites bring a chewy texture and rich coconut flavor that contrasts deliciously with the lightness of the tarts.
- Fruit Salad: A refreshing mix of seasonal fruits adds a burst of sweetness and color to your dessert table, enhancing the overall dining experience.
- Earl Grey Tea: The subtle floral notes of Earl Grey tea provide a warm backdrop to the zesty flavors, crafting a harmonious and comforting pairing.
How to Store and Freeze Mini Lemon Meringue Tarts
Room Temperature: Allow tarts to cool completely, then store uncovered at room temperature for up to 2 hours. This preserves the meringue’s texture but should be served quickly.
Fridge: If you have leftovers, store them in an airtight container in the fridge for up to 2 days. Keep in mind that the meringue may lose some of its fluffiness.
Freezer: For longer storage, freeze the unbaked pastry shells for up to 2 months. Bake fresh after thawing, and make the filling and meringue when ready to serve.
Reheating: While it’s best to enjoy Mini Lemon Meringue Tarts fresh, if needed, you can gently reheat them in a low oven (250°F) for about 5-10 minutes to restore a bit of crispness.
Make Ahead Options
These Mini Lemon Meringue Tarts are perfect for meal prep enthusiasts looking to save time during busy weeks! You can prepare the pastry and refrigerate it for up to 24 hours before forming the shells. Similarly, the lemon curd filling can be made in advance and stored in the fridge for up to 3 days—just be sure to press plastic wrap directly onto the surface to prevent a skin from forming. When ready to assemble, blind bake the shells, fill them with lemon curd, and make the meringue. Simply torch the meringue just before serving for that freshly toasted taste, ensuring delightful, restaurant-quality results with minimal effort!
Mini Lemon Meringue Tarts Variations
Unlock a world of delightful twists and swaps to make these Mini Lemon Meringue Tarts uniquely yours!
-
Citrus Swap: Replace lemon filling with lime or orange curd for a refreshing twist on flavor that will brighten your palate.
-
Berry Burst: Layer fresh raspberries or blueberries in the pastry shell before adding the lemon curd for a delicious burst of fruitiness that pairs beautifully with the tartness.
-
Chocolate Indulgence: Create chocolate mousse tarts using the same buttery pastry base; simply replace the lemon curd with a rich chocolate filling for a decadent touch.
-
Dairy-Free Delight: Use coconut cream instead of condensed milk in the lemon curd for a creamy, dairy-free alternative that still delivers on flavor.
-
Whipped Cream Topping: Instead of meringue, top each tart with a dollop of freshly whipped cream to keep it light yet indulgent—perfect for those who prefer something less sweet.
-
Nutty Flavor: Add finely ground almonds or hazelnuts to the pastry dough for a subtle nutty flavor and a delightful texture twist that complements the lemon.
-
Spiced Meringue: Incorporate a pinch of cinnamon or cardamom into your meringue for a warm spice note that adds depth to the sweetness.
-
Miniature Favors: For mini dessert boxes at parties, bake the filling without the meringue and drizzle with a simple lemon glaze instead, offering guests a charming treat that’s ready to go.
Feel free to get creative with these variations, or even think about enhancing your meringue skills with alternative dessert ideas, like a fabulous Peanut Butter Meringue or a fruity tart. The possibilities are endless!
Expert Tips for Mini Lemon Meringue Tarts
-
Egg White Care: Ensure there are no traces of yolk in your egg whites. Even a small amount can prevent your meringue from whipping up properly.
-
Meringue Mixing: Whisk your egg whites over simmering water until warm, which helps dissolve the sugar better and improves the meringue’s texture.
-
Blind Baking Importance: Don’t skip blind baking; it’s crucial for achieving a crisp pastry that holds up against the moisture of the lemon curd filling.
-
Torching Technique: When toasting the meringue, keep the torch moving in small circles to achieve an even golden color without burning the delicate peaks.
-
Freshness Factor: Mini Lemon Meringue Tarts are best enjoyed on the day they’re assembled. If storing, plan to serve them within a few hours for optimal texture.
Mini Lemon Meringue Tarts Recipe FAQs
How do I know when my lemons are ripe?
Absolutely! Look for lemons that are vibrant yellow with a slightly glossy skin. They should feel firm but yield slightly to gentle pressure—this indicates juiciness. Avoid lemons with dark spots or blemishes, as they might be overripe.
How should I store Mini Lemon Meringue Tarts after I’ve made them?
For room temperature storage, allow the tarts to cool completely and keep them uncovered for up to 2 hours to maintain the meringue’s texture. If you have leftovers, place them in an airtight container and refrigerate for up to 2 days—though the meringue might lose some fluffiness.
Can I freeze Mini Lemon Meringue Tarts?
Yes, you can! To freeze, I recommend making the pastry shells in advance and freezing them unbaked for up to 2 months. Just wrap the shells tightly in plastic wrap and place them in a freezer-safe bag. When you’re ready to serve, thaw them out, then prepare the filling and meringue for a fresh dessert experience!
What should I do if my meringue isn’t stiffening?
Very good question! If your meringue isn’t reaching stiff peaks, ensure no egg yolks are mixed with the whites, as even a tiny amount can hinder their ability to whip. Additionally, make sure your mixing bowl and whisk are completely clean and dry. Whipping over a double boiler helps dissolve the sugar better, improving texture. Keep whisking until you see those beautiful, glossy peaks, which typically takes about 5-7 minutes.
Can I modify this recipe to make it gluten-free?
Certainly! To make Gluten-Free Mini Lemon Meringue Tarts, I recommend substituting the cake flour with a 1:1 gluten-free flour blend. Just be sure to check that the other ingredients, especially the baking powder (if used), are also gluten-free. Adjust cooking times as needed based on your flour blend.
Are Mini Lemon Meringue Tarts safe for pets?
It’s essential to be cautious. Citrus fruits like lemons are not safe for dogs or cats in large amounts as they can cause gastrointestinal upset. Remember to keep these delightful tarts out of paw’s reach!
Mini Lemon Meringue Tarts: Your New Favorite Bite-Sized Treat
Ingredients
Equipment
Method
- Step 1: Prepare the Pastry - Cream together unsalted butter and superfine sugar until light and fluffy. Beat in whole egg and egg yolk with vanilla extract. Gradually mix in cake flour and salt until soft dough forms. Refrigerate for 1 hour.
- Step 2: Blind Bake Shells - Preheat oven to 290°F. Roll out chilled pastry and cut circles. Press into mini tart tins lined with parchment paper and bake for 15 minutes.
- Step 3: Make Lemon Curd Filling - Whisk together condensed milk, egg yolks, fresh lemon juice, and lemon zest until smooth. Pour into pre-baked pastry shells and bake at 320°F for 15 minutes.
- Step 4: Prepare Meringue - Combine egg whites and superfine sugar in a double boiler, whisk until warm. Beat on high speed until stiff peaks form.
- Step 5: Assemble the Tarts - Spoon or pipe meringue onto cooled lemon curd tarts.
- Step 6: Torch the Meringue - Use a kitchen torch to toast the meringue tops until golden brown.
- Step 7: Serve and Enjoy - Cool for a few minutes before serving; best enjoyed fresh.
Leave a Reply