
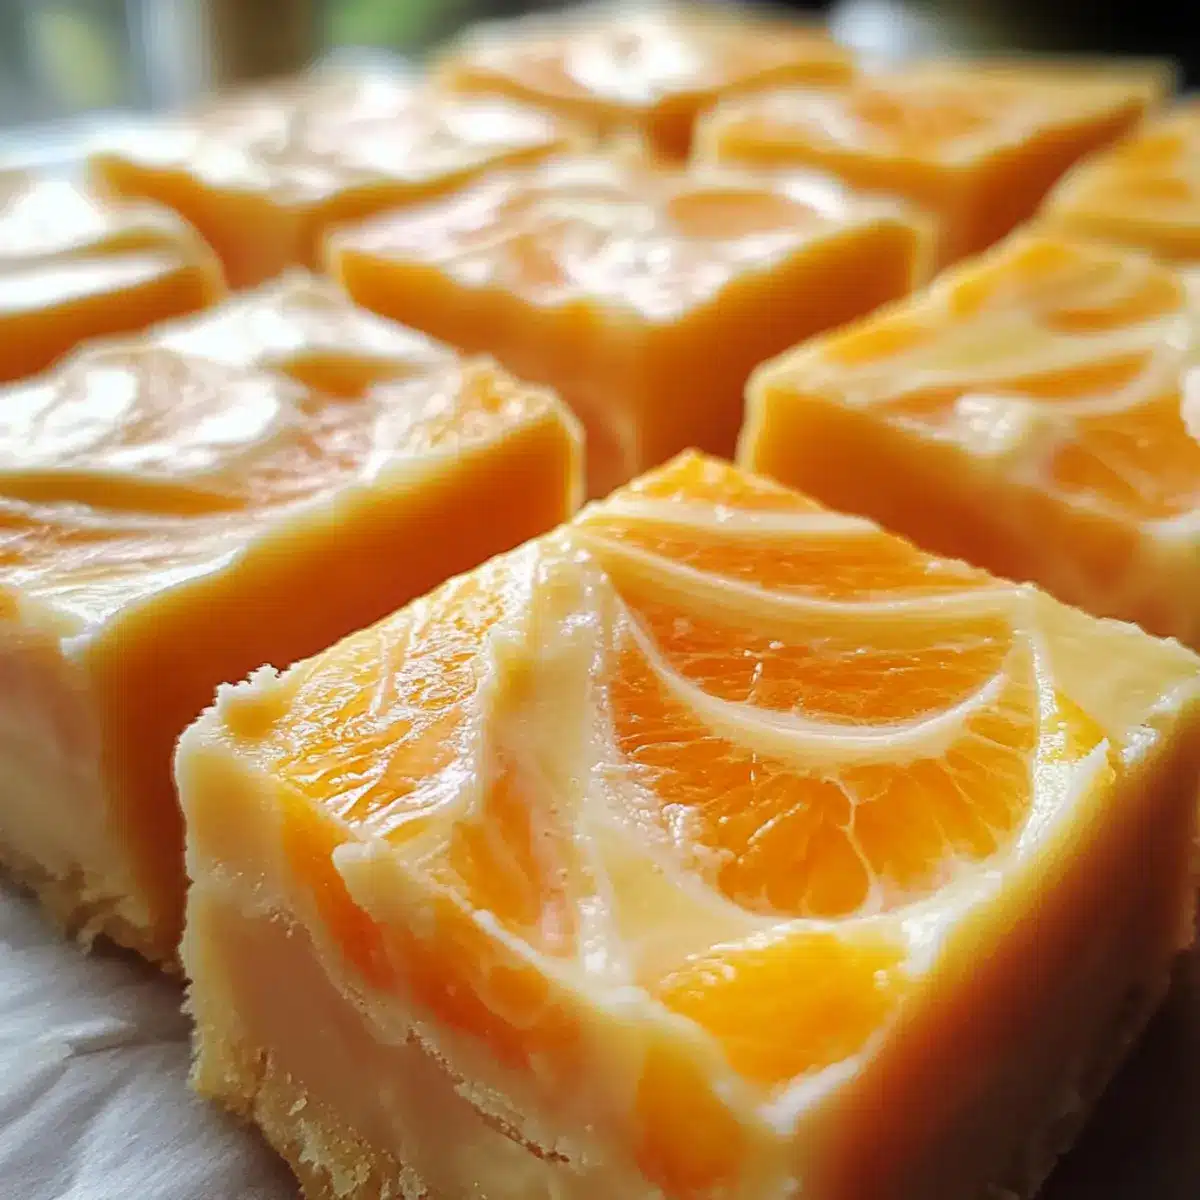
The moment I lifted the lid on my childhood memories, I could almost taste the nostalgic thrill of summer days spent chasing ice cream trucks. That’s the magic behind this Orange Dreamsicle Fudge. A delightful mix of creamy white chocolate and zesty orange delivers that melt-in-your-mouth experience that transports you straight back to those joyful afternoons. Not only is this fudge gluten-free, but it also makes a striking centerpiece at any gathering or cozy night in. Whether you’re looking to impress friends at potlucks or simply indulge your sweet tooth, this treat has you covered. Ready to create a dessert that will have everyone reminiscing about those sunny days?
Why is This Fudge So Irresistible?
Nostalgia, this Orange Dreamsicle Fudge evokes joyful summer memories, reminding you of carefree days spent delighting in cold treats. Simplicity, with straightforward steps that even novice cooks can conquer, preparing this fudge is a breeze. Flavor-packed, the fusion of sweet white chocolate and tangy orange creates a divine taste experience. Versatile, serve it at parties or enjoy a cozy night in, it adapts to any occasion. For more options, check out our delightful Marshmallow Swirl Fudge or the refreshing Orange Buttermilk Gelatin Salad Mold. This fudge is bound to be a crowd-pleaser that keeps you coming back for more!
Orange Dreamsicle Fudge Ingredients
• Discover how to make this wonderful dessert with just a few simple ingredients.
For the Fudge Base
- Heavy Cream – Provides richness and a creamy base; no direct substitution recommended, though half-and-half works for a lighter fudge.
- Granulated Sugar – The primary sweetener, crucial for fudge structure; consider brown sugar for a deeper flavor.
- Unsalted Butter – Adds creaminess; substitute with coconut oil for a dairy-free version if needed.
- Marshmallow Cream – Contributes texture and sweetness; Fluff can be used as a substitute with slight adjustments.
- White Chocolate Chips – Ensures sweetness and creamy texture; opt for dairy-free chocolate chips for a vegan twist.
For the Flavoring
- Orange Extract – Imparts the signature orange flavor; fresh orange juice may replace extract but can change the texture slightly.
- Orange Food Coloring – Optional for a vibrant look; you can omit it without affecting flavor.
Step‑by‑Step Instructions for Orange Dreamsicle Fudge
Step 1: Prep the Pan
Begin by greasing a 9×13-inch baking pan with butter or cooking spray, ensuring a smooth release. Next, line the bottom and sides with parchment paper, allowing the edges to hang over the sides for easy removal later. This prepping step is crucial for a clean serving of your delicious Orange Dreamsicle Fudge.
Step 2: Make the Base
In a large saucepan, combine 1 cup of heavy cream, 2 cups of granulated sugar, and 1/2 cup of unsalted butter. Heat over medium heat, stirring continuously until the mixture bubbles and reaches 235°F, or the softball stage. The fudge base should look glossy and thickening noticeably. This step is vital for a dreamy texture in your Orange Dreamsicle Fudge.
Step 3: Stir in Additives
Once your mixture reaches the desired temperature, immediately remove it from heat. Quickly add in one jar of marshmallow cream and 2 cups of white chocolate chips, stirring until fully melted and smooth. The fudge should be creamy and luscious—this harmonious blend forms the heart of your Orange Dreamsicle Fudge before enhancing it with flavor.
Step 4: Divide and Color
Transfer about 1 cup of the fudge mixture to a separate bowl. To this bowl, add 1 teaspoon of orange extract and a few drops of orange food coloring for that nostalgic pop. Stir well until the color is evenly distributed, ensuring the vibrant flavor shines through. This step will give your Orange Dreamsicle Fudge its signature look and taste.
Step 5: Swirl Mixture
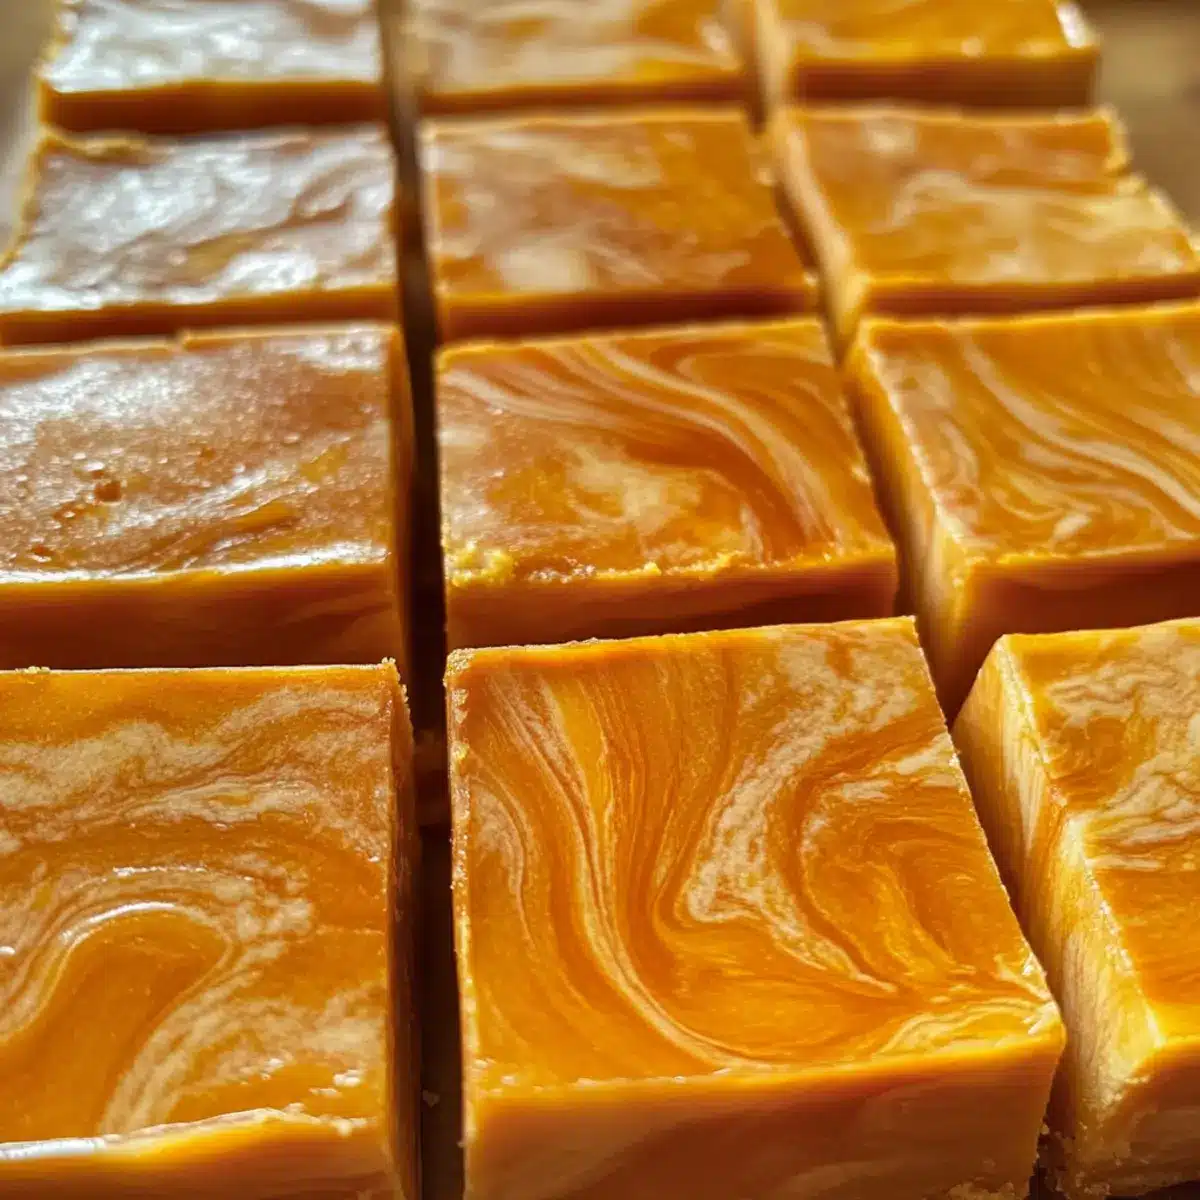
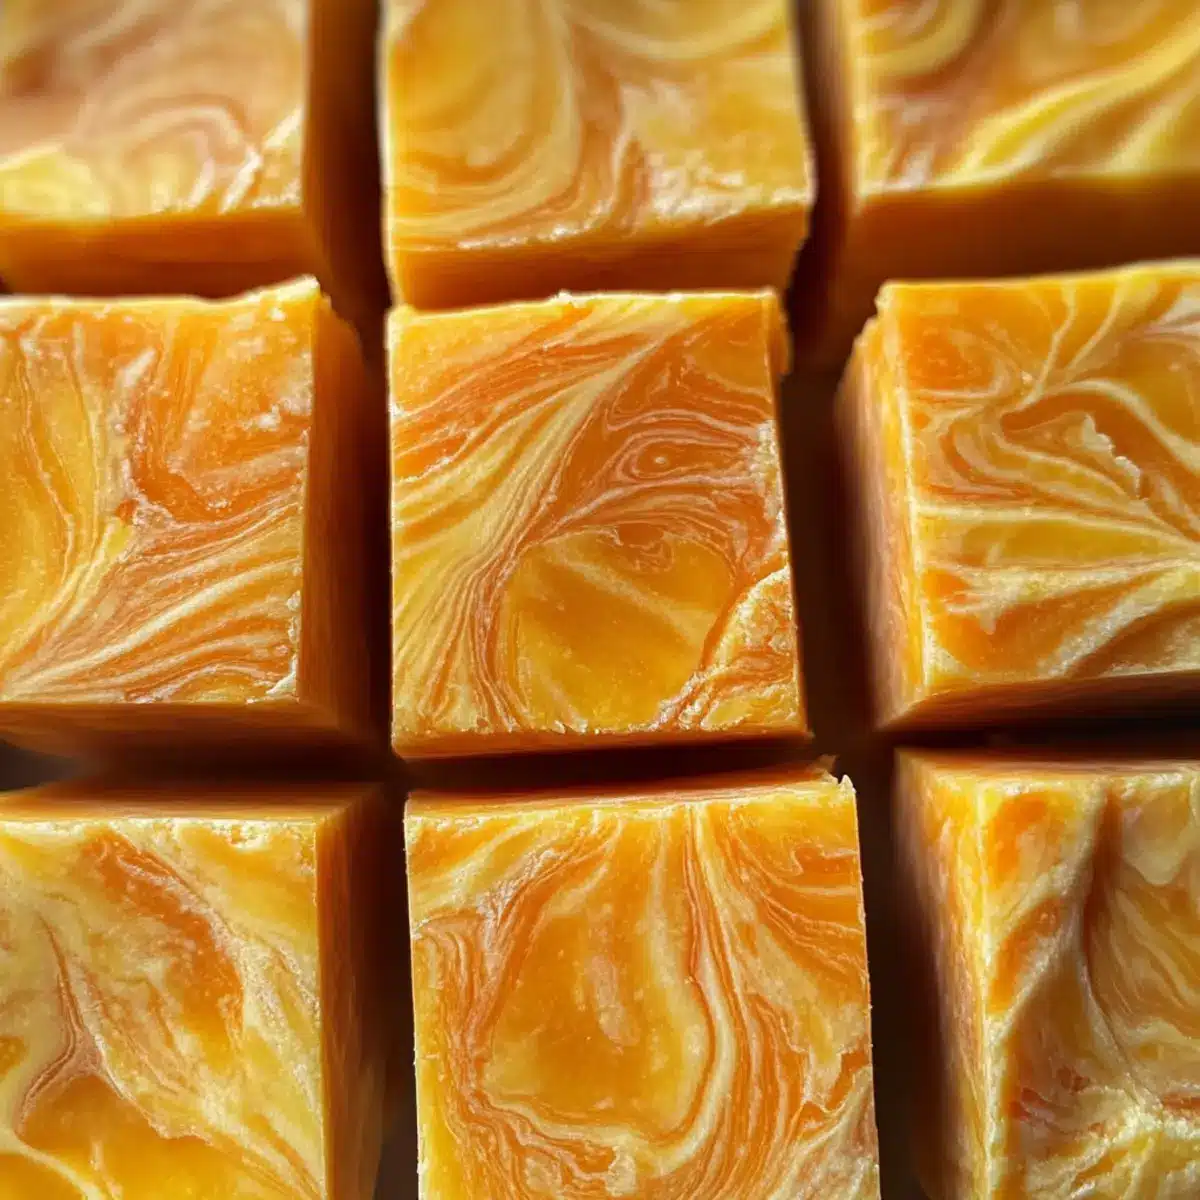
Pour the orange mixture into the prepared baking pan first, spreading it evenly. Then, scoop spoonfuls of the creamy white fudge mixture on top of the orange layer. Using a knife or skewer, gently swirl the two together to create a marbled effect. This artistic step adds both beauty and flavor dimensions to your Orange Dreamsicle Fudge.
Step 6: Chill to Set
Place your fudge in the refrigerator, allowing it to chill for at least 2 hours. This cooling period is essential for the fudge to firm up and set perfectly—check for a solid yet slightly soft texture before slicing. Patience is key; a well-chilled Orange Dreamsicle Fudge will deliver that delightful melt-in-your-mouth experience.
Step 7: Slice and Serve
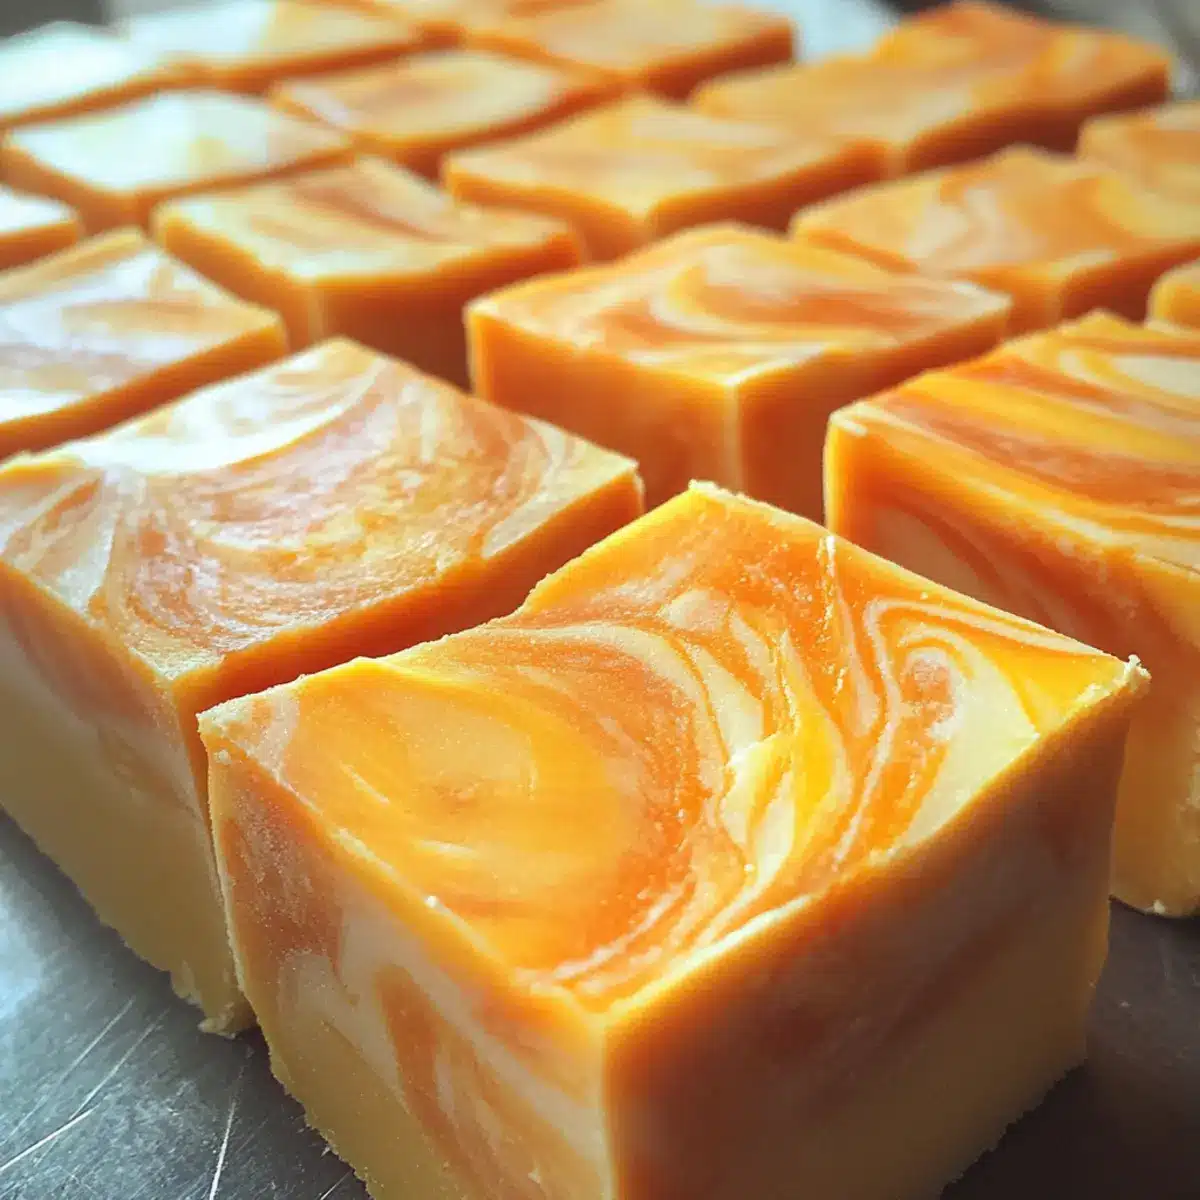
After the fudge has chilled and set, lift it from the pan using the parchment paper overhang. Place the fudge on a cutting board and slice it into squares using a sharp knife. The beautiful marbling and vibrant colors of your Orange Dreamsicle Fudge will make every piece tempting—perfect for sharing or enjoying all by yourself!
Make Ahead Options
These Orange Dreamsicle Fudge squares are a fantastic make-ahead treat that can simplify your busy schedule! You can prepare the fudge base and chill it for up to 24 hours in advance, making this an ideal dessert for stress-free entertaining. Simply follow the initial steps of preparing the base and swirling the mixtures before placing them in the refrigerator. To maintain its creamy texture, make sure to tightly cover the pan with plastic wrap or foil. When you’re ready to serve, simply slice the chilled fudge into squares. This approach not only saves time but ensures that your Orange Dreamsicle Fudge tastes just as delicious when it’s time to enjoy it!
Orange Dreamsicle Fudge Variations
Feel free to let your creativity shine and customize your Orange Dreamsicle Fudge with these delightful twists!
- Dairy-Free: Use coconut cream and dairy-free chocolate chips for a luscious vegan version that everyone can enjoy.
- Chocolate Lovers: Swap half of the white chocolate with dark or milk chocolate for a decadent twist that adds richness and depth.
- Nuts & Crunch: Fold in chopped nuts like pecans or walnuts to introduce a satisfying crunch—an unexpected texture that elevates each bite!
- Citrus Burst: Enhance the orange flavor by adding a tablespoon of freshly grated orange zest for an extra splash of freshness that brightens the fudge.
- Layered Delight: Create beautiful layers by alternating the orange and white mixtures in the pan, making each slice a visual treat as well as a tasty one.
- Spicy Kick: For a unique heat, whisk in a pinch of cayenne pepper with the orange mixture. It adds an intriguing flavor contrast that surprises and delights.
- Minty Fresh: Incorporate a few drops of peppermint extract instead of orange extract for a refreshing take reminiscent of the holidays—deliciously cool and minty!
- Chocolaty Swirl: Add dollops of chocolate fudge in the layers for a marbled appearance and a deliciously rich flavor combination.
If you’re inspired to mix things up further, consider whipping up a batch of our dreamy Cheesecake Fudge Bake or enjoy the lightness of our refreshing Orange Buttermilk Gelatin Salad Mold. The possibilities are deliciously endless!
Storage Tips for Orange Dreamsicle Fudge
-
Room Temperature: Keep uneaten fudge at room temperature for up to 1 week, but ensure it’s stored in a cool, dry place away from direct sunlight.
-
Fridge: Store the Orange Dreamsicle Fudge in an airtight container in the refrigerator for up to 2 weeks, ensuring it stays fresh and flavorful.
-
Freezer: For longer storage, freeze the fudge wrapped tightly in plastic wrap and placed in an airtight container for up to 3 months, allowing for tasty treats anytime.
-
Reheating: To enjoy your fudge, simply thaw it in the fridge overnight before serving. If desired, warm individual pieces slightly in the microwave for 10-15 seconds for a gooey texture.
Expert Tips for Orange Dreamsicle Fudge
- Temperature Check: Ensure the fudge mixture reaches 235°F; using a candy thermometer helps prevent graininess, which can ruin the texture.
- Minimal Stirring: Once you add the marshmallow cream and chocolate, stir gently to maintain smoothness. Overmixing can lead to sugar recrystallization and a gritty fudge.
- Flavor Boost: Incorporate a pinch of grated orange zest to enhance the citrus flavor, giving your Orange Dreamsicle Fudge an extra zing.
- Optimal Cooling: Allow adequate chilling time of at least 2 hours for the fudge to set properly; impatience can lead to a soft texture that’s difficult to slice.
- Layering Perfection: For stunning presentation, alternate layers of orange and white fudge to create visually appealing stripes in your Orange Dreamsicle Fudge.
What to Serve with Orange Dreamsicle Fudge
Indulging in this creamy treat will transport you to sweet summer days, making it the perfect addition to any meal or gathering.
-
Fresh Berries: Their juicy sweetness brightens up the fudge’s rich, creamy texture, creating a delightful contrast on the palate.
-
Whipped Cream: A dollop enhances the overall experience, adding a light, airy element that balances the fudge’s density.
-
Chocolate-Covered Pretzels: Their salty crunch juxtaposes the fudge’s sweetness, turning every bite into an exciting flavor journey.
-
Iced Herbal Tea: A refreshing sip that’ll cleanse your palate, the herbal notes create a soothing counterpart to the fudge’s bright orange flavor.
-
Vanilla Ice Cream: This classic pairing adds extra creaminess, and the melty effect over the fudge makes for a dreamy dessert experience.
-
Nutty Trail Mix: The crunchiness and roasted flavors kick things up a notch, offering a wholesome textural contrast that works wonderfully with the fudge’s smoothness.
-
Sparkling Water with Lime: A bubbly drink that cleanses the palate and enhances the fruity notes, making each bite of fudge feel revitalizing.
-
Mini Fruit Tarts: Their vibrant colors and sweet, creamy filling echo the nostalgic vibes of the fudge, making for a harmonious dessert spread.
-
Milkshake: An indulgent frozen treat that pairs beautifully, an orange or vanilla shake complements the fudge, boosting the nostalgia factor.
-
Chocolate Milk: A childhood favorite that brings back memories, it provides a comforting and nostalgic touch alongside the Orange Dreamsicle Fudge.
Orange Dreamsicle Fudge Recipe FAQs
What type of cream should I use for the fudge?
Absolutely! Using heavy cream is key to creating a rich and creamy base for your Orange Dreamsicle Fudge. If you’re looking for a lighter option, half-and-half can work too, though I recommend sticking with heavy cream for the best texture and flavor.
How should I store my fudge, and how long will it last?
I often recommend storing your Orange Dreamsicle Fudge in an airtight container in the refrigerator for up to 2 weeks. If you have any leftovers (which is rare!), you can keep it at room temperature for about a week—just make sure it’s in a cool, dry place. This way, you can enjoy it for more than just a day or two!
Can I freeze the Orange Dreamsicle Fudge? How?
Definitely! To freeze your fudge, wrap it tightly in plastic wrap, ensuring no air is trapped inside, then place it in an airtight container or a resealable freezer bag. This method keeps it fresh and prevents freezer burn. It will last for up to 3 months. When you’re ready to enjoy it, simply thaw it in the refrigerator overnight. For an exciting twist, try warming individual pieces slightly in the microwave for that gooey texture!
What if my fudge turns out grainy?
Oh no! If your fudge ends up grainy, it might be due to overheating the sugar mixture or stirring too much after adding the chocolate. To avoid this next time, use a candy thermometer to ensure the mixture reaches the right temperature (235°F), and stir minimally after incorporating the marshmallow cream and chocolate chips. If you find yourself with grainy fudge, you can try gently reheating it over low heat while stirring continually, then re-adding the marshmallow fluff to smooth it out again.
Is this fudge safe for people with gluten sensitivities?
Very much so! The Orange Dreamsicle Fudge is naturally gluten-free because it uses simple ingredients like sugar, cream, and chocolate. However, always double-check the labels of your ingredients, particularly for the chocolate and any substitutes, to ensure they haven’t been processed with gluten-containing substances. Enjoy it without worry!
Irresistible Orange Dreamsicle Fudge for Sweet Nostalgia
Ingredients
Equipment
Method
- Begin by greasing a 9x13-inch baking pan with butter or cooking spray and lining with parchment paper.
- In a large saucepan, combine heavy cream, granulated sugar, and unsalted butter. Heat while stirring until reaching 235°F.
- Remove from heat and quickly stir in marshmallow cream and white chocolate chips.
- Transfer about 1 cup of the mixture to a bowl and mix in orange extract and food coloring.
- Pour the orange mixture into the prepared pan, then spoon white fudge over it and swirl together.
- Chill in the refrigerator for at least 2 hours to set.
- Lift from the pan using parchment, slice into squares, and serve.
Leave a Reply