
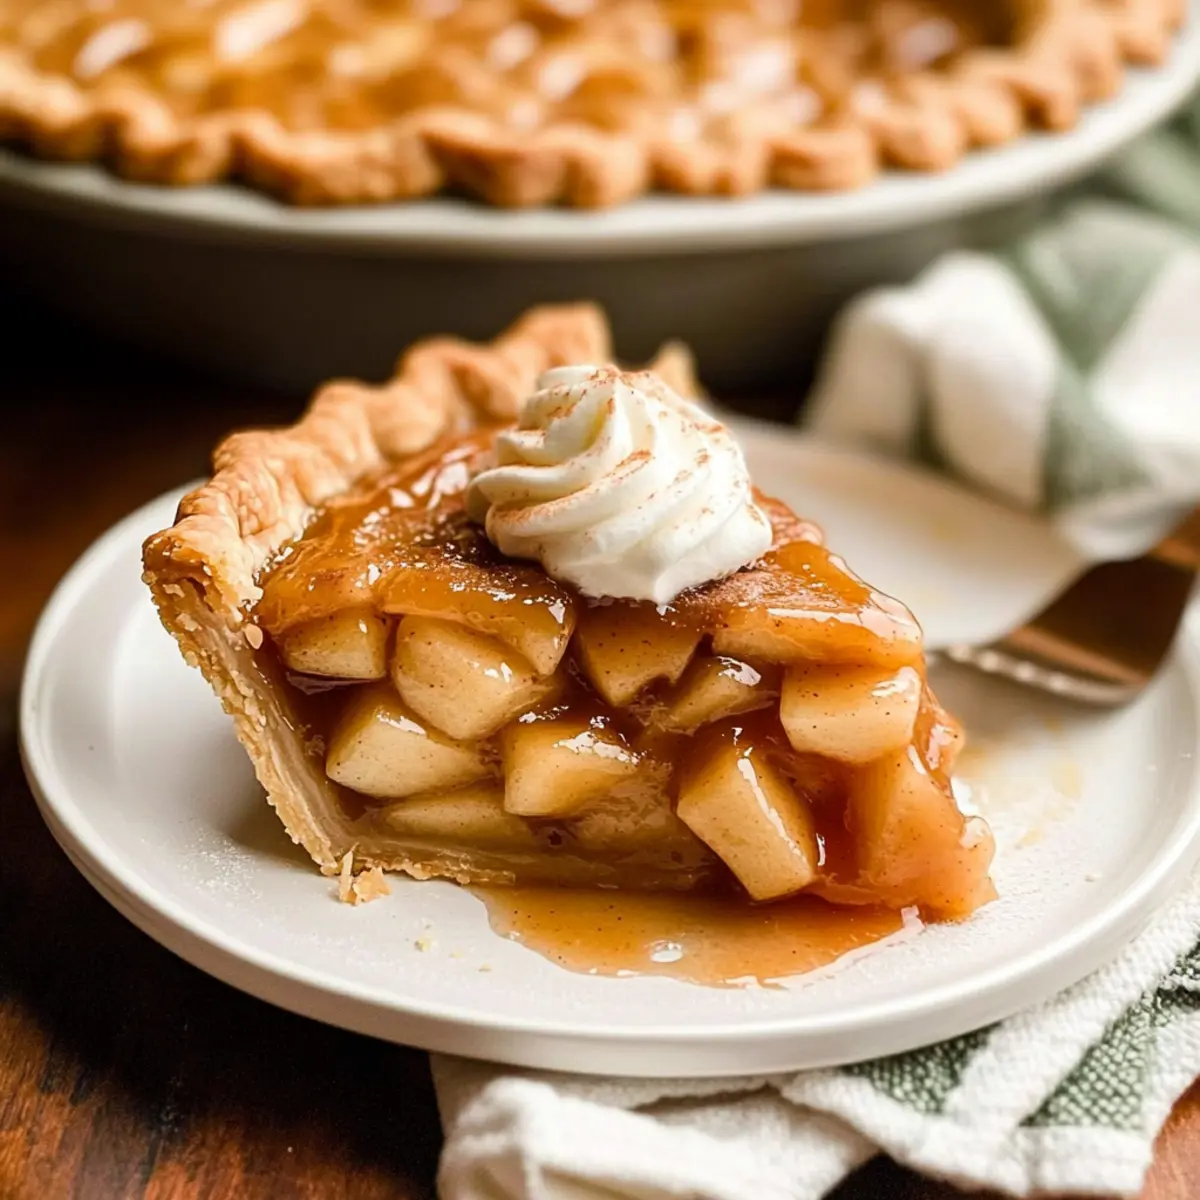
As I stood in the kitchen, the warm, sweet aroma of caramelized apples began to fill the air, weaving its way through the nostalgic memories of Thanksgiving past. If you’re looking to elevate your dessert game this holiday season, you’re in for a treat with my Caramelized Apple Pie recipe. This delightful masterpiece not only embodies the essence of fall but also offers a quick prep route that’ll impress your guests without the stress. Picture a buttery crust, perfectly golden and flaky, cradling layers of tender, caramelized apples bathed in warm spices. It’s a crowd-pleaser that feels both traditional and oh-so-festive! Intrigued? Let’s dive into the details of creating this mouthwatering twist on a classic!
Why Is Caramelized Apple Pie So Special?
Irresistible Aroma: As you bake, the sweet scent of caramelized apples fills your kitchen, creating a cozy, inviting atmosphere.
Quick Prep: This pie offers a simple preparation method, making it a perfect option for busy hosts looking to impress their guests.
Festive Flair: A colorful display of caramelized apples glistening in the pie is bound to steal the show at your Thanksgiving table.
Versatile Toppings: Pair it with a scoop of vanilla ice cream or our delightful Pumpkin Pie Cheesecake for a delicious contrast!
Crowd-Pleasing Classic: This delightful dessert combines tradition with a unique twist, satisfying both conservative and adventurous palates.
Caramelized Apple Pie Ingredients
For the Pie Crust
• All-Purpose Flour – Essential for a flaky and tender crust; you can use gluten-free flour for a gluten-free version.
• Unsalted Butter – Grants richness and flavor; ensure it’s cold for a flaky finish.
• Granulated Sugar – Adds sweetness to the crust; consider substituting with powdered sugar for a finer texture.
• Salt – Balances the sweetness; a pinch is all you need!
• Ice Water – Helps bind the dough; use as needed to achieve the right consistency.
For the Caramelized Apples
• Apples – Granny Smith or Honeycrisp are perfect; their tartness enhances the flavor of the pie.
• Brown Sugar – Caramelizes beautifully for that deep, rich flavor; light or dark varieties work well.
• Cinnamon – Adds warmth and spice; nutmeg is a delightful alternative for a unique twist.
• Lemon Juice – Helps retain the apples’ color and adds a hint of brightness to the filling.
• Cornstarch – Thickens the filling; you can also use flour, but cornstarch yields a smoother texture.
• Vanilla Extract – Enhances the overall flavor; pure extract will provide the best taste.
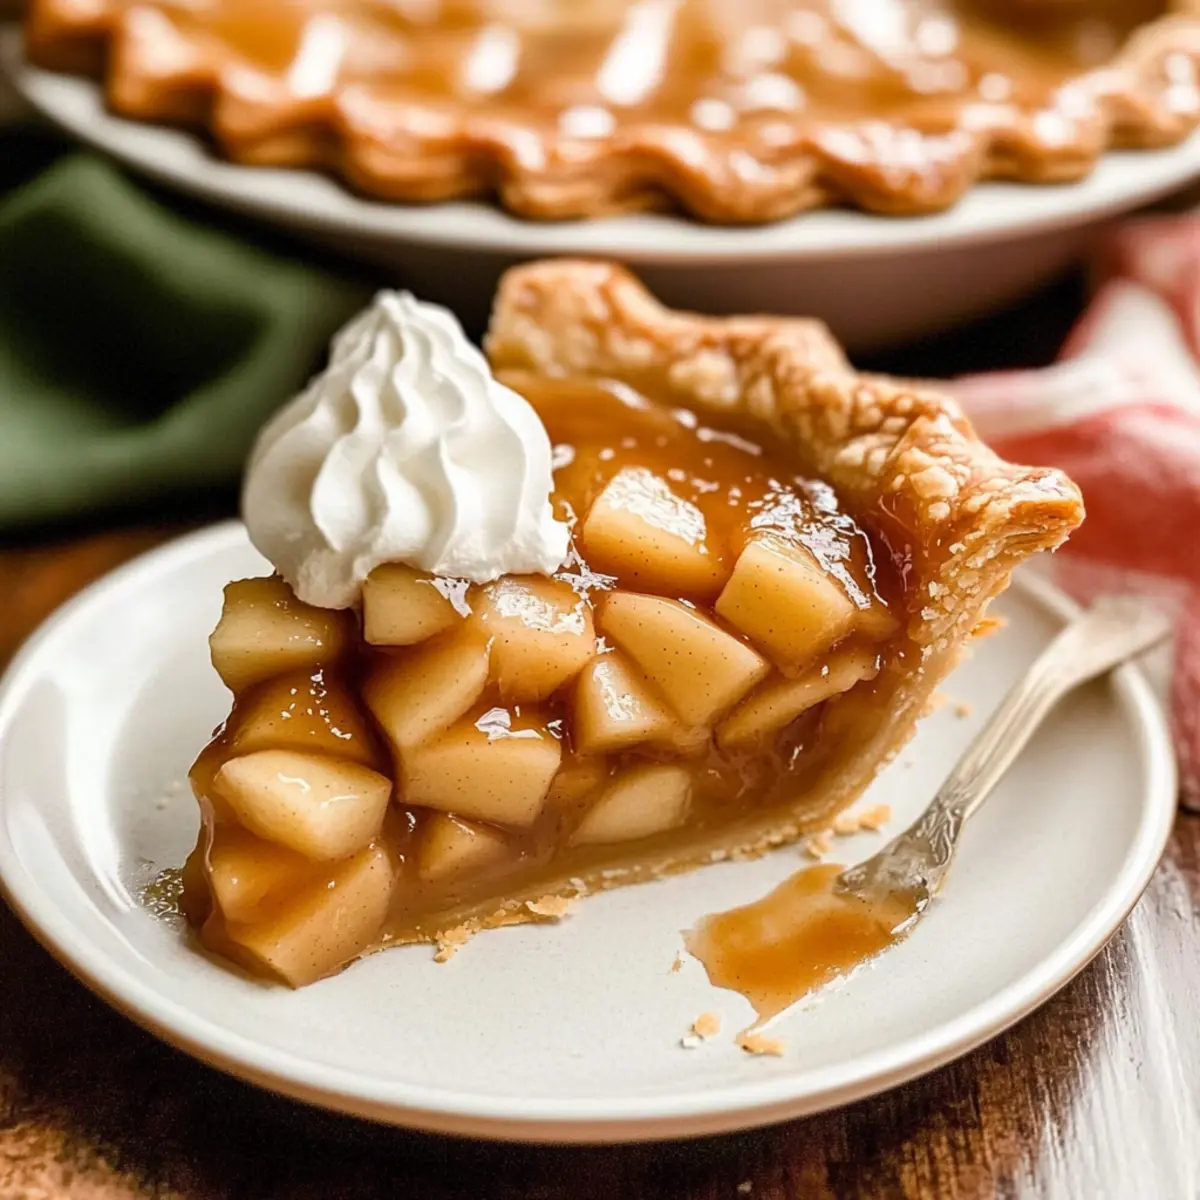
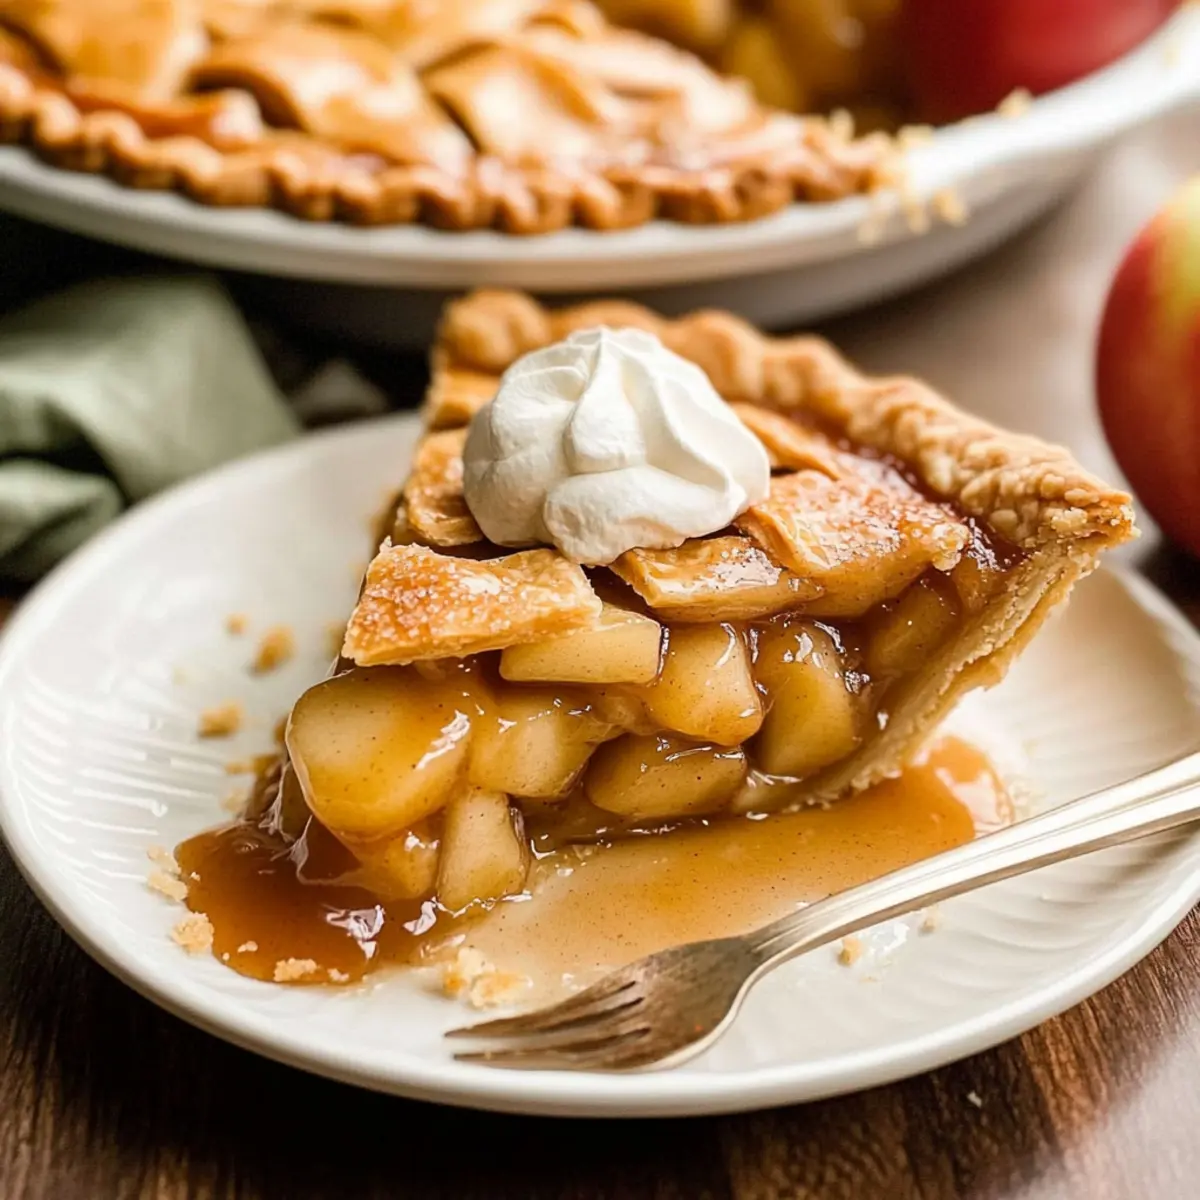
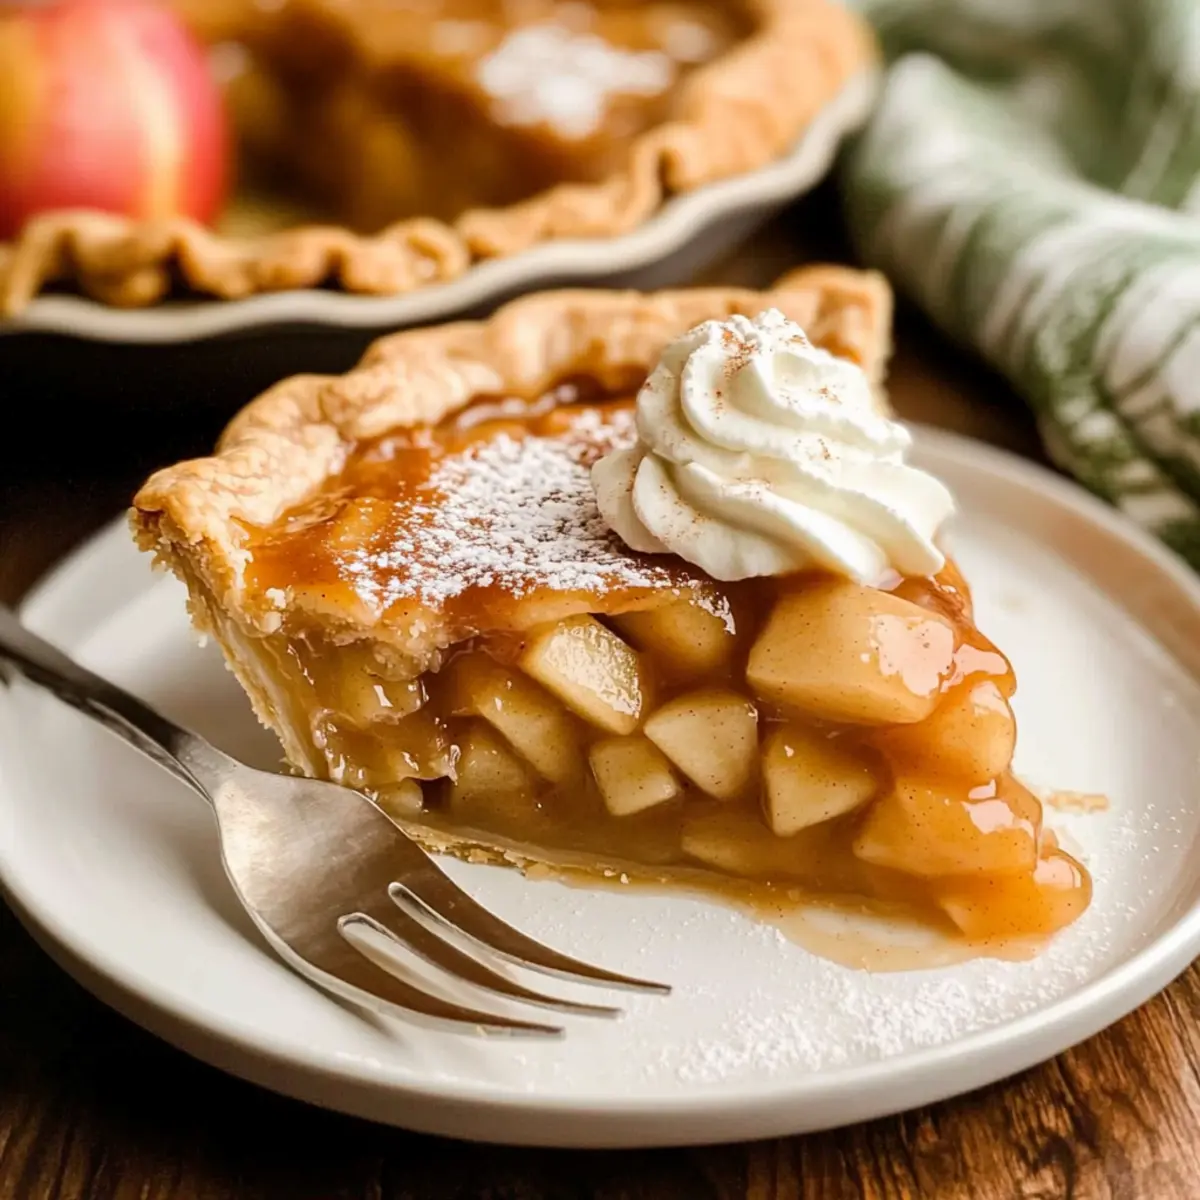
Don’t forget, this Caramelized Apple Pie is all about showcasing those luscious, caramelized apples nestled in a delightful crust!
Step‑by‑Step Instructions for Caramelized Apple Pie
Step 1: Prepare the Pie Crust
Begin by preheating your oven to 425°F (220°C). In a large mixing bowl, combine 1 ½ cups of all-purpose flour, ½ cup of cold unsalted butter (cut into cubes), 2 tablespoons of granulated sugar, and a pinch of salt. Use a pastry cutter or your fingers to blend until the mixture resembles coarse crumbs. Gradually add ice water, one tablespoon at a time, until the dough forms a ball. Wrap in plastic wrap and refrigerate for at least 30 minutes.
Step 2: Caramelize the Apples
While the crust chills, prepare the filling. Peel, core, and slice about 6 cups of your chosen apples, opting for Granny Smith or Honeycrisp for the best flavor. In a large skillet, melt 4 tablespoons of unsalted butter over medium heat. Add the apples, then sprinkle with ½ cup of brown sugar, 1 teaspoon of cinnamon, and 1 tablespoon of lemon juice. Cook for about 10 minutes, stirring occasionally until the apples are tender and the sugar has caramelized, becoming golden and syrupy.
Step 3: Mix the Filling
After caramelizing, remove the skillet from the heat and mix in 2 tablespoons of cornstarch and 1 teaspoon of vanilla extract until well combined. This will thicken the filling as it cools. Allow the mixture to sit for about 10 minutes so the syrup can thicken and the flavors meld beautifully, making the filling for your Caramelized Apple Pie irresistibly sweet and fragrant.
Step 4: Roll Out the Crust
Once chilled, remove the pie dough from the refrigerator and place it on a floured surface. Using a rolling pin, roll out the dough into a 12-inch circle, about ⅛ inch thick. Carefully transfer the rolled dough to a 9-inch pie dish, pressing it gently into the corners. Trim any excess dough hanging over the edges, then crimp the edges with a fork or your fingers for a decorative finish.
Step 5: Fill the Pie
Pour the cooled caramelized apple filling into the prepared crust, spreading it evenly. Make sure the apples are nicely layered and the yummy syrup is nicely dispersed. This step is crucial because the caramelized apple flavor is the star of your pie! Preheat your oven to 375°F (190°C) while you prepare the top layer.
Step 6: Bake the Pie
Cover the pie with a second rolled-out crust or create a lattice pattern if you prefer. Cut slits in a solid crust to allow steam to escape. Brush the top with an egg wash (1 beaten egg mixed with a tablespoon of water) for a golden finish. Bake for 45-50 minutes until the crust is golden brown and starts bubbling slightly from the apple filling. Keep an eye on it; if edges brown too quickly, cover with foil.
Step 7: Cool and Serve
Once baked, remove the pie from the oven and let it cool for at least 1 hour before slicing. This cooling period allows the filling to set, ensuring a perfect slice. Serve your warm Caramelized Apple Pie with a scoop of vanilla ice cream or a dollop of whipped cream to elevate this delicious dessert experience!
Make Ahead Options
These delightful Caramelized Apple Pies are perfect for busy home cooks looking to save time during the hectic holiday season! You can prepare the pie crust and caramelized filling up to 24 hours in advance. Simply wrap the chilled pie crust tightly in plastic wrap and refrigerate, while the cooled apple filling can be stored in an airtight container. To maintain quality, prevent the crust from becoming soggy by keeping it separate from the filling until you’re ready to assemble. When it’s time to serve, pour the filling into the prepared crust, bake at 375°F (190°C) for 45-50 minutes, and enjoy a delicious dessert with minimal effort!
Caramelized Apple Pie Variations & Substitutions
Feel free to unleash your culinary creativity and tailor this delightful pie to your personal tastes!
- Sweet Potato Pie: Substitute half of the apples with sweet potato for a unique, creamy texture and flavor twist.
- Nutty Crunch: Add a handful of chopped pecans or walnuts to the apple filling for an added crunch and nuttiness.
- Vegan Crust: Use a vegan butter alternative for the crust to make this dessert completely plant-based while maintaining its flaky charm.
- Caramel Sauce Drizzle: Pour homemade caramel sauce over the warm pie before serving to intensify that sweet, gooey flavor.
- Spicy Kick: Mix a pinch of cayenne pepper or chipotle powder into your spice blend for a surprising heat that complements the sweetness.
- Lattice Topping: Gather your pastry skills to create a lattice crust on top, giving your pie an inviting, homemade touch that looks stunning!
- No-Bake Version: Try a no-bake variation using a cookie crust and a creamy filling made from mascarpone and caramelized apples for an effortless dessert.
- Chai Spice Blend: Add a blend of warm chai spices, like cardamom and ginger, to the apple filling for a cozy, aromatic twist that’s perfect for fall.
Don’t forget to check out our delightful Pecan Pie Cobbler and the lovely Sticky Pineapple Brown for more festive inspiration! Your Thanksgiving table will shine with these variations that promise to keep your guests delighted.
Expert Tips for Caramelized Apple Pie
• Apple Selection: Choose a mix of tart and sweet varieties, like Granny Smith and Honeycrisp, for a well-balanced flavor in your caramelized apple pie.
• Chill Your Crust: Always chill the dough for at least 30 minutes; this ensures a flaky crust and prevents shrinking during baking.
• Avoid Soggy Bottoms: Pre-bake the crust for 10 minutes before filling to prevent sogginess from the caramelized apple filling.
• Perfect Caramelization: Constant stirring while cooking the apples is key; it helps achieve even caramelization without burning.
• Baking Watch: Keep a close eye on your pie; if the edges brown too quickly, cover them with foil to avoid burning while the center finishes baking.
• Cooling Time Matters: Allow the pie to cool for an hour before slicing; this helps the filling set perfectly and makes for cleaner slices.
How to Store and Freeze Caramelized Apple Pie
Room Temperature: Let the pie cool completely before covering it with a kitchen towel or foil. It can be stored at room temperature for up to 2 days.
Fridge: If you want to keep your Caramelized Apple Pie longer, store it in an airtight container in the refrigerator for up to 4 days. Reheat individual slices in the microwave for a warm treat.
Freezer: For longer storage, wrap the cooled pie tightly with plastic wrap and then aluminum foil. It can be frozen for up to 3 months. Thaw overnight in the fridge before reheating.
Reheating: To enjoy leftovers, reheat slices in a preheated oven at 350°F (175°C) for about 10-15 minutes, or until warmed through, restoring that deliciously flaky crust!
What to Serve with Caramelized Apple Pie
Experience the joy of creating a complete, festive meal that pairs beautifully with your delicious pie.
-
Vanilla Ice Cream: A classic pairing that enhances the sweetness of the caramelized apples, offering a creamy contrast to the warm pie.
-
Whipped Cream: Fluffy and light, a dollop of whipped cream adds a luxurious touch that complements the pie’s richness perfectly.
-
Spiced Coffee: The warmth of a spiced coffee, with hints of cinnamon and nutmeg, enhances the autumn flavors of your dessert and adds a cozy touch.
-
Pecan Pie: For true dessert lovers, the crunchy, nutty flavor of pecan pie creates an indulgent experience alongside the caramelized apple pie.
-
Pumpkin Spice Latte: This seasonal staple brings forward the comforting flavors of the fall, making it an aromatic choice to sip while enjoying your pie.
-
Cheddar Cheese: A slice of sharp cheddar on the side offers a savory contrast that balances the sweetness of the caramelized apple pie, creating a delightful flavor duo.
These pairings beautifully accentuate the rich flavors and textures of your Caramelized Apple Pie, ensuring a memorable dessert experience!
Caramelized Apple Pie Recipe FAQs
What type of apples are best for caramelized apple pie?
Choosing the right apples is crucial! I recommend using a mix of Granny Smith for tartness and Honeycrisp for a touch of sweetness. This combination creates a perfect balance of flavor that enhances the caramelized taste. If you prefer, you can also experiment with Fuji or Braeburn apples for a sweeter profile.
How should I store leftover caramelized apple pie?
To store your delicious pie, let it cool completely before wrapping it well. At room temperature, it can last up to 2 days covered with a kitchen towel or foil. For longer storage, move it to the fridge in an airtight container; it will stay fresh for up to 4 days. Don’t forget, reheating individual slices in the microwave makes for a warm treat that’s just as delightful!
Can I freeze caramelized apple pie?
Absolutely! Freezing is a great option if you want to save your pie for later. Allow it to cool completely, then tightly wrap the pie in plastic wrap and aluminum foil. It can be stored in your freezer for up to 3 months. When you’re ready to enjoy it, simply thaw it overnight in the fridge and reheat in a preheated oven at 350°F for about 10-15 minutes.
What can I do if the caramelized apple filling is too runny?
If you find your filling is a bit too runny, don’t worry! For the next time, try using an extra tablespoon of cornstarch to help thicken the filling while it’s cooking. Also, ensure you let the mixture cool for at least 10 minutes after caramelizing; this step allows the syrup to thicken as it cools. If the pie is already baked, serving it with a scoop of ice cream can mask the runniness while adding extra creaminess!
Does caramelized apple pie have any dietary considerations?
If you’re catering to dietary needs, you can definitely make adjustments! Use gluten-free flour for a gluten-free version of the crust, and aquafaba instead of egg wash on the top. Additionally, be mindful of sugar levels; consider using natural sweeteners or reducing sugar in the filling if needed, especially for guests watching their sugar intake.
How long does it take to prepare caramelized apple pie?
Overall, expect about an hour for preparation and baking time. Preparing the pie crust usually takes around 30 minutes (including chilling time), while the caramelizing and assembly might take another 20 minutes. Baking will take 45-50 minutes. The delicious aroma during this time will be well worth the wait!
Delectable Caramelized Apple Pie That Steals the Show
Ingredients
Equipment
Method
- Preheat your oven to 425°F (220°C). In a mixing bowl, combine the flour, butter, sugar, and salt. Blend until it resembles coarse crumbs. Gradually add ice water until the dough forms a ball. Wrap in plastic wrap and refrigerate for at least 30 minutes.
- Peel, core, and slice the apples. Melt butter in a skillet over medium heat. Add apples, brown sugar, cinnamon, and lemon juice. Cook for about 10 minutes until tender and caramelized.
- Remove from heat and mix in cornstarch and vanilla until well combined. Let the mixture sit for about 10 minutes to thicken.
- Remove the pie dough from the fridge. Roll it out into a 12-inch circle and transfer it to a pie dish, trimming the edges and crimping them.
- Pour the cooled filling into the crust, spreading it evenly. Preheat the oven to 375°F (190°C).
- Cover with a second crust or create a lattice. Brush with an egg wash and bake for 45-50 minutes until golden brown.
- Let cool for at least 1 hour before slicing. Serve warm with ice cream or whipped cream.
Leave a Reply