
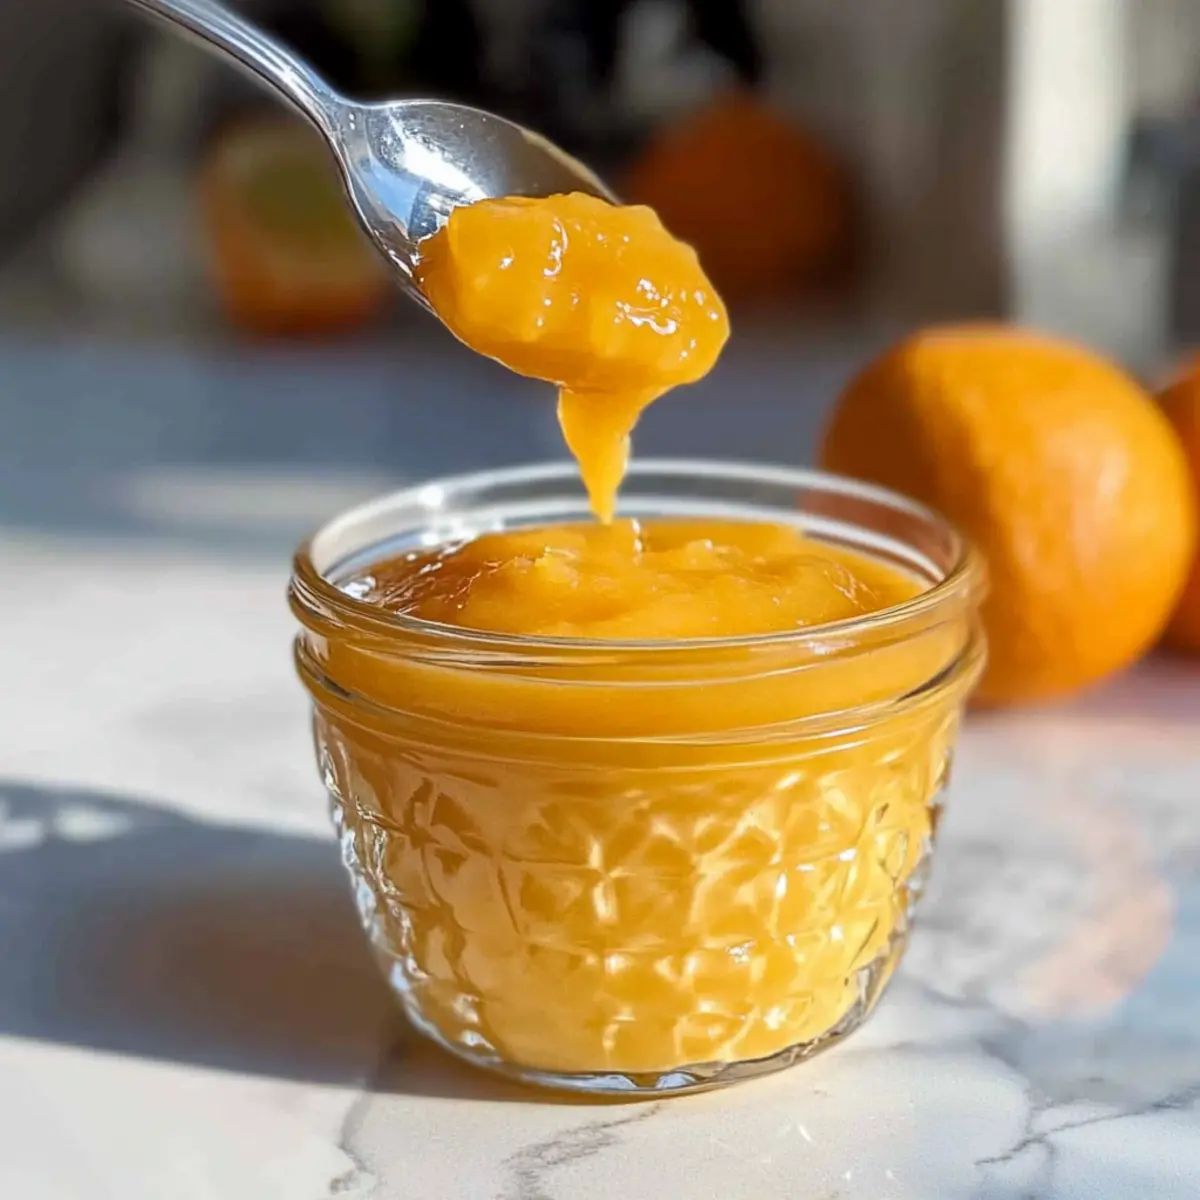
As I stood in the kitchen, the sun streaming through the window, I caught a whiff of that vibrant aroma wafting from my saucepan—sweet oranges simmering into something magical. This Easy & Delicious Orange Curd recipe has become a staple in my home, and once you try it, you’ll understand why! Not only is it incredibly simple to whip up with just a handful of ingredients, but this luscious curd also offers a burst of citrusy goodness that elevates any dessert. Use it as a cake filling, a topping for your favorite ice cream, or even spoon it onto pancakes for a delightful breakfast twist! Whether you’re a seasoned home chef or someone looking to escape the fast-food trap, this recipe is a warm invitation to savor the joys of homemade goodness. Curious about how to transform those sunny ingredients into a silky treat? Let’s dive in!
Why is Orange Curd So Irresistible?
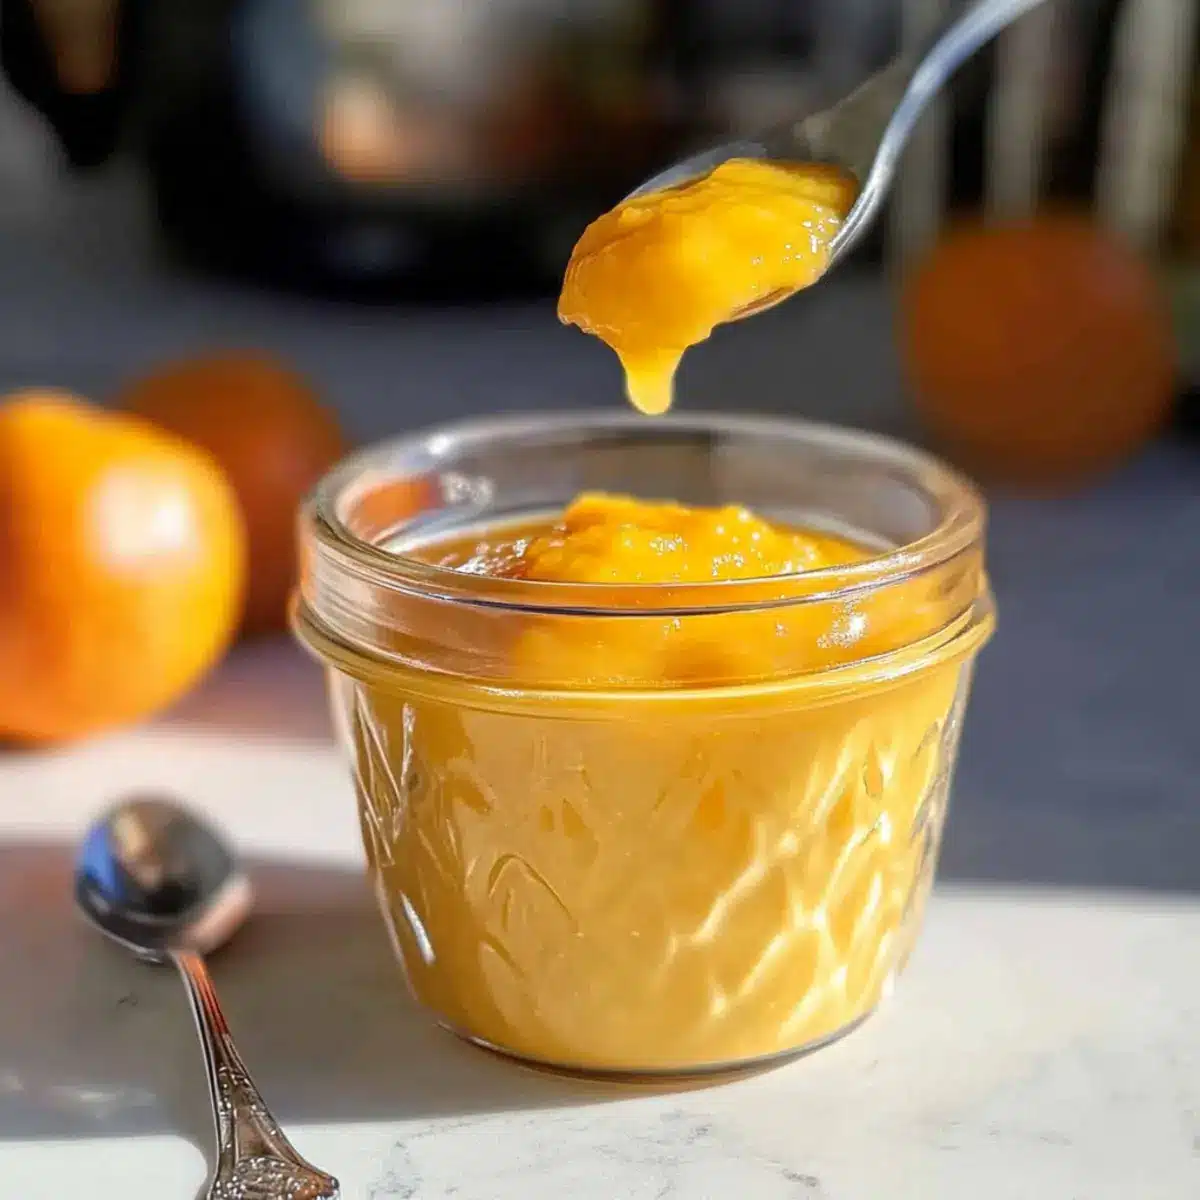
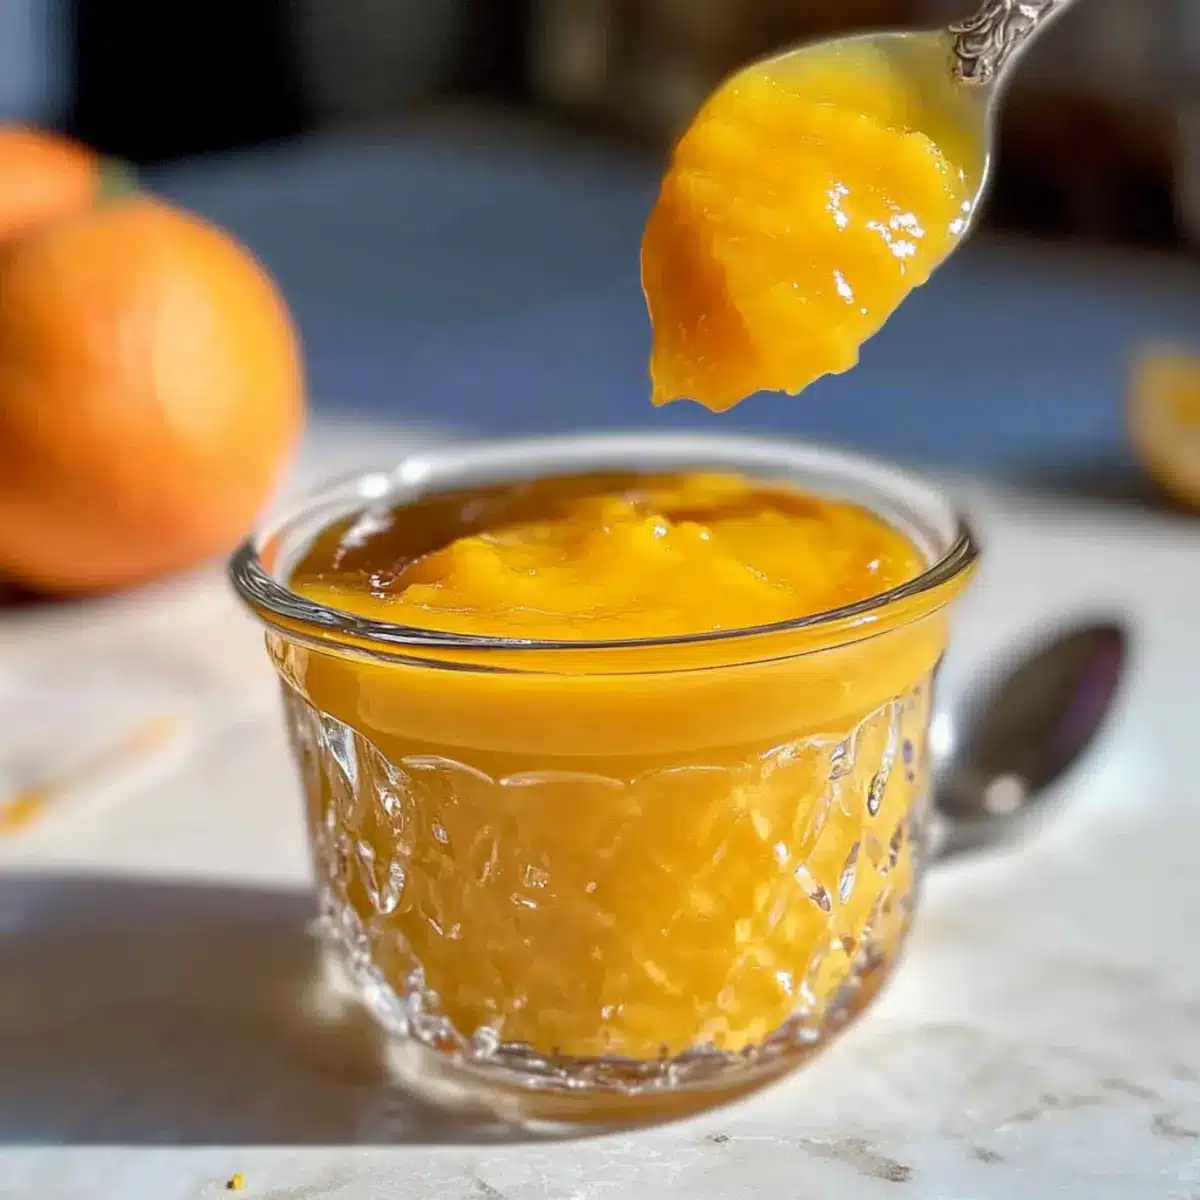
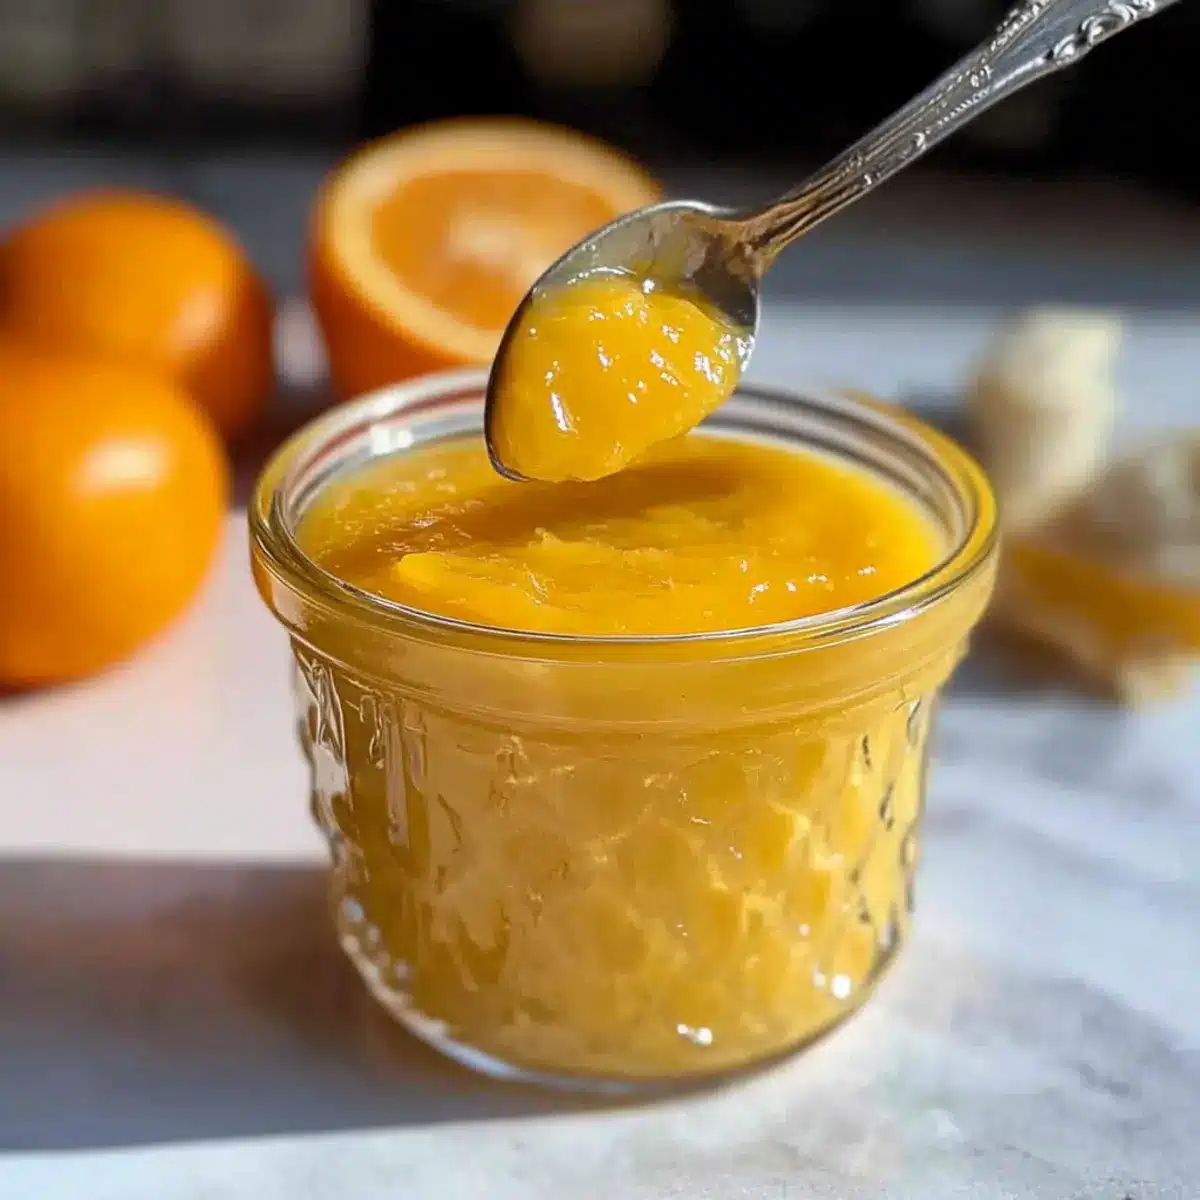
Lusciously creamy and vibrant, this orange curd brings a unique citrus twist to your desserts that sets it apart from the rest. Versatile enough to drizzle on pancakes or fill delicate pastries, it adapts to any sweet craving. Quickly made with simple ingredients, you won’t spend hours in the kitchen! Plus, Brilliant orange flavor and a silky texture make it an instant crowd-pleaser. Feeling adventurous? Try using it as an update to classic recipes like Contessa Cranberry Orange for a refreshing change. Get ready to indulge!
Orange Curd Ingredients
• Whip up this simple yet delicious Orange Curd with ease!
For the Curd
- Granulated Sugar – Adds sweetness and body; can be reduced if a less sweet curd is desired.
- Orange Zest (3 Tbsp, from 2 large oranges) – Provides essential oil for flavor; choose organic oranges for the best results.
- Large Egg Yolks (6 or 3 whole eggs) – Acts as an emulsifier and thickener; if using whole eggs, adjust the cooking time accordingly.
- Freshly Squeezed Orange Juice (1/2 cup) – Contributes acidity and flavor; Cara Cara oranges lend extra sweetness.
- Fine Salt (1/2 tsp) – Enhances overall flavor and balances sweetness.
- Unsalted Butter (1/2 cup, cold, cut into Tbsp pieces) – Adds richness and ensures a smooth texture; cold butter is ideal for better emulsification.
For Variations
- Lemon or Lime Zest and Juice – Replace orange for a different zingy flavor in your curd.
- Reduced Sugar Option – Decrease the sugar amount to customize sweetness to your liking.
Each ingredient plays a crucial role in crafting that divine Orange Curd that can elevate your weekend baking or dessert ideas! Enjoy creating this delightful treat!
Step‑by‑Step Instructions for Orange Curd
Step 1: Combine Sugar and Zest
In a medium ceramic saucepan, add granulated sugar and three tablespoons of freshly grated orange zest. Utilize your fingertips to massage the zest into the sugar, releasing the aromatic oils. You’ll know it’s ready when the sugar starts to turn slightly yellow and fragrant. This step builds a flavorful base for your luscious orange curd.
Step 2: Whisk in Egg Yolks
Next, add six large egg yolks (or three whole eggs, if you prefer) to the sugar mixture. Using a whisk, blend them together until smooth and well combined. Then, pour in half a cup of freshly squeezed orange juice and half a teaspoon of fine salt. This combination will enrich the flavor profile of your orange curd while enhancing its silky texture.
Step 3: Cook the Mixture
Place the saucepan over medium-low heat, stirring the mixture constantly with a spatula or whisk. As you cook, keep an eye on the curd; it should gradually thicken over about 20-25 minutes. Be patient during this step, as the mixture needs to coat the back of a spoon to achieve the desired consistency.
Step 4: Incorporate Butter
Once thickened, remove the saucepan from heat. Immediately add half a cup of cold, cubed unsalted butter to the warm curd. Whisk vigorously until the butter has completely melted and the mixture is silky and smooth. This step is crucial for creating that rich, velvety texture we love in orange curd.
Step 5: Strain the Curd
To ensure your orange curd is impeccably smooth, place a fine mesh sieve over a medium bowl. Pour the mixture through the sieve, using a spatula to press the curd down gently. This will catch any solids or egg bits, resulting in a creamy, luscious orange curd free of lumps.
Step 6: Cool the Curd
Once strained, cover the bowl of orange curd with plastic wrap, pressing it flush against the surface to prevent a skin from forming. Allow the curd to cool at room temperature for about 30 minutes before transferring it to the refrigerator. Chill for at least two hours, where it will thicken further and develop delightful, refreshing flavors.
What to Serve with Easy & Delicious Orange Curd
Elevate your meal experience by pairing this delightful orange curd with complementary flavors and textures that dance on the palate.
-
Fluffy Pancakes: The sweetness of pancakes perfectly contrasts the tangy orange curd, creating a morning treat that feels indulgent yet simple.
-
Light Whipped Cream: A dollop of airy whipped cream enhances the richness of the curd while adding an inviting creaminess that rounds out the flavor profile.
-
Berry Medley: Fresh berries like strawberries and blueberries add bursts of juiciness, making each bite a refreshing experience alongside the citrusy notes.
-
Butter Cookies: The crisp, crumbly texture of butter cookies provides a delightful contrast to the silky smoothness of the orange curd, making for a charming dessert.
-
Vanilla Ice Cream: Creamy vanilla ice cream melts beautifully atop a scoop of orange curd, turning your everyday treat into a luxurious dessert.
Indulge your creativity! The versatility of orange curd opens the door to countless combinations, ensuring that every bite feels fresh. Whether you’re baking or simply assembling a snack, these pairings will help you savor every moment of homemade goodness.
How to Store and Freeze Orange Curd
Fridge: Store the orange curd in an airtight container for up to 2 weeks. To prevent a skin from forming, press plastic wrap directly onto the surface.
Freezer: For longer storage, freeze the orange curd in an airtight container or freezer-safe bag for up to 1 month. Portion it out for easy use later!
Thawing: When ready to use, transfer the container to the refrigerator and let it thaw overnight. Gently whisk to restore its silky texture before serving.
Reheating: If you prefer a warm treat, gently reheating on low heat while stirring can help, but be careful not to scramble the eggs!
Orange Curd Variations & Substitutions
Feel free to mix things up and make this orange curd your own with these delightful variations!
- Citrus Swap: Experiment with lemon or lime zest and juice for a zesty twist. The tangy flavor adds brightness to your desserts.
- Sugar Reduction: Cut back on the sugar amount for a less sweet curd. Perfect for those who enjoy a more tart citrus balance!
- Honey Sweetened: Replace granulated sugar with honey for a natural sweetness and an extra layer of flavor. Just reduce the quantity slightly, as honey is sweeter!
- Flavor Infusion: Add a splash of vanilla extract or a pinch of cinnamon for an aromatic touch. These flavors meld beautifully with the brightness of orange.
- Coconut Cream: Incorporate coconut cream instead of regular butter for a dairy-free version. It lends a luscious, tropical touch to your curd.
- Herb Infusion: Toss in a few fresh herbs like mint or basil during cooking for a surprising twist. Strain them out later for a fragrant finish!
- Spicy Kick: Add a pinch of cayenne pepper or chili flakes for a subtle heat. This unexpected flavor combo can elevate savory dishes, too!
- Orange Bliss: Combine with your favorite fruits, like raspberries or strawberries, to top off desserts beautifully. An echo of berries alongside orange is simply divine!
Feeling inspired? Try out these variations to customize your orange curd and bring even more joy to your baking adventures! And if you’re looking for more citrus-inspired recipes, check out my delicious Orange Buttermilk Gelatin. Happy cooking!
Make Ahead Options
These delightful orange curds are perfect for meal prep and can truly save time during busy weeks! You can prepare the entire orange curd mixture up to 3 days in advance; simply follow the cooking instructions and store it in an airtight container once cooled. To maintain its velvety texture, cover the surface with plastic wrap to prevent a skin from forming. When you’re ready to serve, give it a gentle stir and taste for flavor adjustments. This way, you’ll have luscious homemade orange curd ready to elevate your desserts, all with minimal effort—just as delicious as if made fresh!
Expert Tips for Orange Curd
-
Consistent Stirring: Keep stirring constantly while cooking to prevent your eggs from scrambling. This guarantees a perfectly smooth orange curd.
-
Patience is Key: The mixture may take time to thicken. Don’t rush; it usually happens gradually within 20-25 minutes.
-
Choice of Cookware: Opt for ceramic pans instead of metal to avoid any metallic taste and to achieve even heat distribution for your orange curd.
-
Straining for Smoothness: Always strain the curd to remove any solids after cooking; this step is essential for a silky texture that you’ll love.
-
Storage Made Simple: If you plan to make the curd in advance, remember it can be stored in the fridge for up to 2 weeks or frozen for up to 1 month!
Orange Curd Recipe FAQs
How do I select the best oranges for making Orange Curd?
Absolutely! Choose organic oranges when possible to avoid pesticides, and look for firm, vibrant oranges without dark spots or blemishes. These will yield the freshest juice and zest, giving your curd a bright and lively flavor. The ideal choices would be Cara Cara or Valencia oranges, as they offer a delightful sweetness that enhances your curd.
What is the best way to store Orange Curd?
Very simple! After making your curd, transfer it to an airtight container and store it in the refrigerator for up to 2 weeks. If you’re concerned about a skin forming, press plastic wrap directly onto the surface of the curd before sealing the container. This will help lock in freshness while keeping textures smooth and delicious.
Can I freeze Orange Curd, and how should I do it?
Absolutely, freezing Orange Curd is a great option! To do so, cool it completely at room temperature and then transfer it to an airtight freezer-safe container or a resealable freezer bag. It can last in the freezer for up to 1 month. When ready to use, thaw the curd in the refrigerator overnight. If it appears a bit separated, just give it a gentle whisk to restore that lovely, silky consistency.
What if my Orange Curd doesn’t thicken properly?
Very common! If your curd isn’t thickening as expected, it may need a bit more time over the heat. Make sure you’re stirring constantly and keeping the temperature on medium-low. If it still seems too runny, try adding a bit more egg yolk mixed with a teaspoon of water to help thicken it further. Just continue to cook until it coats the back of a spoon nicely.
Can I use whole eggs instead of just yolks for the Orange Curd?
Absolutely! If you prefer using whole eggs, you can substitute 3 whole eggs for the 6 yolks. Just be aware that the cooking time may slightly adjust, so keep a closer eye on the mixture as it thickens. Whole eggs will create a slightly different texture but still result in a delicious curd.
Is Orange Curd safe for my pets?
Not really! While orange curd is delightful for human consumption, it is best to keep it away from your pets. The sugar and acidity from the oranges can upset their stomachs. Always stick to pet-safe treats and ensure your furry friends enjoy their snacks safely!
Lusciously Creamy Orange Curd for Your Sweetest Treats
Ingredients
Equipment
Method
- Combine granulated sugar and orange zest in a medium saucepan, massaging the zest into the sugar.
- Whisk in egg yolks, blending until smooth, and then add orange juice and salt.
- Cook over medium-low heat, stirring constantly until the mixture thickens, about 20-25 minutes.
- Remove from heat and whisk in cold cubed butter until melted and creamy.
- Strain the curd through a fine mesh sieve into a medium bowl to ensure smoothness.
- Cover with plastic wrap directly on the surface and cool at room temperature for 30 minutes.
Leave a Reply