
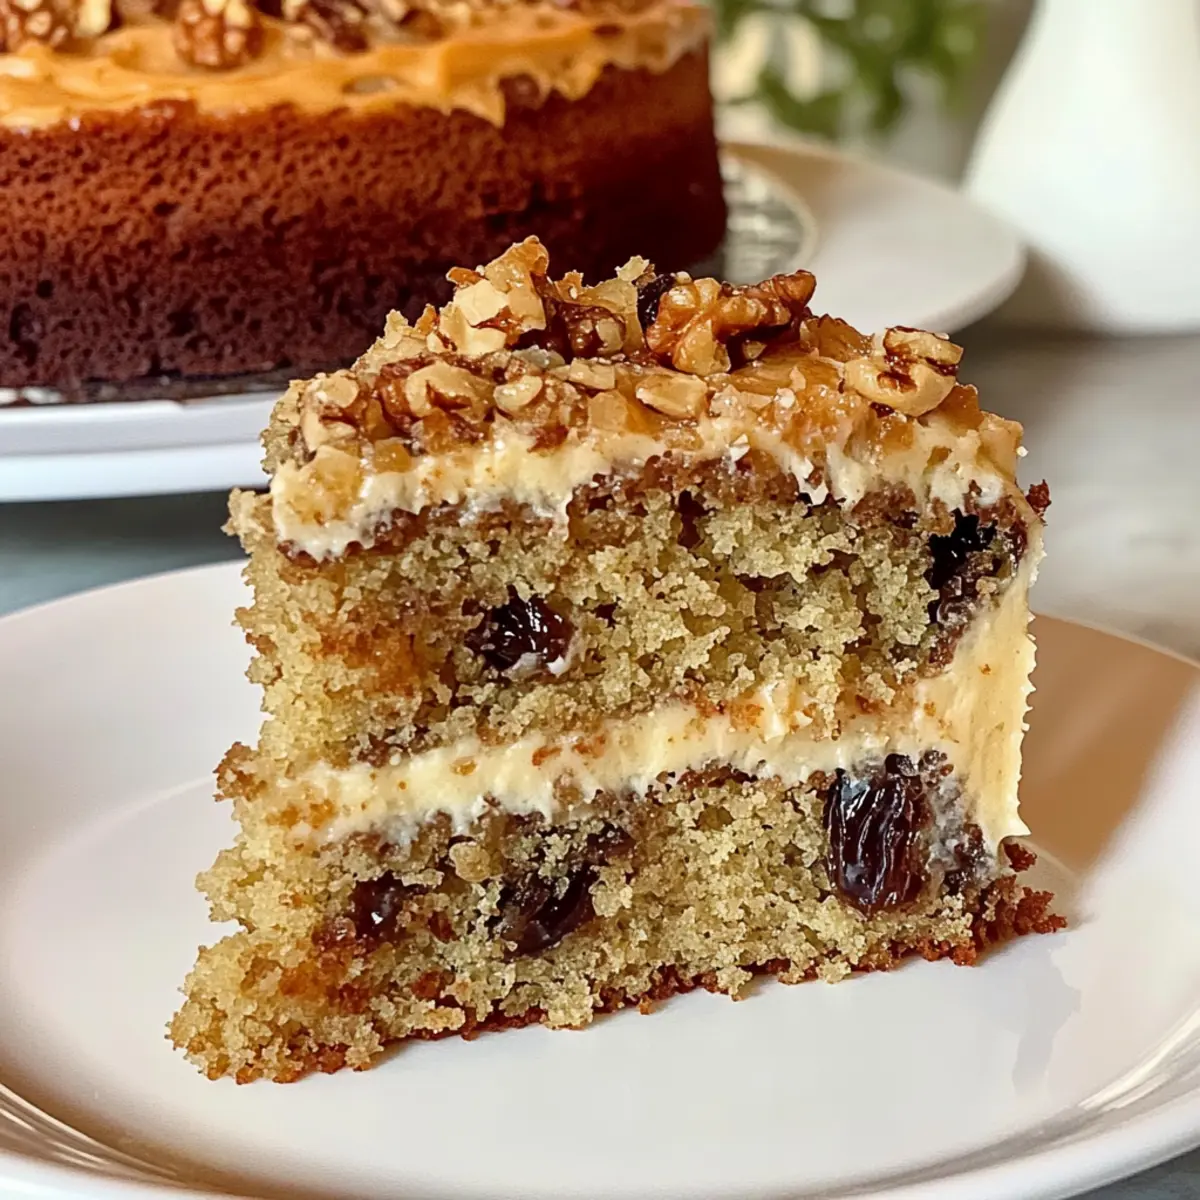
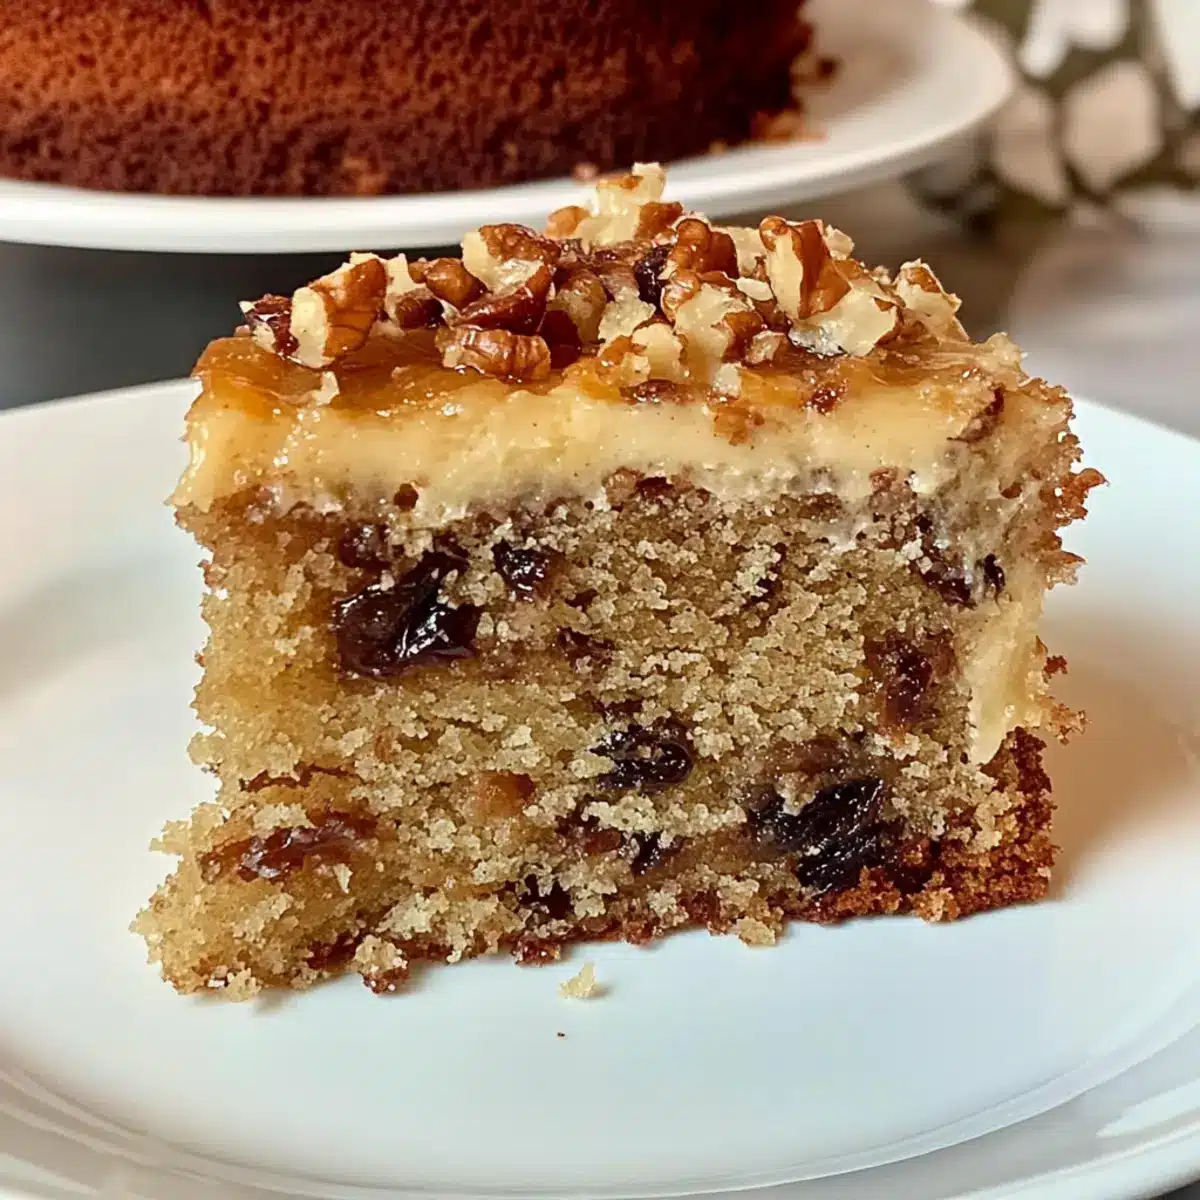
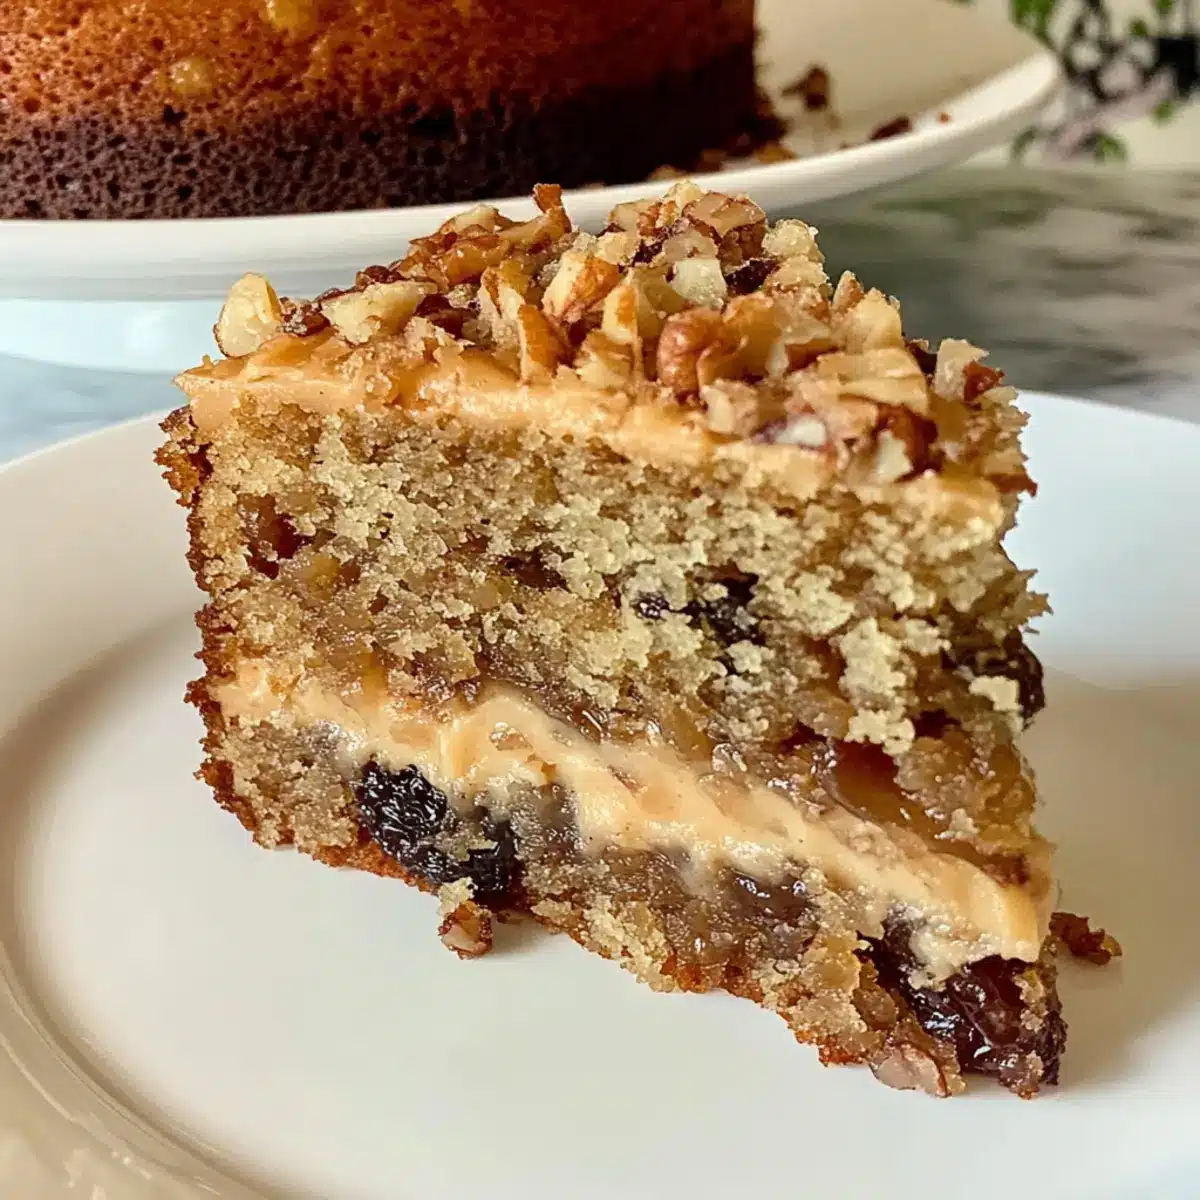
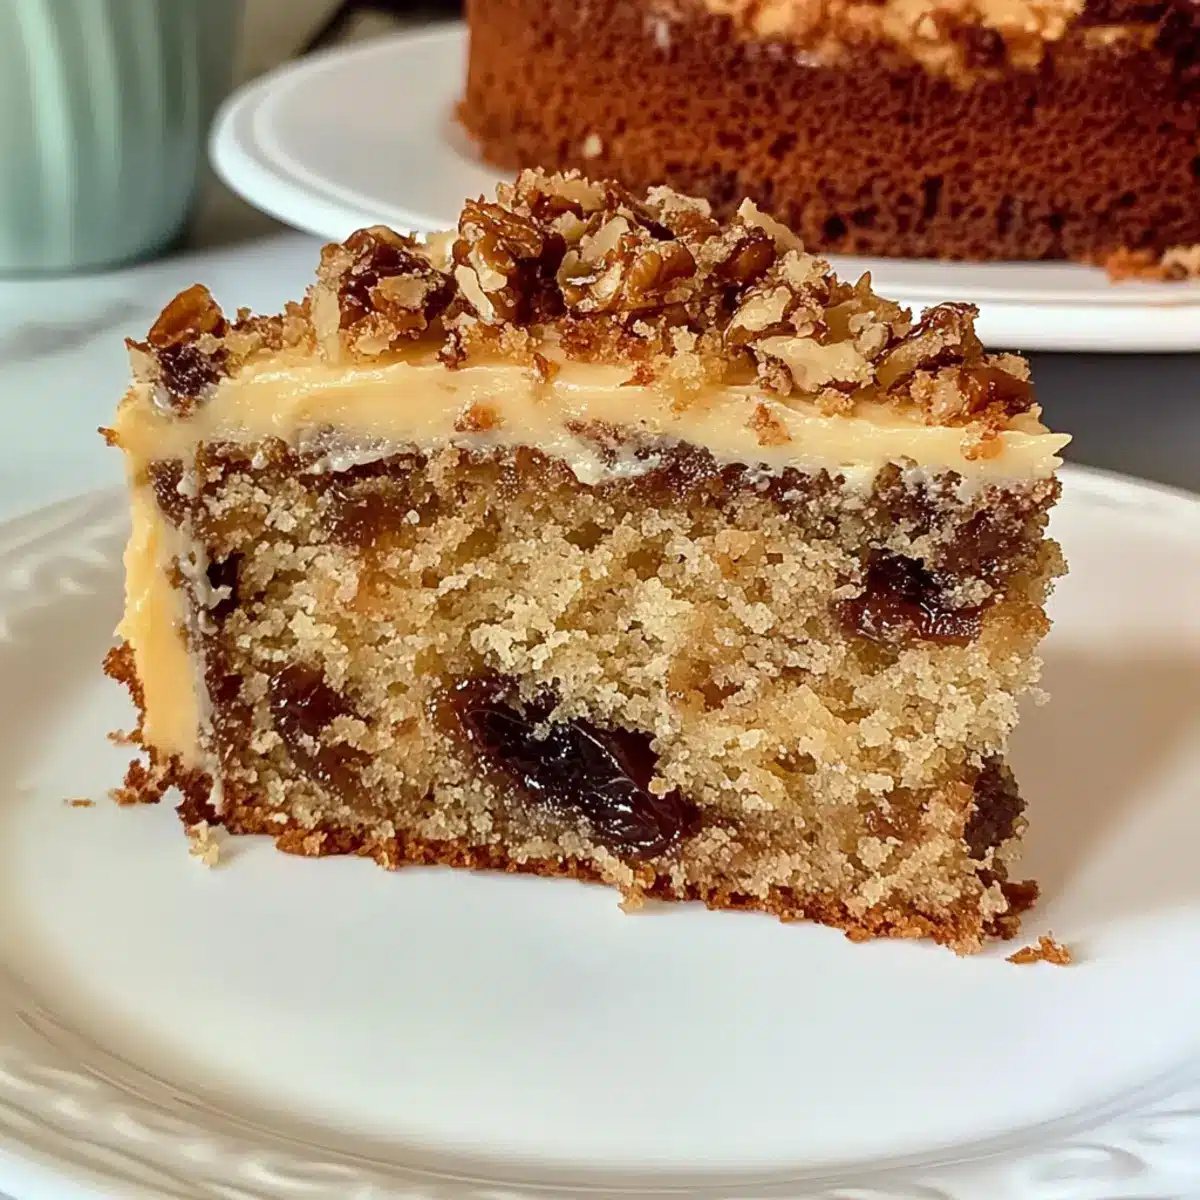
As I rummaged through my family’s cherished recipes, I stumbled upon a hidden gem that instantly transported me back in time—Queen Elizabeth Cake. This delightful Canadian dessert, with its moist texture and rich flavors, beautifully showcases the irresistible combination of dates, butter, and walnuts. What I love most about this cake is its incredible ease of preparation, making it a wonderful option for celebrating special occasions or simply indulging on a cozy afternoon. Not only does it offer a unique twist that sets it apart from ordinary cakes, but it also brings a sense of nostalgia with every slice. Curious to learn how to bring this historical treat into your kitchen? Let’s dive into the recipe together!
Why is Queen Elizabeth Cake so special?
Unique flavors: This cake blends the natural sweetness of dates with the richness of butter and walnuts, creating a taste that’s both nostalgic and unforgettable.
Easy preparation: Say goodbye to complicated recipes! The steps are simple, making it accessible for all skill levels, like those who enjoy our Butter Pecan Cake.
Versatile treat: Perfect for afternoon tea or festive gatherings, this cake pairs beautifully with coffee or even as a dessert with a scoop of ice cream.
Moist texture: Each slice is soft and satisfying, thanks to the date’s moisture, giving it a slightly chewy bite that’s simply delightful.
Family favorite: This recipe has been cherished through generations, making it a wonderful addition to your collection, alongside other delectable options like Cherry Pistachio Cheesecake.
Get ready to create mouthwatering memories with the Queen Elizabeth Cake!
Queen Elizabeth Cake Ingredients
Experience the delightful balance of flavors in this unique Queen Elizabeth Cake!
For the Cake
- Dates – Provides natural sweetness and moisture; use dried or fresh dates, chopped.
- Unsalted Butter – Adds richness and a tender crumb; substitute with coconut oil for a dairy-free option.
- White Sugar – Sweetens the cake; can swap for brown sugar for a deeper flavor.
- Eggs – Binds ingredients together and contributes to structure; consider flaxseed meal as a vegan alternative.
- Olive Oil – Enhances flavor and keeps the cake moist; can substitute with vegetable oil or melted coconut oil.
- All-Purpose Flour – Provides structure; use whole wheat flour for added fiber and nutrients.
- Baking Powder – Essential for leavening, ensuring your Queen Elizabeth Cake rises perfectly; check freshness.
- Baking Soda – Works alongside baking powder for leavening and adds browning; always verify its potency.
- Salt – Balances sweetness; opt for sea salt for a richer taste.
- Vanilla Extract – Adds essential flavor depth; choose pure vanilla for the best aroma.
- Walnuts – Adds crunch and nutty flavor; can substitute with pecans or omit for a nut-free cake.
For the Frosting
- Light Brown Sugar – Provides moisture and a caramel flavor to the frosting; can use all white sugar for a lighter option.
- Milk – Achieves desired frosting consistency; any milk type (dairy or non-dairy) works well.
- Shredded Coconut – Adds texture and flavor to the frosting; can be omitted or replaced with nuts for variety.
Step‑by‑Step Instructions for Queen Elizabeth Cake
Step 1: Preheat and Prepare
Begin by preheating your oven to 350°F (175°C) while greasing a 9×13-inch baking pan. This ensures an even bake for your Queen Elizabeth Cake. Use butter or a non-stick spray, making sure to cover all corners for easy release later. Set the prepared pan aside—you’re one step closer to deliciousness!
Step 2: Soak the Dates
In a medium bowl, pour boiling water over the chopped dates and let them soak for about 10 minutes. This will soften the dates and enhance their sweetness, making them easier to incorporate into your cake batter. After 10 minutes, drain the dates, reserving the soaking water, and set aside to cool slightly.
Step 3: Cream the Butter and Sugar
In a large mixing bowl, cream together ½ cup of unsalted butter and 1 cup of white sugar using an electric mixer on medium speed until light and fluffy, about 3-4 minutes. This creaming process adds air to your Queen Elizabeth Cake batter, ensuring a tender cake. Scrape down the sides of the bowl as needed for even mixing.
Step 4: Add Eggs and Dates
Next, beat in 2 large eggs one at a time, mixing well after each addition for about 1 minute. Gently fold in the softened dates along with their soaking water into the mixture. This step will add moisture and a rich, sweet flavor to your cake, transforming the batter into a delightful blend.
Step 5: Incorporate Dry Ingredients
Sift together 1 ½ cups of all-purpose flour, 1 teaspoon of baking powder, ½ teaspoon of baking soda, and ½ teaspoon of salt in a separate bowl. Gradually add these dry ingredients to the wet mixture, mixing on low speed until just combined. Be careful not to overmix—this is key to keeping your Queen Elizabeth Cake soft and airy.
Step 6: Add Remaining Flavors
Stir in ½ cup of olive oil, 1 teaspoon of vanilla extract, and 1 cup of chopped walnuts until the batter is smooth. Ensure all ingredients are well blended, creating a delightful texture in your Queen Elizabeth Cake. The walnuts add a perfect crunch, enhancing both flavor and nutrition.
Step 7: Bake the Cake
Pour the batter into your prepared pan, spreading it evenly. Place it in the preheated oven and bake for 30-35 minutes or until a toothpick inserted in the center comes out clean. The cake should have a golden-brown color and a slight spring when lightly touched—an inviting sight!
Step 8: Prepare the Frosting
While the cake bakes, combine ½ cup of unsalted butter, ½ cup of light brown sugar, ¼ cup of milk, and ½ cup of shredded coconut in a saucepan. Bring the mixture to a boil over medium heat and let it bubble for 3 minutes while stirring constantly to ensure a smooth frosting.
Step 9: Frost and Finish
Once the cake is baked, remove it from the oven and spread the warm frosting evenly over the top. Raise the oven temperature to 375°F (190°C) and return the cake to the oven for an additional 10 minutes. This step will help set the frosting, giving it a beautiful, glossy finish.
Step 10: Cool and Serve
After baking, allow the Queen Elizabeth Cake to cool in the pan for about 10 minutes before transferring it to a wire rack to cool completely. Once cooled, slice it into squares and serve. This cake is perfect for sharing at gatherings or enjoying with a cup of coffee—simple yet truly delightful!
Queen Elizabeth Cake Variations & Substitutions
Feel free to get creative with this delightful Queen Elizabeth Cake—the possibilities are as rich as its flavors!
- Dairy-Free: Substitute unsalted butter with coconut oil and replace milk with almond or oat milk for a delicious vegan twist.
- Sweetness Level: Opt for brown sugar in place of white sugar for a deeper caramel flavor, enhancing the cake’s rich taste.
- Nut-Free: Leave out walnuts completely or swap them for pumpkin seeds to keep that delightful crunch without nuts.
- Flavor Boost: Add a teaspoon of cinnamon or nutmeg for warmth; this will make your kitchen smell heavenly!
- Layered Delight: Double the recipe and bake in two pans. Layer with frosting in between for a show-stopping dessert worthy of special occasions.
- Chocolate Lovers: Fold in chocolate chips into the batter for a chocolatey surprise that perfectly complements the dates.
- Fruit Fusion: Try adding dried cranberries or apricots alongside dates for a tropical twist.
- Frosting Variations: Instead of coconut, use cream cheese frosting for a slightly tangy finish that pairs nicely with the cake’s sweetness.
With these variations, you’re sure to create your own memorable version of this beloved cake. While you’re at it, don’t forget to explore other scrumptious treats like the Autumn Pumpkin Cake and Cheesecake Fudge Bake that also spark joy at any gathering!
Expert Tips for Queen Elizabeth Cake
-
Fresh Ingredients: Always check the freshness of your baking powder and baking soda to ensure a perfect rise for your Queen Elizabeth Cake.
-
Cool Dates: Allow the boiled dates to cool for a moment before mixing with eggs; this prevents cooking the eggs and ensures a silky batter.
-
Pan Choice: Use a glass or metal pan; avoid dark pans which may bake your cake unevenly and require adjusted baking times.
-
Room Temperature: For the best texture, bring all ingredients to room temperature before mixing; this helps create a smooth batter and tender crumb.
-
Don’t Overmix: Mix your batter just until combined; overmixing can lead to a dense cake instead of light, fluffy slices.
What to Serve with Queen Elizabeth Cake
Pairing this delightful cake with complementary flavors and textures will elevate your dessert experience to new heights!
-
Fresh Berries: The tartness of fresh berries like raspberries or strawberries cuts through the cake’s richness beautifully.
-
Coffee or Tea: A steaming cup of coffee or tea enhances the cozy feeling, making each bite feel indulgent and comforting.
-
Vanilla Ice Cream: The creamy vanilla ice cream melts into the warm cake, creating a deliciously sweet contrast that will leave you wanting more.
-
Whipped Cream: Light and airy, a dollop of whipped cream brings a fluffiness that balances the cake’s density perfectly.
-
Coconut Flakes: Sprinkle extra toasted coconut on top for added texture and a tropical hint that pairs wonderfully with the frosting.
-
Chocolate Sauce: Drizzling a bit of warm chocolate sauce adds an unexpected but delightful touch of decadence to each slice.
-
Nutty Granola: For a crunchy element, sprinkle some nutty granola on top to enhance the connection with walnuts in the cake.
-
Caramel Drizzle: A gentle drizzle of caramel adds a sweet, sticky finish, emphasizing the cake’s natural sweetness.
Each pairing option not only complements the Queen Elizabeth Cake but creates a warm and inviting atmosphere perfect for sharing with loved ones.
Make Ahead Options
These Queen Elizabeth Cake strategies make your meal prep a breeze! You can prepare the cake batter up to 24 hours in advance by mixing all the ingredients except the baking powder and soda—this keeps it fresh and prevents overmixing. Store the batter in an airtight container in the refrigerator. You can also soak the dates and refrigerate them for up to 3 days—just make sure to allow them to come to room temperature before mixing to ensure even incorporation. When you’re ready to bake, add the baking powder and soda, give it a quick stir, and proceed as normal. With these make-ahead options, you’ll enjoy a deliciously moist Queen Elizabeth Cake with minimal effort on busy days!
Storage Tips for Queen Elizabeth Cake
-
Room Temperature: Keep your Queen Elizabeth Cake in an airtight container at room temperature for up to 5 days to maintain its moisture and flavor.
-
Refrigerator: If you want to extend freshness, store in the fridge for up to 10 days. Ensure it is well wrapped to prevent it from drying out.
-
Freezer: For longer storage, freeze the cake in slices or as a whole, wrapped tightly in plastic wrap and then aluminum foil. It can last for up to 3 months in the freezer.
-
Reheating: To enjoy warm slices, reheat in the microwave for 10-15 seconds, or place in a preheated oven at 300°F (150°C) for 10-15 minutes until heated through.
Queen Elizabeth Cake Recipe FAQs
What type of dates should I use for Queen Elizabeth Cake?
Absolutely! For the best results, I recommend using Medjool dates as they are soft, sweet, and easy to chop. If you can only find dried dates, soak them in boiling water for about 10-15 minutes to soften before using. This ensures they incorporate smoothly into the batter and enhance the cake’s moisture.
How should I store leftover Queen Elizabeth Cake?
To maintain its delightful moisture and flavor, store your Queen Elizabeth Cake in an airtight container at room temperature for up to 5 days. If you want the cake to last even longer, refrigerate it, which will keep it fresh for up to 10 days. Just be sure to wrap it well to prevent it from drying out—no one wants a sad, dry slice!
Can I freeze Queen Elizabeth Cake, and if so, how?
Absolutely! Freezing is a great way to save your delicious cake for later. First, allow the cake to cool completely, then slice it or keep it whole. Wrap each slice or the entire cake tightly in plastic wrap, followed by aluminum foil for extra protection. It can be stored in the freezer for up to 3 months. When you’re ready to enjoy it, simply thaw it in the refrigerator or at room temperature, and reheat if desired!
Why did my Queen Elizabeth Cake turn out dense?
Sometimes, density can happen due to overmixing the batter or using cold ingredients straight from the fridge. Make sure to mix until just combined and ensure your ingredients are at room temperature for the best results. Also, checking the freshness of your baking powder and baking soda is crucial, as old leavening agents may not work effectively, leading to a denser cake.
Is Queen Elizabeth Cake safe for those with nut allergies?
If nut allergies are a concern, you can easily modify this recipe! Simply omit the walnuts, or replace them with seeds like sunflower seeds or pumpkin seeds for a nut-free crunch. For an even sweeter version, consider adding chocolate chips—they will give a delightful flavor while keeping the cake nut-free!
How can I enhance the flavor of my Queen Elizabeth Cake?
Very! To elevate the dish, consider adding spices such as cinnamon or nutmeg into your batter for a cozy, warm flavor profile. You can also mix in some citrus zest, like orange or lemon, to brighten the cake’s sweetness. Additionally, feel free to experiment with different extracts, like almond or maple, to create your signature twist!
Delicious Queen Elizabeth Cake: A Family Favorite Recipe
Ingredients
Equipment
Method
- Preheat your oven to 350°F (175°C) and grease a 9x13-inch baking pan.
- In a medium bowl, soak the chopped dates in boiling water for about 10 minutes. Drain and set aside.
- Cream together the unsalted butter and white sugar until light and fluffy, about 3-4 minutes.
- Beat in the eggs one at a time and gently fold in the softened dates with soaking water.
- Sift together the flour, baking powder, baking soda, and salt. Gradually add to the wet mixture, mixing on low speed.
- Stir in the olive oil, vanilla extract, and walnuts until the batter is smooth.
- Pour the batter into the prepared pan and bake for 30-35 minutes or until a toothpick comes out clean.
- To prepare the frosting, combine unsalted butter, light brown sugar, milk, and shredded coconut in a saucepan. Bring to a boil and bubble for 3 minutes while stirring.
- Spread the warm frosting over the baked cake and return to the oven at 375°F (190°C) for 10 minutes.
- Cool in the pan for 10 minutes before transferring to a wire rack to cool completely and serve.
Leave a Reply