
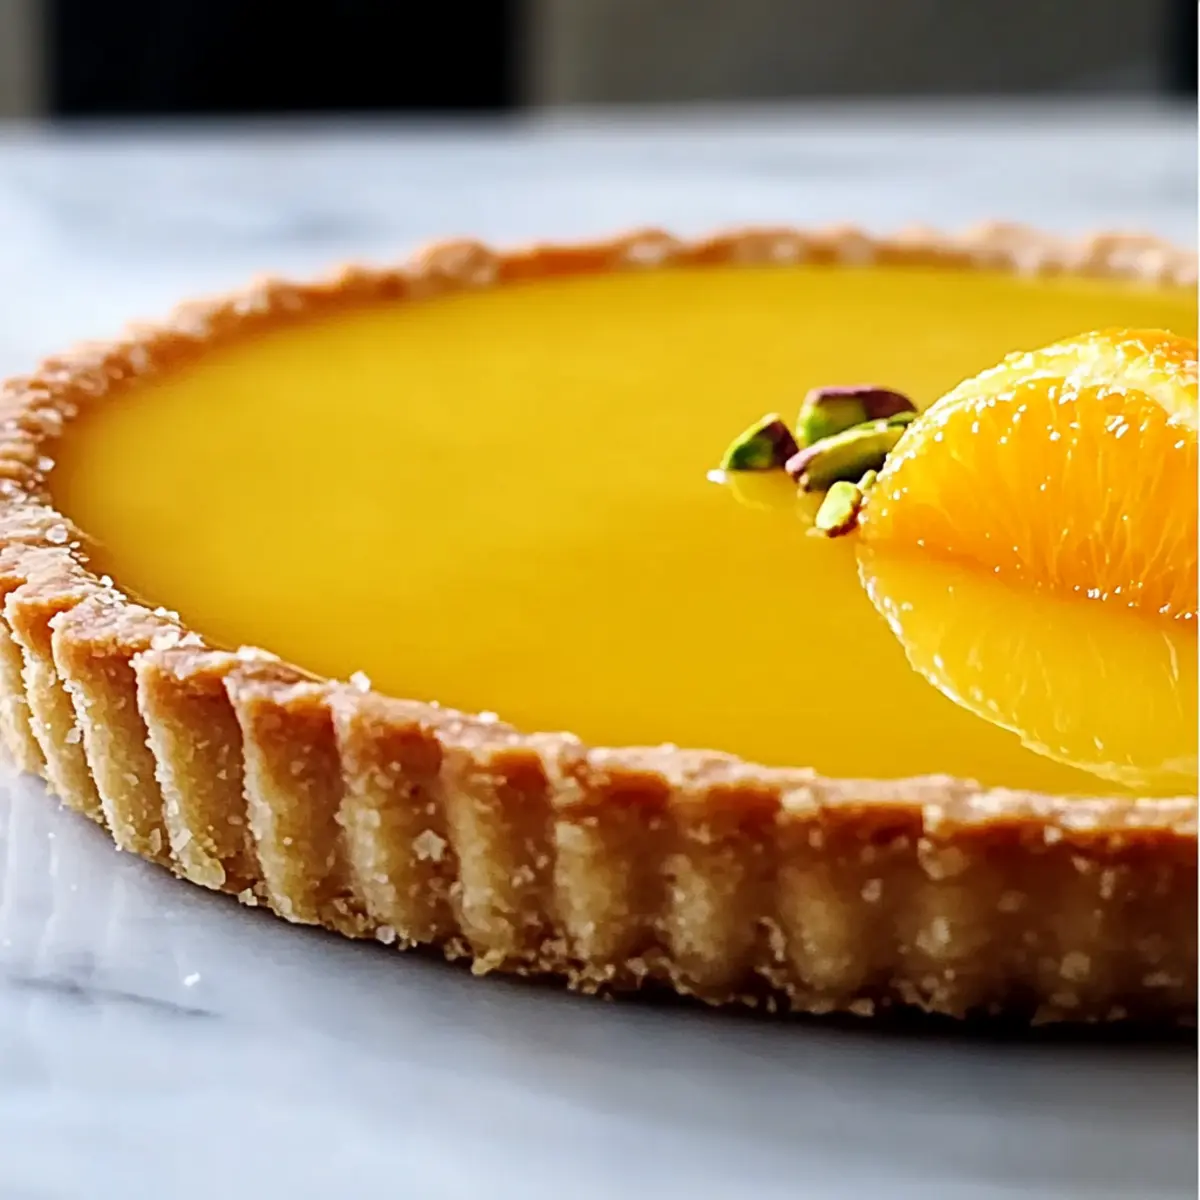
As I stood in my kitchen on a sunny afternoon, the scent of fresh oranges began to fill the air, instantly transporting me to a quaint French patisserie. That’s when I decided it was time to create something special—a Classic Orange Tart that not only captures the essence of citrus delight but also delights the senses with its silky filling and flaky crust. This elegant dessert is not just for professional bakers; with straightforward techniques and easily accessible ingredients, it comes together surprisingly fast, making it perfect for your next gathering. Plus, this tart can be made ahead, giving you more time to enjoy the company of your guests. So, why not elevate your dessert game and impress everyone with this cheery, sun-kissed treat? Ready to learn how?
Why is Orange Tart a Must-Try?
Irresistible Citrus Delight: The Classic Orange Tart delivers a burst of fresh, zesty flavor that instantly brightens your day.
Effortlessly Elegant: This dessert impresses guests without requiring advanced baking skills—perfect for both novice and experienced home cooks!
Make-Ahead Magic: With minimal prep effort, you can assemble the tart in advance, freeing you to focus on hosting.
Versatile Variations: Whether you swap Navel oranges for blood oranges or layer in fresh berries, there are endless ways to tailor it to your taste.
For other delightful citrus desserts, consider trying Contessa Cranberry Orange or indulge in the luscious flavors of an Orange Buttermilk Gelatin.
Classic Orange Tart Ingredients
For the Crust
- Flour – Provides structure for the tart crust; substitute with gluten-free flour for a gluten-free option.
- Powdered Sugar – Adds sweetness and creates a tender crust; avoid granulated sugar for better texture.
- Almond Flour – Enhances flavor and texture of the crust; may be replaced with additional all-purpose flour if unavailable.
- Salt – Balances sweetness and enhances flavors in the crust; no substitutes needed.
- Orange Zest – Adds fragrant citrus notes to the crust; use zest from the same oranges for the filling for best flavor integration.
- Chilled Butter – Creates a rich, flaky texture; ensure it’s cold and avoid margarine.
- Egg Yolk – Provides moisture and richness to the crust; can replace with flaxseed meal for a vegan option.
- Cold Water – Binds the crust ingredients together; adjust as needed to hold the dough without making it wet.
For the Orange Curd Filling
- Fresh Orange Juice – Key flavor component for the curd filling; use fresh-squeezed for best results.
- Superfine Sugar – Sweetens the curd and dissolves easily; regular granulated sugar can be used but blend it for smoothness.
- Cornstarch – Thickens the orange curd filling; replace with arrowroot powder for a gluten-free option.
- Gelatin – Helps set the curd and gives it a creamy texture; substitute with agar-agar for a vegetarian option.
For the Whipped Cream
- Heavy Cream – Adds richness for whipped topping; can be substituted with coconut cream for a dairy-free version.
- Optional Bitters – Enhances flavor complexity in whipped cream; omit if desired.
For Garnish
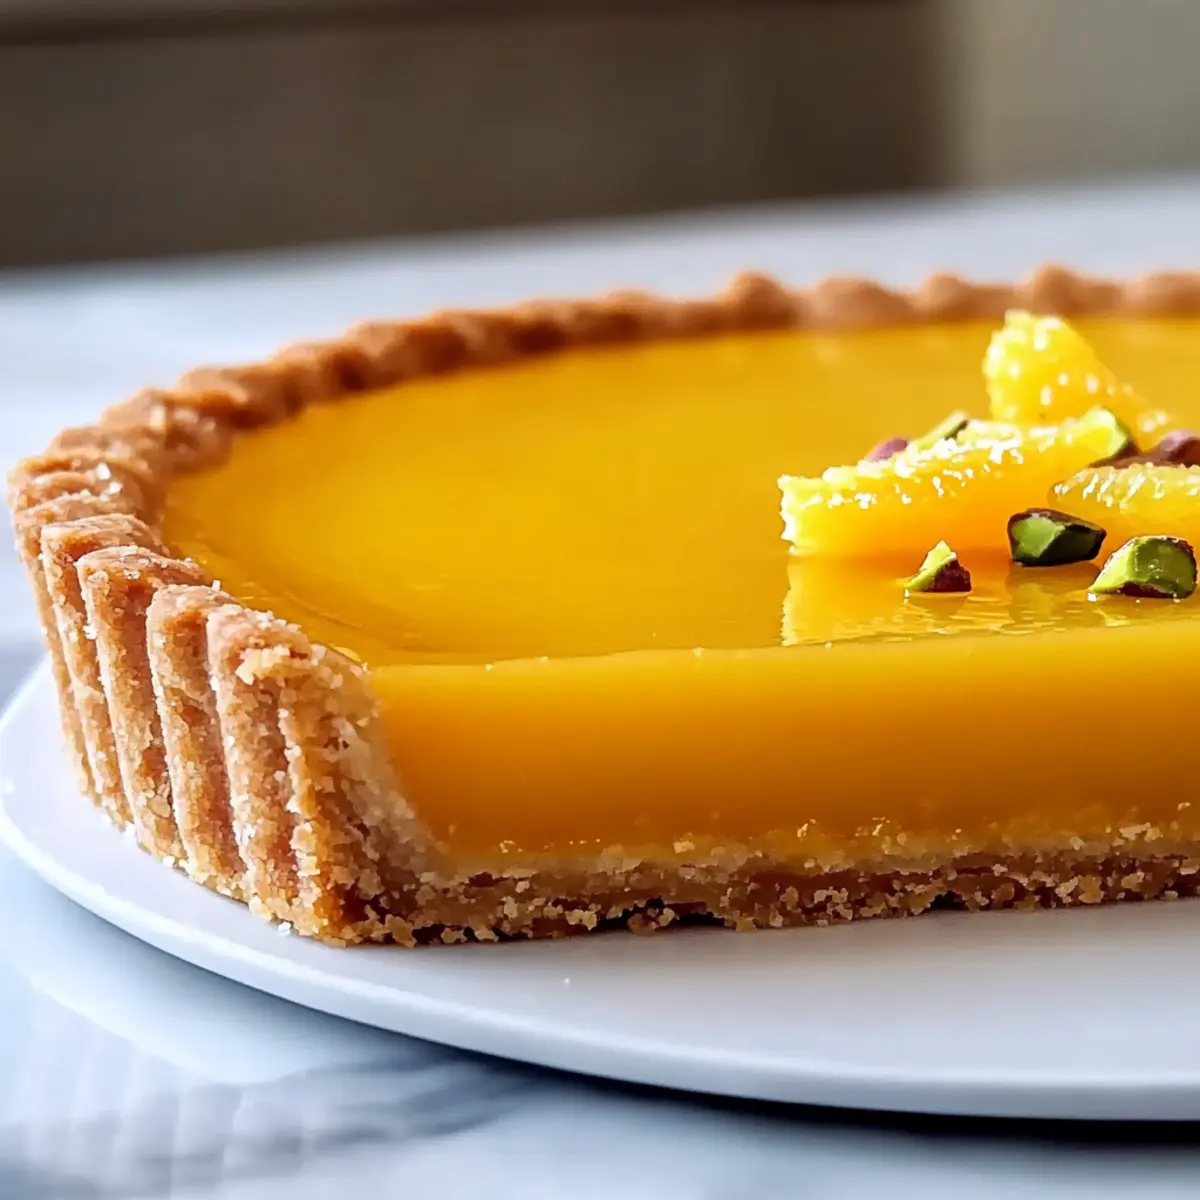
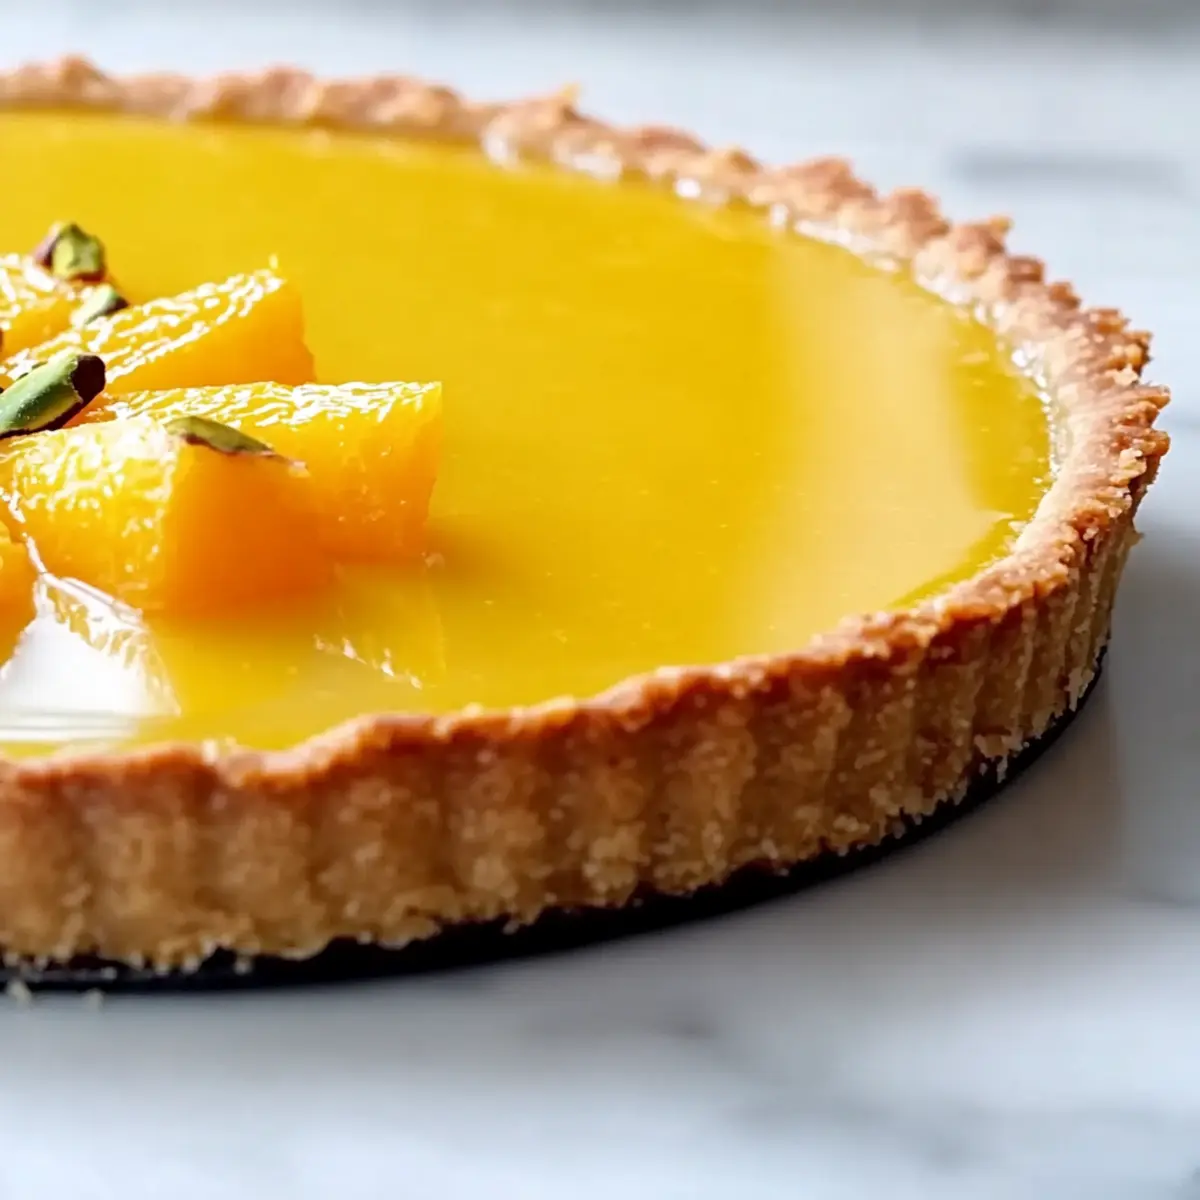
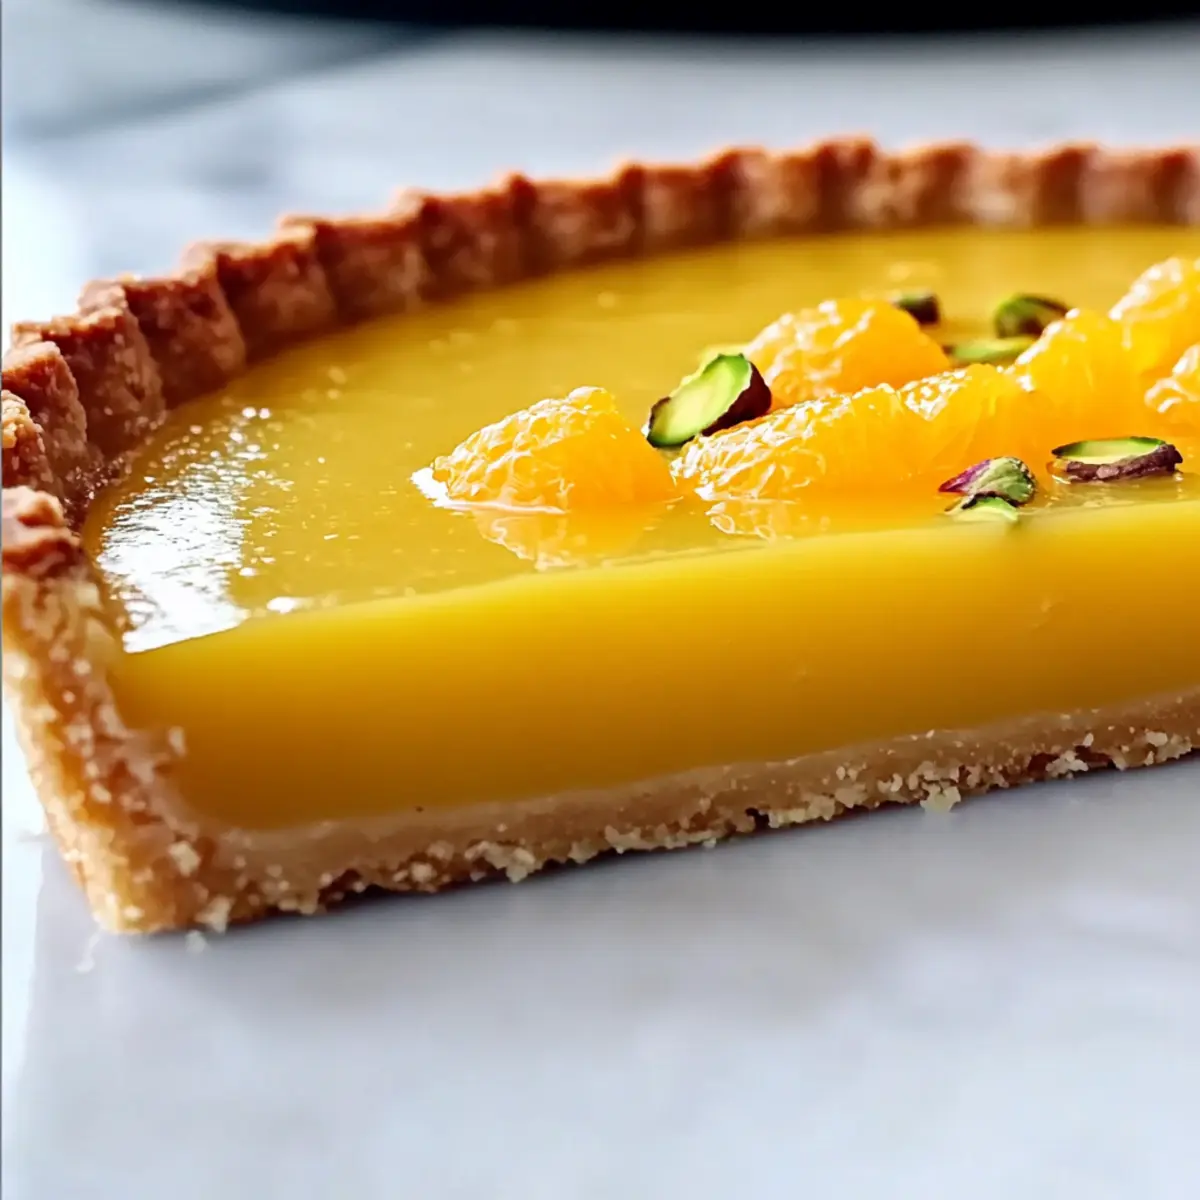
- Orange Segments – Add a burst of freshness and visual appeal to the tart.
- Crushed Pistachios – Provide color and texture contrast; sprinkle them on just before serving.
- Fresh Mint Leaves – Offer a hint of freshness and enhance presentation (optional).
This Classic Orange Tart is an elegant dessert that requires no complicated techniques and can easily be made ahead! Enjoy crafting this irresistible treat!
Step‑by‑Step Instructions for Classic Orange Tart
Step 1: Prepare the Crust
In a food processor, combine flour, powdered sugar, almond flour, salt, and orange zest. Pulse until mixed. Then, add chilled butter in cubes and pulse until the mixture resembles coarse breadcrumbs, about 15-20 seconds. Mix in the egg yolk and cold water gradually until a dough forms. Wrap the dough in plastic wrap and refrigerate for at least 30 minutes to allow it to firm up.
Step 2: Roll the Dough
Once chilled, lightly flour your work surface and roll out the dough to about 1/8-inch thickness. Carefully transfer the rolled dough to your tart pan, pressing it into the bottom and up the sides. Trim any excess dough. Place the tart shell back in the refrigerator for 15 minutes to prevent shrinking while baking.
Step 3: Blind Bake the Tart Shell
Preheat your oven to 200°C (390°F). Once the tart shell is chilled, cover it with parchment paper and fill with pie weights or dried beans. Bake for 12-15 minutes until the edges start to turn golden. Remove the weights and parchment, then return the shell to the oven. Bake for an additional 5-10 minutes or until the shell is fully golden and crisp. Allow it to cool completely.
Step 4: Make the Orange Curd Filling
In a small saucepan, heat fresh orange juice over medium heat until it’s steaming, but not boiling. While it’s heating, whisk together the eggs, superfine sugar, and cornstarch in a bowl until smooth. Gradually whisk in the hot orange juice to temper the eggs, then pour this mixture back into the saucepan.
Step 5: Cook the Curd
Cook the mixture over low heat, stirring constantly for 5-7 minutes, until it thickens enough to coat the back of a spoon. Be careful not to scramble the eggs; remove from heat once thickened. Stir in gelatin until completely dissolved, then let the mixture cool slightly before mixing in butter and additional orange zest.
Step 6: Fill and Refrigerate
Pour the orange curd filling into your cooled tart shell, smoothing the top with a spatula. Cover with plastic wrap and refrigerate for at least 3 hours, or until the filling is fully set. This chilling time ensures your Classic Orange Tart slices beautifully.
Step 7: Prepare the Whipped Cream
Just before serving, whip the heavy cream with a little sugar in a mixing bowl until stiff peaks form. This should take about 2-3 minutes with an electric mixer. For added depth, you can mix in optional bitters if desired.
Step 8: Garnish and Serve
Once the tart is chilled and set, remove it from the refrigerator. Top with dollops of whipped cream and garnish with fresh orange segments and crushed pistachios for a beautiful presentation. Serve chilled, and enjoy the delightful flavors of your Classic Orange Tart!
Classic Orange Tart Variations & Substitutions
Feel free to play around with these ideas to make this delightful Classic Orange Tart even more tailored to your tastes!
- Gluten-Free: Swap flour for a gluten-free flour blend to suit your dietary needs while keeping the crust deliciously tender.
- Nut-Free: Replace almond flour with more all-purpose flour or use oat flour for a nut-free alternative that maintains texture.
- Fruit Variations: Use blood oranges or grapefruits for a unique twist on flavor and color—each brings its own beautiful brightness to the tart.
- Spiced Whipped Cream: Whip in a dash of cinnamon or nutmeg for a cozy flavor addition to your whipped cream—perfect for autumn gatherings.
- Coconut Cream: For a tropical vibe, substitute heavy cream with coconut cream, offering a rich and creamy dairy-free option.
- Berry Burst: Layer in fresh raspberries or blueberries beneath the whipped cream for a delicious contrast—these berries add both sweetness and visual appeal.
- Xtra Creamy: For an even richer orange curd, add extra egg yolks—this enhances creaminess without altering the citrus profile.
- Chocolate Drizzle: Elevate the dessert by adding a drizzle of dark chocolate on top of the whipped cream, creating a decadent twist that complements the orange flavors.
As you explore these variations, don’t forget to check out other citrus delights like a refreshing Orange Buttermilk Gelatin or the rich, flavorful Contessa Cranberry Orange. Get creative and enjoy the journey of flavors!
Expert Tips for Classic Orange Tart
- Proper Dough Handling: Avoid overworking the pastry to keep it tender; less is more when mixing the dough for your Classic Orange Tart.
- Blind Baking Precision: Ensure your tart shell is fully baked and golden; any raw sections can lead to a soggy crust.
- Gentle Curd Cooking: Cook the orange curd filling slowly and gently to avoid scrambling; a thermometer can help with accuracy.
- Chill for Success: Refrigerate the tart for at least 3 hours to let the filling set properly, ensuring clean, beautiful slices when serving.
- Ingredient Quality Matters: Opt for fresh-squeezed orange juice to enhance flavor; bottled juice won’t deliver the same vibrant results.
How to Store and Freeze Classic Orange Tart
Fridge: Keep your Classic Orange Tart covered in the refrigerator for up to 3 days. This helps maintain its creamy texture and citrusy flavor!
Freezer: If you need to freeze, wrap the unfilled tart shell tightly in plastic wrap and foil. It can be stored in the freezer for up to 2 months; just re-bake when ready.
Reheating: If serving the tart chilled, no need to reheat; simply let it sit at room temperature for 15-20 minutes before serving to enjoy the optimal flavor.
Make-Ahead Tip: Prepare the crust and orange curd filling a day in advance, storing them separately, then assemble just before serving for a fresh experience.
What to Serve with Classic Orange Tart
There’s nothing quite like the uplifting aroma of citrus wafting through your kitchen as you prepare a delightful meal to accompany your dessert.
- Creamy Mashed Potatoes: This classic side balances the tart’s brightness with a comforting, buttery richness. They pair beautifully for a well-rounded dining experience.
- Roasted Asparagus: With its tender crunch and earthy notes, roasted asparagus adds a fresh green element that complements the citrus notes effortlessly.
- Garlic Butter Shrimp: Savory shrimp in a light garlic butter sauce create a lovely contrast to the sweet and tangy tart, making for a festive main dish.
- Citrus Salad: A refreshing mix of mixed greens, grapefruit, and orange segments brings a zesty liveliness, tying your meal together with a thematic touch.
- Sparkling Water with Mint: For a sophisticated drink option, sparkling water infused with fresh mint adds a refreshing note that cleanses the palate beautifully.
- Lemon Sorbet: For something sweet yet light, serve lemon sorbet for a palate cleanser that mirrors the tart’s citrus notes in a chilling dessert.
- Chocolate Mousse: A rich and velvety chocolate mousse offers a luxurious contrast to the zesty orange, creating an indulgent multi-course experience.
- Honey Yogurt Parfait: Layered yogurt with honey and fresh fruits serves as a lighter dessert option that pairs well with the dense orange filling.
- Vanilla Ice Cream: The creaminess of vanilla ice cream paired with warm slices of the tart enhances the dessert experience, adding a sweet touch to the tart’s brightness.
Make Ahead Options
These Classic Orange Tarts are perfect for meal prep enthusiasts! You can prepare the crust up to 3 days in advance by rolling it out, baking it, and storing it in an airtight container at room temperature. The orange curd filling can be made up to 24 hours ahead; simply store it in the refrigerator in a covered bowl to maintain its silky texture. When you’re ready to serve, pour the chilled curd into the cooled tart shell and refrigerate for at least 3 hours prior to serving to ensure it sets properly. Finishing touches like whipped cream and garnishes should be added just before serving to keep them fresh and vibrant, giving you a stunning dessert that tastes just as delightful as if made the day of!
Classic Orange Tart Recipe FAQs
What kind of oranges should I use for this Classic Orange Tart?
For the best flavor, I recommend using fresh Navel oranges, as they provide a perfect balance of sweetness and acidity. You can also experiment with Valencia or blood oranges for unique variations in flavor and color.
How do I store my Classic Orange Tart, and how long will it last?
Keep your Classic Orange Tart covered in an airtight container in the refrigerator for up to 3 days. This helps preserve the creamy filling and flaky crust. Just remember, it tastes best when fresh!
Can I freeze my Classic Orange Tart? What’s the best way to do it?
Absolutely! To freeze, wrap the unfilled tart shell tightly in plastic wrap and then in foil. It can safely be stored in the freezer for up to 2 months. When you’re ready to enjoy it, simply re-bake the shell and then fill it with the orange curd filling.
What should I do if my orange curd filling doesn’t thicken?
If your filling doesn’t thicken, it might be because it was cooked at too high a temperature, causing the eggs to scramble. To fix this, return the mixture to the pan over low heat, stirring continuously until it thickens, about 5 minutes. If it still doesn’t thicken, you can mix a little cornstarch with cold water and stir it into the warm curd, cooking until it’s thickened.
Are there any dietary considerations I should be aware of with this recipe?
Yes, if you have allergies or dietary restrictions, you can easily customize this recipe. For a gluten-free version, substitute the flour with a gluten-free flour blend. For a dairy-free option, use coconut cream in place of the heavy cream, and substituting egg yolks with flaxseed meal works for a vegan option.
How can I tell if my tart crust is properly baked?
Your tart crust should have a beautiful golden-brown color around the edges. When you check it, gently press down on the surface; it should feel firm and crisp. If you notice any wet or doughy sections, it may need a few more minutes in the oven. Keeping an eye on it while it bakes ensures perfect results!
Classic Orange Tart: Effortlessly Bright and Delicious Dessert
Ingredients
Equipment
Method
- In a food processor, combine flour, powdered sugar, almond flour, salt, and orange zest. Pulse until mixed.
- Add chilled butter in cubes and pulse until the mixture resembles coarse breadcrumbs.
- Mix in the egg yolk and cold water gradually until a dough forms.
- Wrap the dough in plastic wrap and refrigerate for at least 30 minutes.
- Lightly flour your work surface and roll out the dough to about 1/8-inch thickness.
- Transfer the rolled dough to your tart pan, pressing it into the bottom and up the sides.
- Trim any excess dough and refrigerate for 15 minutes.
- Preheat your oven to 200°C (390°F).
- Cover the tart shell with parchment paper and fill with pie weights.
- Bake for 12-15 minutes until golden.
- Remove weights and parchment, then bake for an additional 5-10 minutes until fully golden.
- Allow to cool completely.
- Heat fresh orange juice over medium heat until steaming.
- Whisk eggs, superfine sugar, and cornstarch in a bowl until smooth.
- Gradually whisk in the hot orange juice.
- Pour back into the saucepan.
- Cook the mixture over low heat, stirring constantly for 5-7 minutes until thickened.
- Remove from heat and stir in gelatin until dissolved.
- Let cool slightly, then mix in butter and additional orange zest.
- Pour the orange curd filling into the cooled tart shell.
- Cover with plastic wrap and refrigerate for at least 3 hours until set.
- Whip the heavy cream with a little sugar until stiff peaks form.
- Optionally mix in bitters.
- Remove the tart from the refrigerator.
- Top with whipped cream and garnish with orange segments and crushed pistachios.
- Serve chilled.
Leave a Reply