
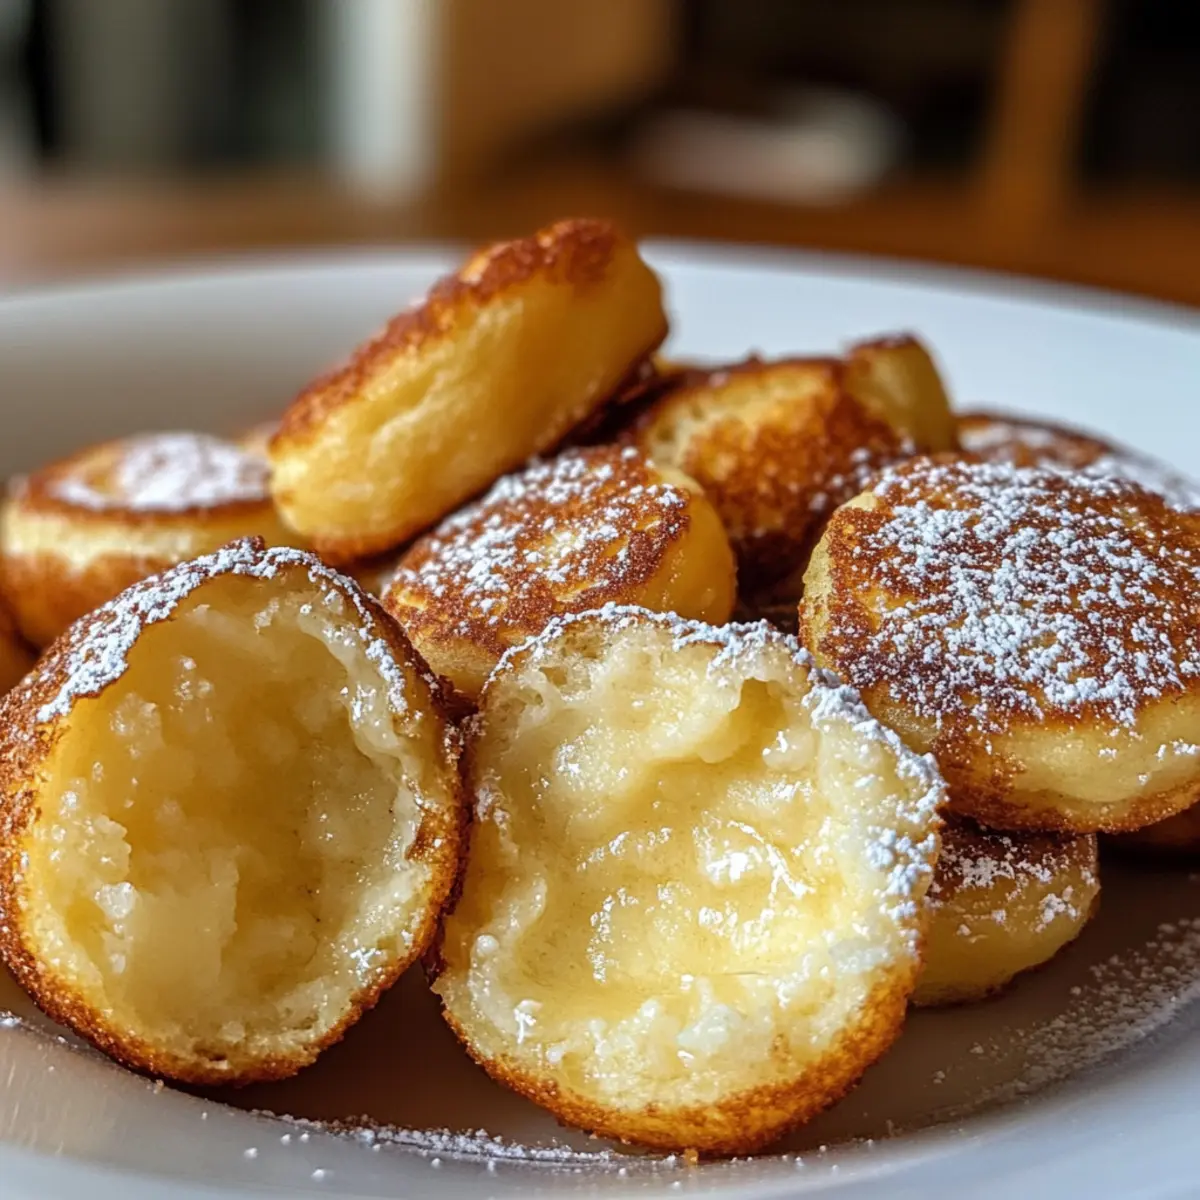
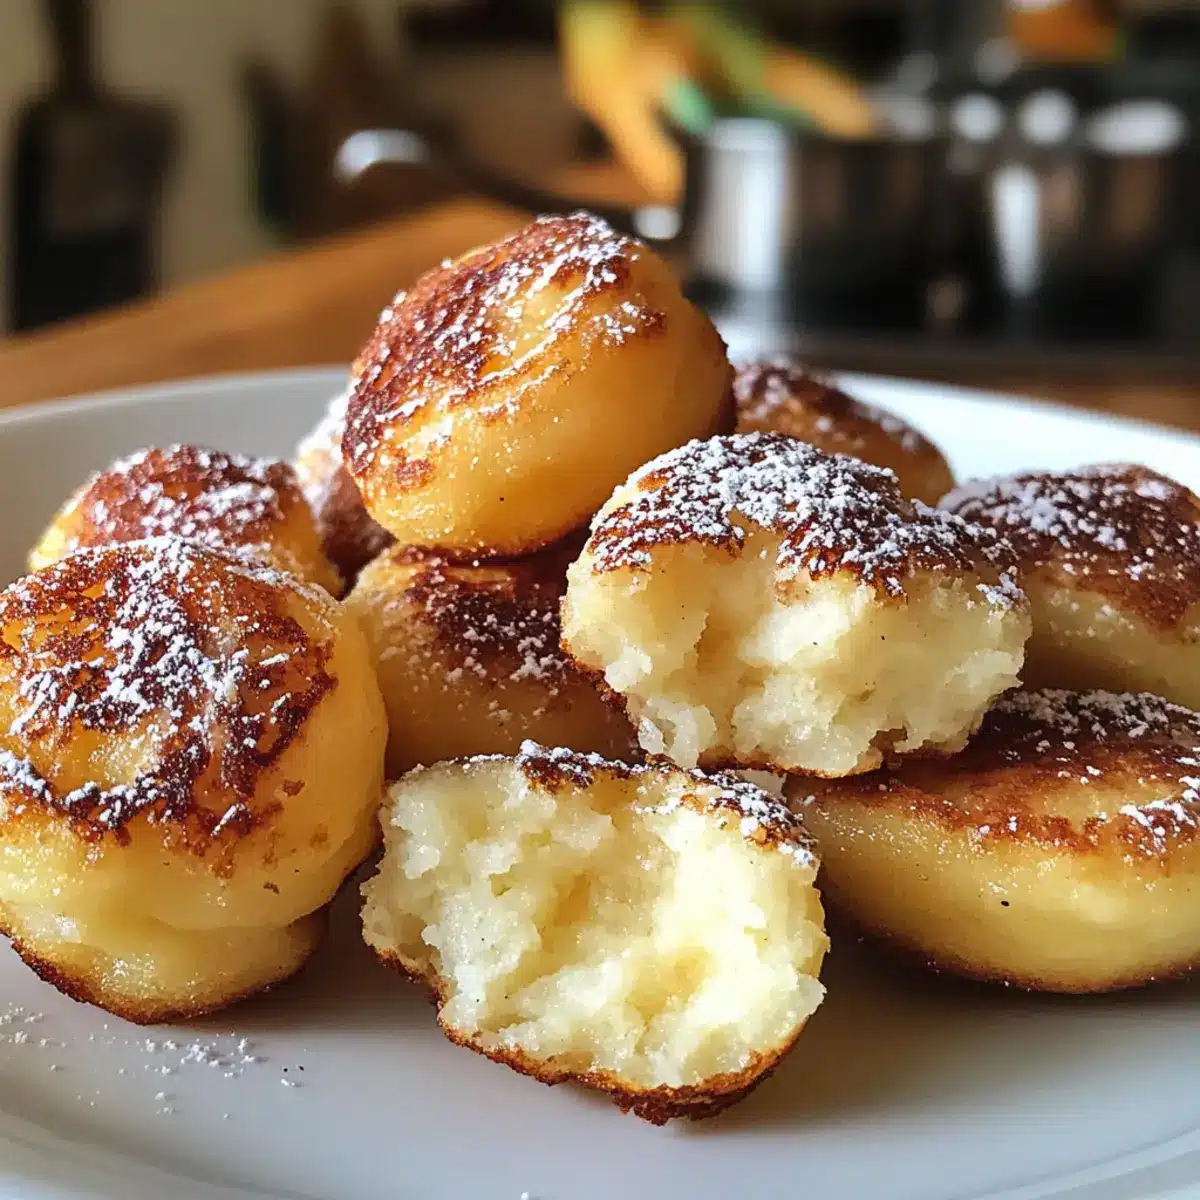
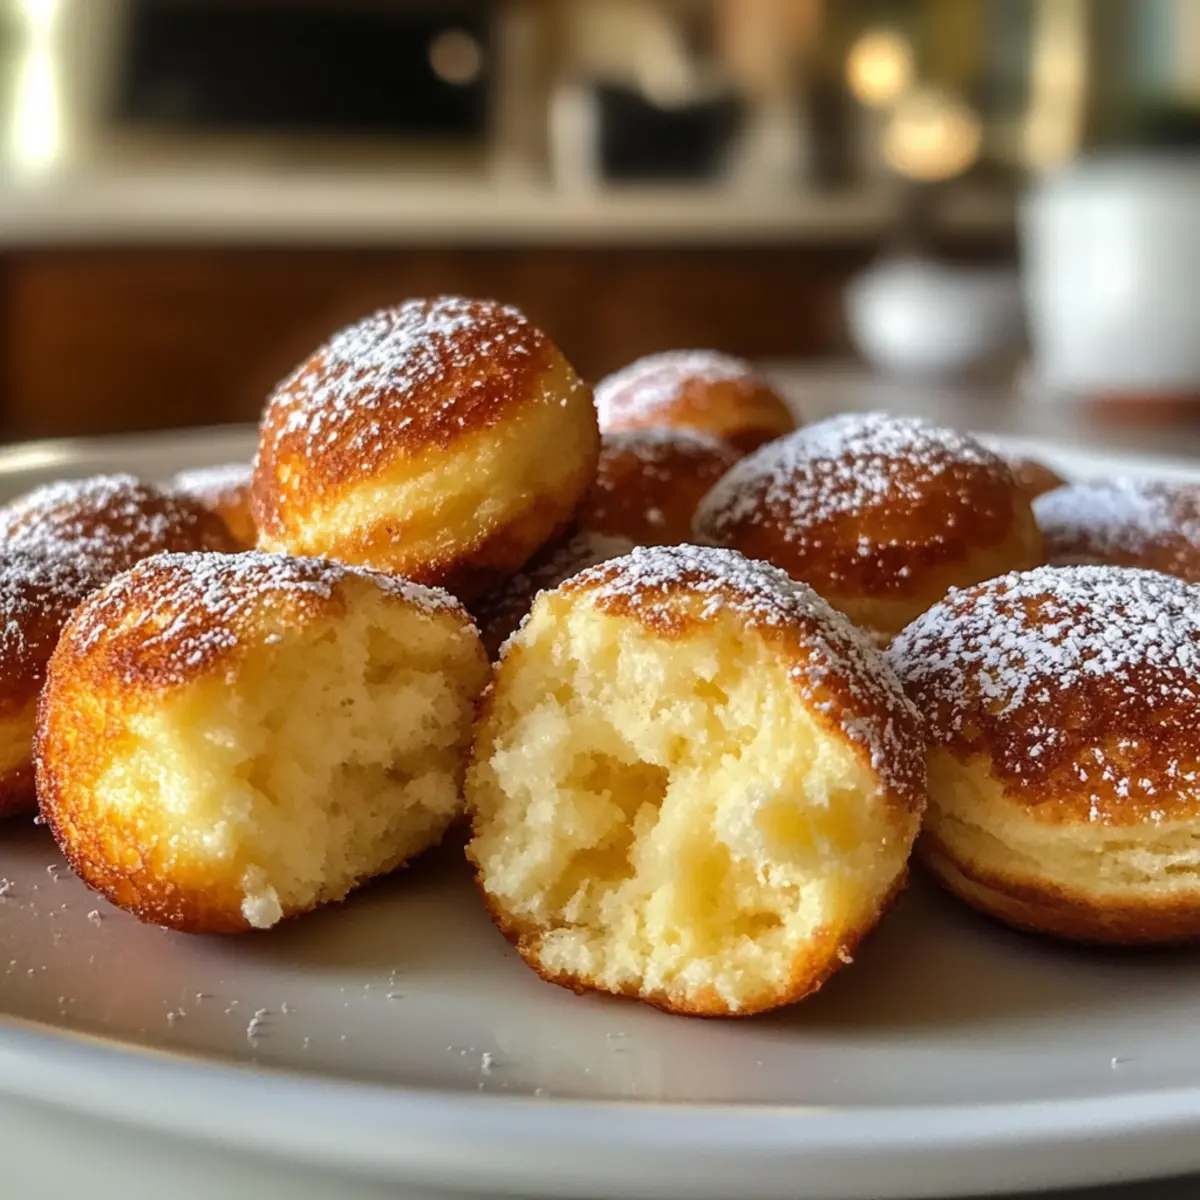
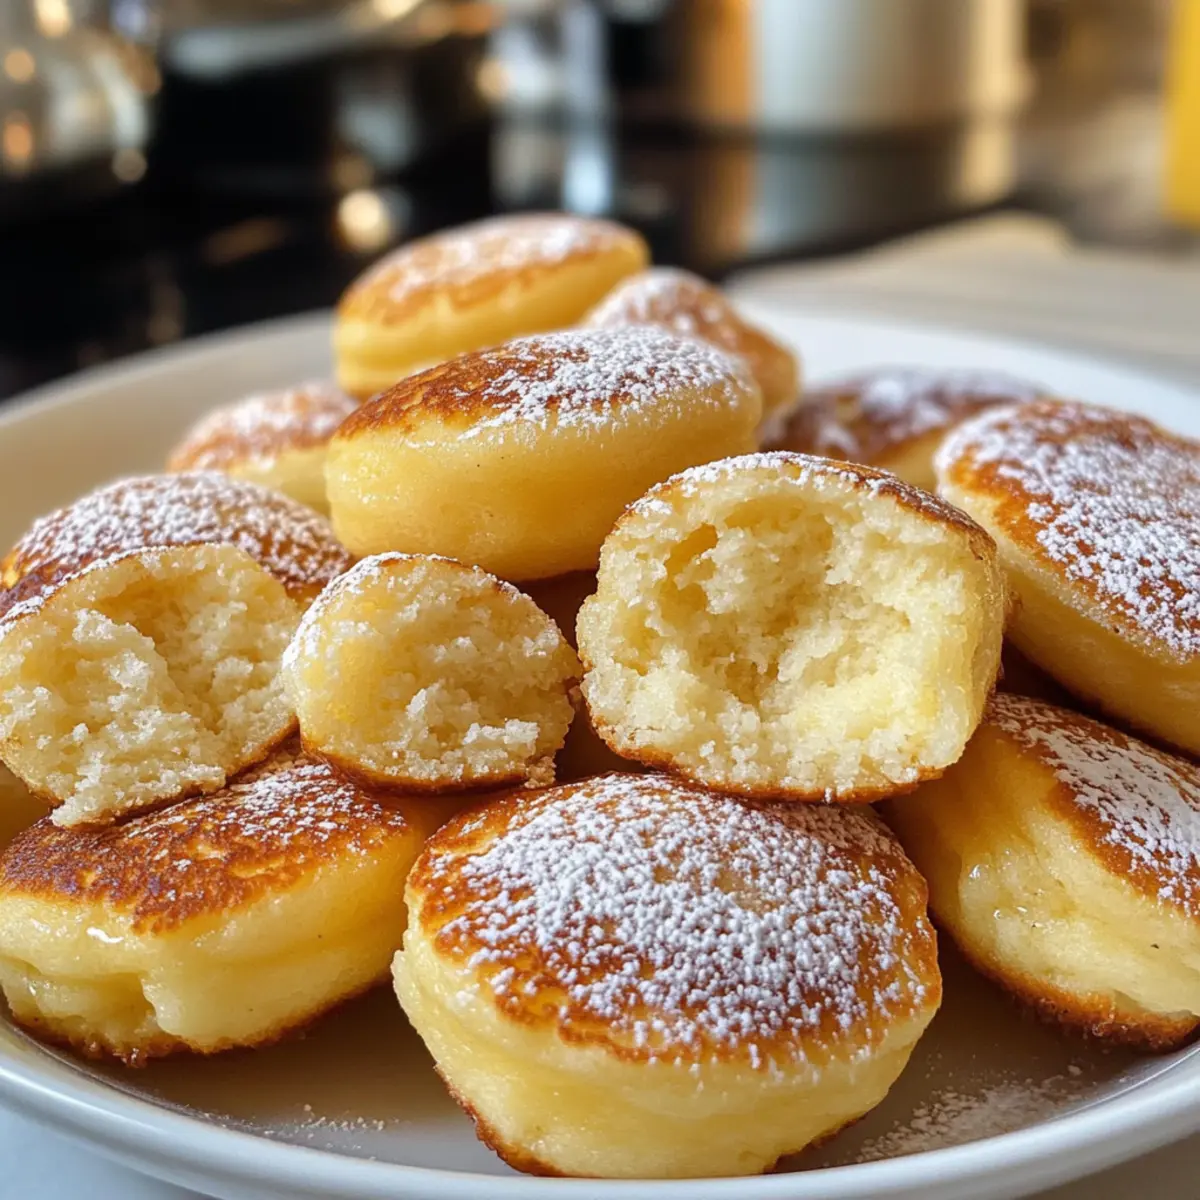
Cue the happy chatter of a bustling kitchen on a Sunday morning! There’s something magical about flipping traditional pancakes that transforms breakfast into a heartfelt gathering. Today, I’m excited to share my recipe for fluffy Breakfast Pancake Poppers. These bite-sized gems, baked in mini muffin pans, are not only easy to whip up but also perfect for those hectic mornings when you need a delicious start. Imagine indulging guilt-free, as each popper is roughly 50 calories and meal prep-friendly—ready to warm up whenever you crave a cozy breakfast! You can even customize them with mix-ins like chocolate chips or blueberries for a fun twist. So, what’s stopping you from diving into this delightful culinary adventure? Let’s get started!
Why Are Pancake Poppers a Game Changer?
Flavor-packed Inspiration: These Breakfast Pancake Poppers are a delightful twist on classic pancakes that promise to spark joy at every bite.
Effortless Prep: Simply mix and bake; there’s no flipping needed, saving you time in the kitchen.
Versatile Treat: Customize them with your favorite mix-ins, such as blueberries or chocolate chips, to keep breakfast exciting!
Meal Prep Friendly: Bake a batch and freeze extras for quick breakfasts throughout the week—just pop them in the microwave!
Crowd Appeal: Perfect for brunch parties or family gatherings, everyone will love these bite-sized morning treats.
Guilt-Free Indulgence: With only around 50 calories each, enjoy these poppers without feeling guilty—a win-win for any breakfast lover!
Pancake Poppers Ingredients
• Get ready to create the magic of fluffy pancake poppers!
For the Batter
- Flour – Provides structure; can substitute with a 1:1 gluten-free flour blend.
- Sugar – Adds sweetness; adjust according to your taste—omit for lower sweetness.
- Baking Powder – Essential leavening agent for fluffiness; don’t reduce this for the best results.
- Salt – Enhances overall flavor; balances the sweetness perfectly.
- Milk – Keeps the batter moist; feel free to use non-dairy options as well.
- Egg – Acts as a binding agent; for a vegan option, try a flax egg instead.
- Melted Butter – Adds richness; can be replaced with oil or non-dairy butter if desired.
- Vanilla Extract – Elevates flavor; swap for almond extract for a delightful twist.
Optional Mix-Ins
- Chocolate Chips – For an indulgent treat; they melt beautifully inside the poppers.
- Blueberries – Add fresh fruit flavor and a burst of color—perfect for breakfast!
- Nuts – Incorporate your favorite nuts for added crunch and nutrition.
- Herbs or Cheese – For a savory version, consider adding herbs or cheese to the batter.
Enjoy crafting your pancake poppers with these simple yet essential ingredients!
Step‑by‑Step Instructions for Fluffy Breakfast Pancake Poppers
Step 1: Preheat and Prepare
Begin by preheating your oven to 375°F (190°C). While the oven is warming up, grease a mini muffin pan with non-stick spray or a little melted butter to ensure easy popper removal later. This step sets the foundation for the fluffy breakfast pancake poppers you’re about to create!
Step 2: Mix Dry Ingredients
In a spacious mixing bowl, combine your flour, sugar, baking powder, and salt. Whisk these dry ingredients together until thoroughly mixed, ensuring there are no clumps. This blend is essential for the right texture and taste of your pancake poppers, and it gets the flavor started right!
Step 3: Whisk Wet Ingredients
In a separate bowl, whisk together the milk, egg, melted butter, and vanilla extract until smooth. Take a moment to combine these ingredients well, as they will bring moisture and richness to your pancake poppers. The consistency should be creamy and inviting, enhancing the overall flavor!
Step 4: Combine Wet and Dry Mixtures
Now, gently fold the wet ingredients into the dry mixture using a spatula or wooden spoon until just combined. Be cautious not to overmix; small lumps are okay! This careful approach will keep your fluffy breakfast pancake poppers nice and airy, achieving that coveted fluffy texture.
Step 5: Fill the Muffin Pan
Using a spoon or a small ice cream scoop, carefully fill each cup of the greased mini muffin pan about 2/3 full with the batter. Watch as it fills, avoiding the urge to overfill, which can cause your poppers to overflow as they bake. This method ensures even cooking and perfect popping!
Step 6: Bake to Perfection
Place the filled muffin pan in the preheated oven and bake for 10 to 12 minutes. Keep an eye on them, and look for a golden-brown color on top. A toothpick inserted into the center should come out clean when they’re done. This is the moment when your kitchen will start smelling heavenly!
Step 7: Cool and Serve
Once baked, carefully remove the muffin pan from the oven and let it cool for a few minutes. After cooling slightly, gently pop each pancake popper out and serve warm. They pair wonderfully with maple syrup or a dusting of powdered sugar, turning your breakfast into a festive treat!
Pancake Poppers Variations & Substitutions
Get ready to unleash your creativity in the kitchen, and make these delightful pancake poppers truly your own!
-
Gluten-Free: Substitute regular flour with a 1:1 gluten-free flour blend for a delicious, worry-free option.
-
Dairy-Free: Use almond milk or coconut milk instead of regular milk, and swap melted butter for non-dairy butter for a creamy finish.
-
Veggie Twist: Fold in grated zucchini or carrot for added nutrition and a hint of sweetness—your family won’t even notice!
-
Sweet Swaps: Try maple syrup instead of sugar for a more natural sweetness that pairs beautifully with the maple syrup drizzle on top.
-
Savory Delight: Add shredded cheese and herbs like chives or dill to the batter for a scrumptious savory variation—perfect for brunch!
-
Oat Boost: Replace half the flour with oats for a heartier texture that enhances the fiber content, giving those poppers a nutritious kick.
-
Extra Flavor: Mix in a teaspoon of cinnamon or nutmeg to the dry ingredients for a cozy, warm spice that elevates every popper.
-
Heat It Up: For the spice lovers, consider adding a pinch of cayenne or jalapeño flakes for a surprising kick, making breakfast exciting every time.
Feel free to explore these alterations and embrace the joy of creating your perfect pancake poppers—imagine serving them up with a side of maple syrup and fresh berries for a breakfast treat that everyone will adore!
Expert Tips for Pancake Poppers
-
Avoid Overmixing: Gently combine wet and dry ingredients—overmixing can lead to dense, less fluffy pancake poppers.
-
Perfect Bake Time: Keep an eye on your poppers while baking; removing them when golden brown ensures they maintain a soft texture.
-
Cool Before Serving: Allow them to cool in the pan for a few minutes; this helps them set and makes removing them easier.
-
Freezing Made Easy: Store extras in a zip-top bag—these pancake poppers freeze well for up to one month, perfect for quick breakfasts!
-
Mix-In Magic: Get creative! Adding chocolate chips or blueberries gives your pancake poppers an exciting flavor boost everyone will love.
What to Serve with Fluffy Breakfast Pancake Poppers
Get ready to elevate your breakfast experience with delightful sides that perfectly complement these sweet, fluffy treats!
-
Maple Syrup: The classic pairing that adds a sweet touch; drizzle it all over your pancake poppers for that traditional taste.
-
Fresh Berries: Strawberries, blueberries, or raspberries provide a refreshing burst of flavor and a vibrant pop of color on the plate.
-
Whipped Cream: Light and airy, this fluffy topping takes your pancake poppers to a dessert-like level, making breakfast feel extra special.
-
Yogurt Parfait: A creamy, tangy yogurt topped with granola and fruit balances the sweetness and adds a nutritious twist to your meal.
-
Crispy Bacon or Sausage: The salty crunch of bacon or the savory flavor of sausage adds depth and contrast; it’s the perfect protein to round out your meal.
-
Smoothie: Pair your poppers with a refreshing fruit smoothie for a delightful drink that complements their sweetness while adding extra nutrition.
-
Coffee or Tea: A warm cup of coffee or herbal tea amplifies the comforting feelings of your breakfast gathering, creating an inviting atmosphere. Enjoy a sip with each bite!
Make Ahead Options
These Breakfast Pancake Poppers are a dream for busy home cooks looking to save time during hectic mornings! You can prepare the batter up to 24 hours in advance by mixing all dry ingredients (flour, sugar, baking powder, and salt) and storing them in an airtight container. Additionally, whisk together the wet ingredients (milk, egg, melted butter, and vanilla) and keep them refrigerated. Just before you’re ready to bake, combine the mixtures and fill your muffin pan, then pop them in the oven for a quick 10-12 minutes. To maintain their fluffy quality, avoid overmixing and serve them warm for delicious, homemade breakfast magic, just as tasty as fresh!
How to Store and Freeze Pancake Poppers
Room Temperature: Allow pancake poppers to cool completely, then store in an airtight container. They can remain fresh for up to 3 days at room temperature.
Fridge: For longer freshness, keep the poppers in an airtight container in the fridge for up to a week. Reheat in the microwave for about 15 seconds for a warm treat.
Freezer: To enjoy your pancake poppers later, freeze extras in a zip-top bag for up to one month. Thaw in the fridge overnight before reheating for the best taste.
Reheating: Heat frozen poppers in the microwave for 20–30 seconds, or pop them in the toaster oven for a few minutes until warmed through and slightly crispy.
Pancake Poppers Recipe FAQs
How do I select the best flour for pancake poppers?
Absolutely! For the best results, use all-purpose flour for that classic fluffy texture. If you need a gluten-free option, a 1:1 gluten-free flour blend works wonderfully too. Just make sure to check the flour’s expiration date and avoid any that have dark spots or an off smell!
How should I store leftover pancake poppers?
Very! Once cooled, place your pancake poppers in an airtight container. They can stay fresh for up to 3 days at room temperature. If you want them to last longer, store them in the fridge for up to a week, and simply reheat them in the microwave for about 15 seconds—they’re just as delightful!
Can I freeze pancake poppers? If so, how?
Absolutely! To freeze pancake poppers, first allow them to cool completely. Then, place them in a zip-top bag, making sure to remove as much air as possible. Label the bag with the date, and they can be stored for up to 3 months. When you’re ready to enjoy them, thaw overnight in the fridge, then reheat in the microwave or toaster oven—this keeps them soft!
What should I do if my pancake poppers come out dense?
Oh no! If your pancake poppers turn out dense, you may have overmixed the batter. Remember, just gently fold the wet and dry ingredients together until barely combined. If you struggle with this, you can add a little more baking powder to your dry mix, but be cautious of not exceeding the recommended amount!
Are pancake poppers safe for those with allergies?
Absolutely! You can customize pancake poppers to suit various dietary needs. For nut allergies, use nut-free milk alternatives; for those with egg allergies, try a flax egg made by mixing 1 tablespoon of ground flaxseed with 2.5 tablespoons of water. Always double-check all ingredient labels to ensure they meet your specific dietary considerations!
Fluffy Pancake Poppers for Joyful Mornings at Home
Ingredients
Equipment
Method
- Preheat your oven to 375°F (190°C) and grease a mini muffin pan.
- In a bowl, combine flour, sugar, baking powder, and salt. Whisk to mix.
- In another bowl, whisk together milk, egg, melted butter, and vanilla extract until smooth.
- Fold the wet ingredients into the dry mixture until just combined.
- Fill each cup of the greased muffin pan about 2/3 full.
- Bake for 10 to 12 minutes until golden brown. A toothpick should come out clean.
- Let cool for a few minutes, then remove poppers and serve warm.
Leave a Reply