
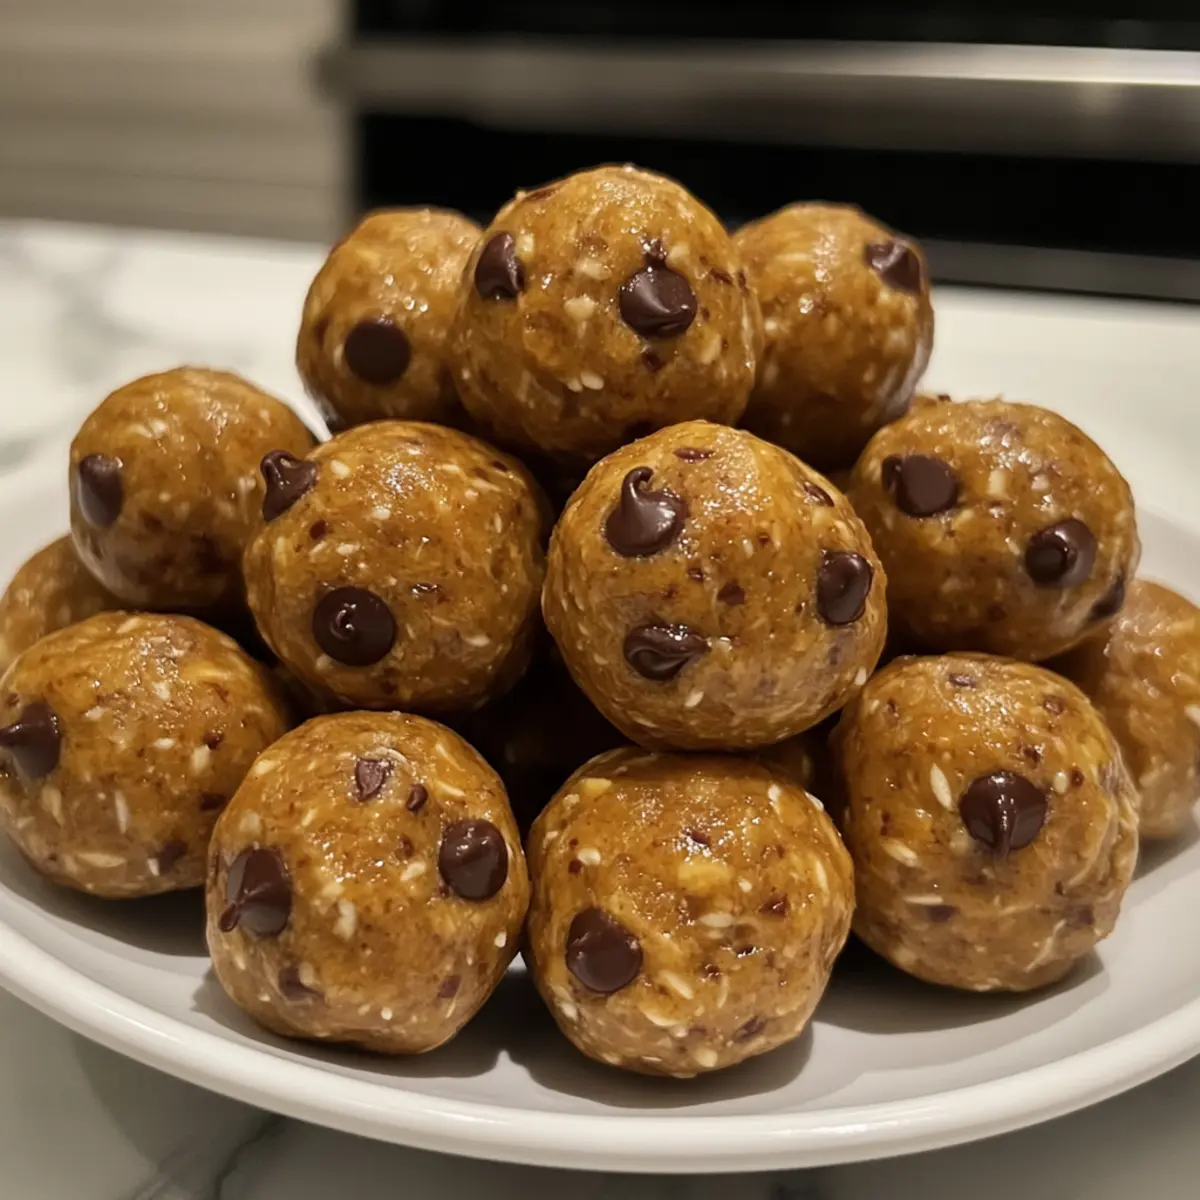
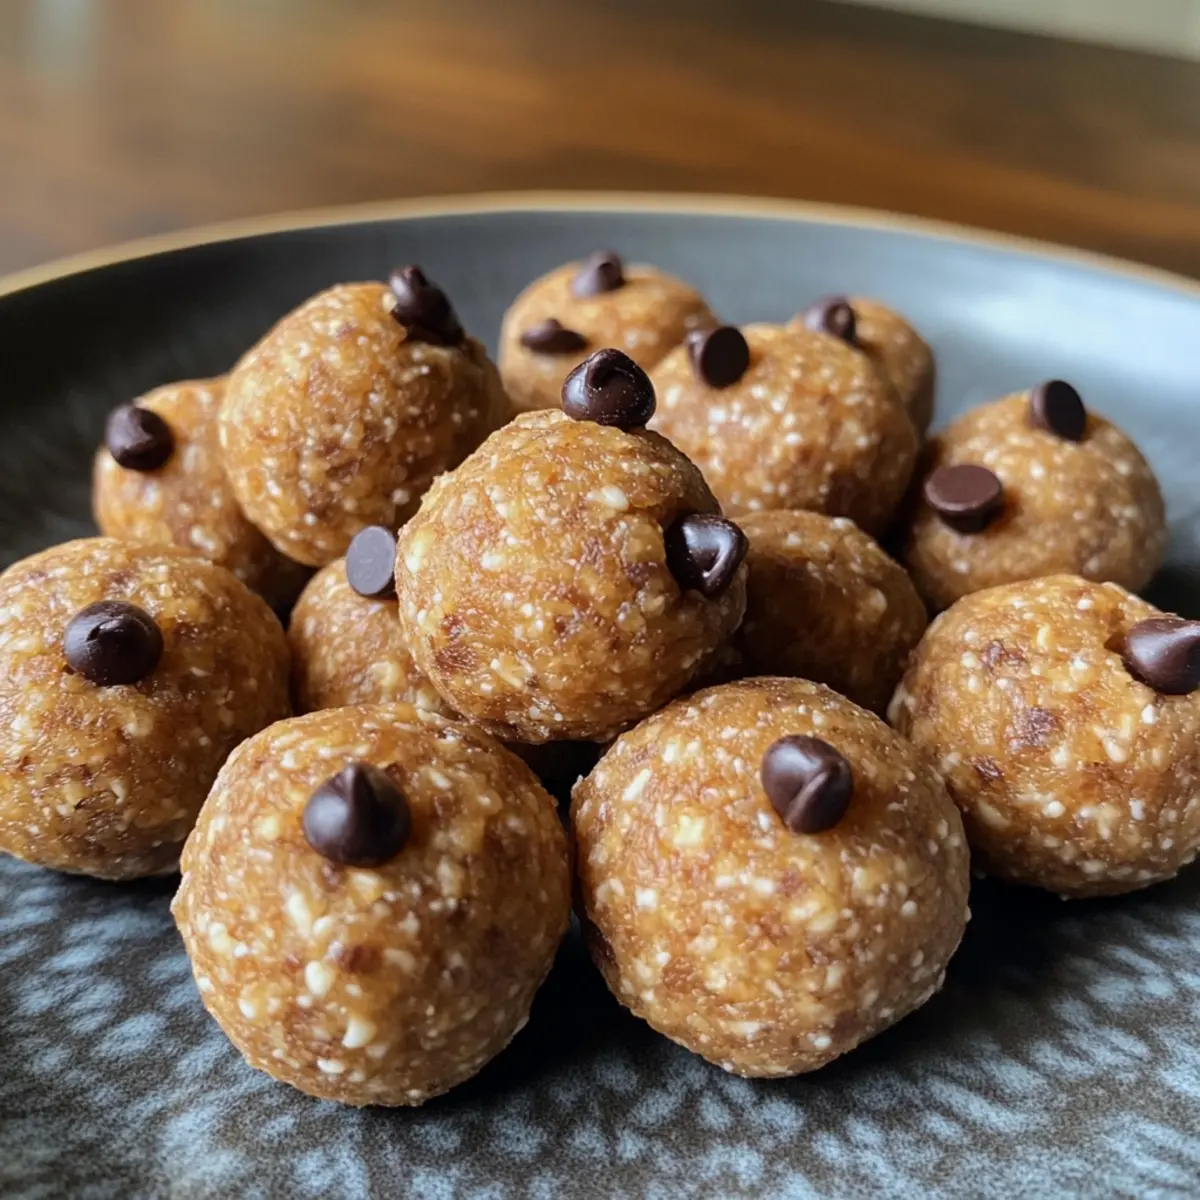
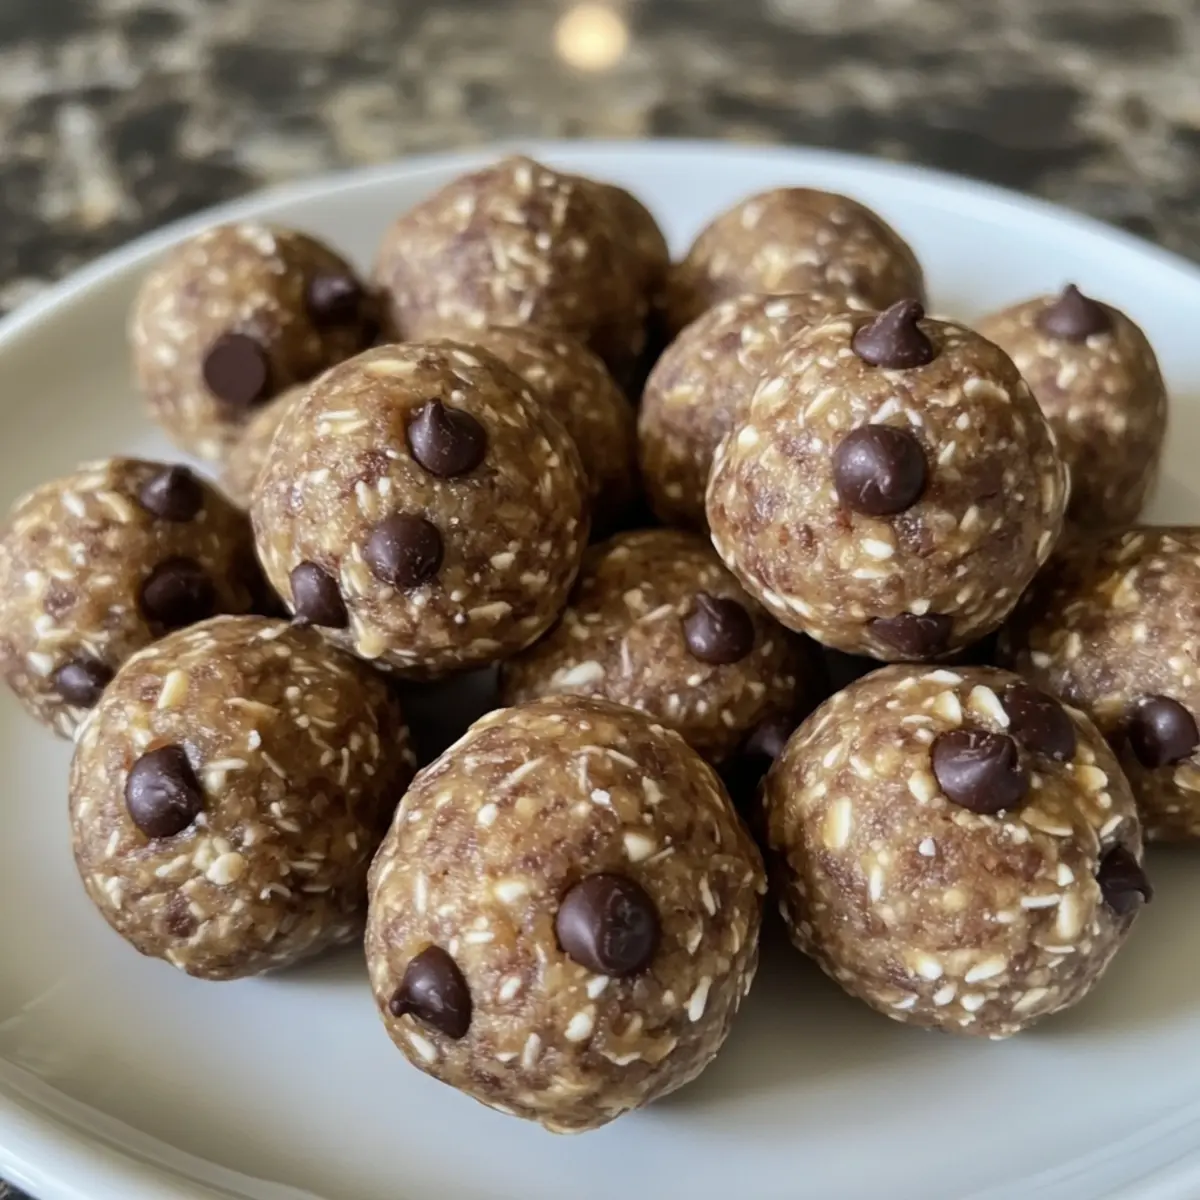
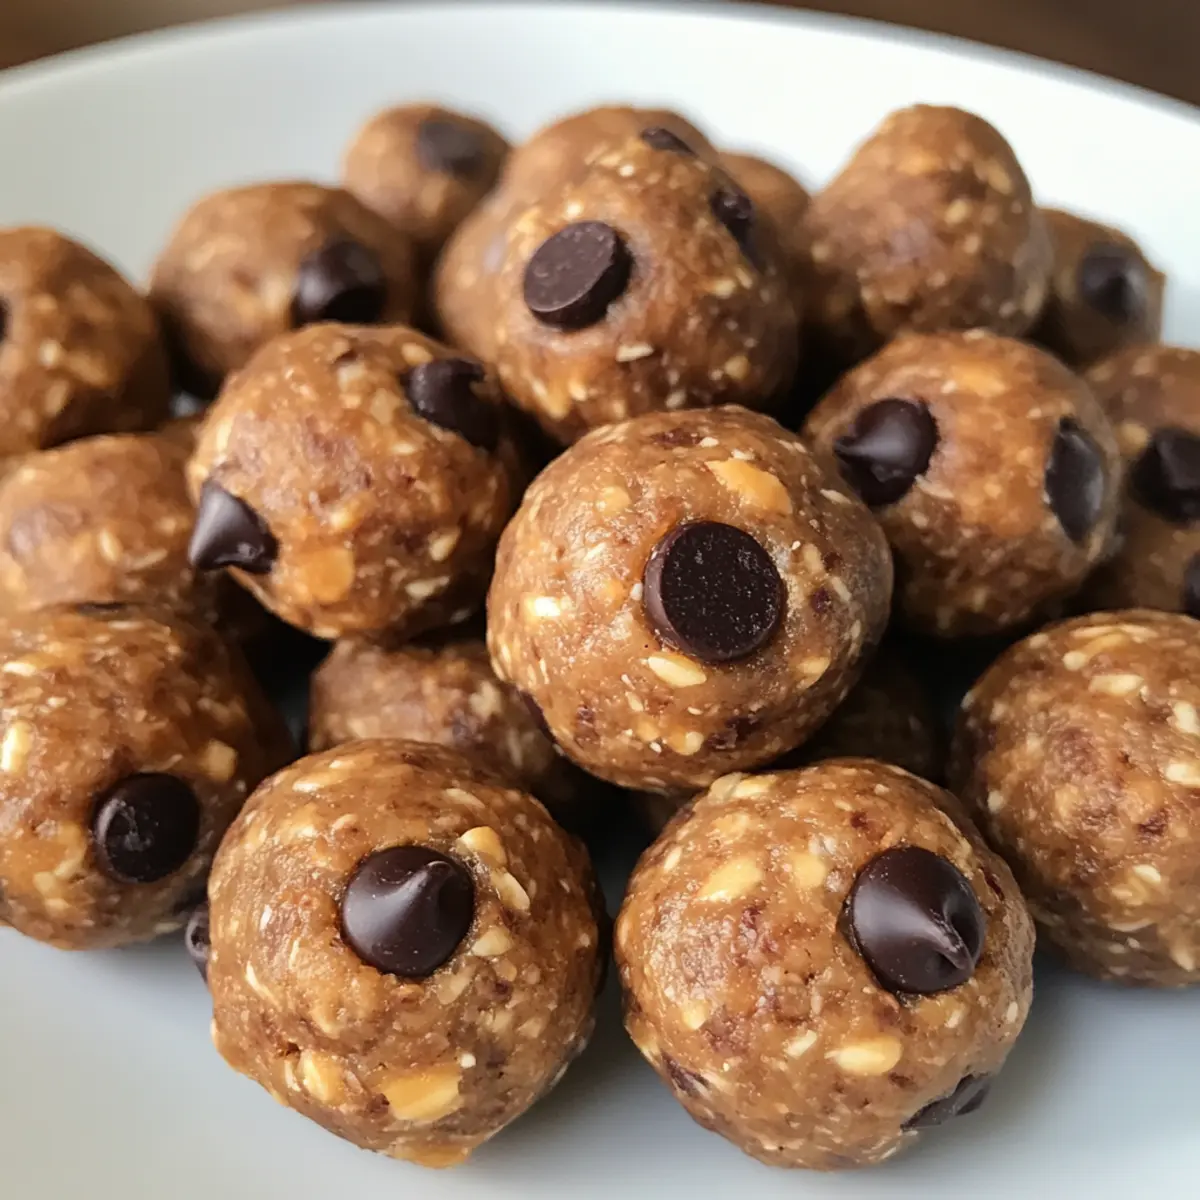
As I stood in my kitchen on a busy weekday, the clock ticking and hunger pangs creeping in, I stumbled upon the perfect solution: No-Bake Protein Balls. These delightful bites come together in mere minutes, making them an absolute lifesaver for those hectic days when you need an energy boost without the guilt of fast food. Chewy, naturally sweet, and protein-rich, these no-bake goodies are not just a treat for the taste buds; they’re also a fantastic option for meal prepping or post-workout recovery. Whether you’re juggling a bustling schedule or just want a healthy snack to share with the kids, these No-Bake Protein Balls are bound to become a staple in your home. Ready to whip up a batch and discover how simple it is to indulge without compromise?
Why are No-Bake Protein Balls a must-try?
Quick and Easy: Whip up these protein balls in just minutes, making them ideal for busy lives.
Nutritious Energy Boost: Packed with protein and healthy fats, they make a perfect snack for when you need a lift.
Customizable: With options to swap ingredients, like using almond butter or adding dried fruits, you can tailor them to your taste.
Kid-Friendly Fun: These naturally sweet bites are a hit with kids, serving as a wholesome alternative to sugary treats.
Meal Prep Friendly: Make a batch at the start of the week for easy snacking! Store in the fridge for up to a week or freeze for later enjoyment.
No-Bake Protein Balls Ingredients
For the Base
• Rolled oats – These provide structure and fiber; you can use quick oats if you’re in a rush.
• Natural peanut butter – Adds creaminess and healthy fats; try almond butter for a different flavor twist.
• Honey or maple syrup – Acts as a sweetener and binding agent; for a vegan option, opt for agave syrup.
• Vanilla protein powder – Increases protein content; feel free to substitute with your favorite protein powder or omit for lower protein.
For the Mix-Ins
• Mini chocolate chips – Perfect for a sweet burst; swap them for dark chocolate chips for a richer flavor or omit for a healthier treat.
• Chia seeds – Loaded with fiber and omega-3 fatty acids; flaxseeds work as a great substitute if preferred.
• Vanilla extract – Enhances flavor depth; you can skip it for a more neutral taste.
• Pinch of salt – Balances the sweetness; adjust to your liking.
These No-Bake Protein Balls are a delicious and versatile snack option, helping you stay nourished without the hassle of cooking!
Step‑by‑Step Instructions for No-Bake Protein Balls
Step 1: Combine Dry Ingredients
In a large mixing bowl, combine rolled oats, vanilla protein powder, chia seeds, and a pinch of salt. Stir these dry ingredients together using a wooden spoon or spatula until well blended. You should see the chia seeds evenly distributed among the oats and powder, providing a lovely base for your No-Bake Protein Balls.
Step 2: Add Wet Ingredients
Next, add the natural peanut butter, honey, and vanilla extract to the dry mixture. Using the wooden spoon, vigorously mix these ingredients together until a thick and sticky dough forms. Look for a texture that holds together but is easy to manage; it should not crumble apart. If the mixture seems too dry, add a little more peanut butter or honey.
Step 3: Incorporate Mini Chocolate Chips
Once your mixture is uniform, fold in the mini chocolate chips gently until they are evenly distributed throughout the dough. This step adds delightful pockets of sweetness to your No-Bake Protein Balls. Be careful not to overmix, as you want the chocolate to remain intact for that perfect melt-in-your-mouth experience.
Step 4: Shape the Balls
Using your hands, scoop out tablespoon-sized portions of the mixture and roll them into 1-inch balls. Ensure each ball is firmly packed; this will help them hold together when chilled. As you work, your hands may get a little sticky; you can dampen them slightly for easier handling if needed.
Step 5: Chill to Set
Line a baking sheet with parchment paper and place the rolled protein balls on it, ensuring they have some space between each. Refrigerate the tray for at least 30 minutes to allow the No-Bake Protein Balls to firm up. This chilling step is crucial for achieving the right texture, making them easy to enjoy straight from the fridge.
Step 6: Store and Enjoy
After chilling, your No-Bake Protein Balls are ready to be enjoyed! Store any leftovers in an airtight container in the refrigerator for up to one week or freeze them for up to three months. Whenever you need a quick snack or energy boost, simply grab a ball and indulge in the chewy, satisfying goodness!
No-Bake Protein Balls: Customization Ideas
These delightful No-Bake Protein Balls are just waiting for your personal touch to make them even more scrumptious!
- Nut-Free: Swap peanut butter for sunbutter to keep it free from nuts while maintaining that creamy texture.
- Fruit Boost: Mix in dried fruits like cranberries or raisins for a sweet and chewy twist that delights the palate.
- Flavor Variations: Experiment with flavored protein powders such as chocolate or berry to add a fun flavor kick to the bites.
- Crunch Factor: Stir in chopped nuts, like almonds or walnuts, for an added crunch that contrasts beautifully with the smoothness.
- Chocolate Lovers: Use dark chocolate or white chocolate chips for a richer flavor; you can even go wild with ribboned caramel!
- Spicy Kick: Add a dash of cinnamon or a pinch of cayenne for a warm, spicy surprise that elevates the flavor profile.
- Vegan Delight: Replace honey with maple syrup or agave for a completely vegan version that’s still irresistibly delicious.
- Protein Packed: For an added protein punch, consider adding collagen peptide powder to the mix for health benefits without changing flavor.
Feel free to let your creativity shine here! Whether you’re after a specific taste or a nutritional boost, these variations make it easy to craft your perfect No-Bake Protein Balls.
Expert Tips for No-Bake Protein Balls
-
Sticky Consistency: Ensure your mixture is sticky enough to form balls. If too dry, add a splash of milk or more nut butter to bind.
-
Chilling is Key: Allow the No-Bake Protein Balls to chill for at least 30 minutes. This helps them set and makes them easier to handle.
-
Even Sizing: Use a cookie scoop for uniform balls. This not only ensures even cooking but also makes for a visually appealing snack.
-
Custom Swaps: Feel free to experiment with different nut butters or protein powders. Personalizing the No-Bake Protein Balls can lead to delightful new flavors!
-
Add-ins Galore: Consider mixing in dried fruits or seeds for extra nutrition and texture. Just be mindful of not overloading the mixture!
-
Storing Safely: Store your protein balls in an airtight container. They stay fresh in the fridge for up to a week or freeze for longer storage.
Make Ahead Options
These No-Bake Protein Balls are perfect for meal prep enthusiasts looking to save time throughout the week! You can mix the dry ingredients (rolled oats, protein powder, chia seeds, and salt) up to 24 hours in advance and store them in an airtight container to keep them fresh. Additionally, you can roll the protein balls and refrigerate them for up to 3 days; just make sure to keep them sealed tightly to prevent them from drying out. When it’s time to enjoy, simply grab a ball or two straight from the fridge for a quick snack or energy boost. With these make-ahead tips, you’ll have delicious No-Bake Protein Balls ready whenever hunger strikes!
Storage Tips for No-Bake Protein Balls
-
Fridge: Store your No-Bake Protein Balls in an airtight container in the refrigerator for up to 1 week. This keeps them fresh and ready for quick snacking!
-
Freezer: For longer storage, freeze the protein balls for up to 3 months. Make sure they are well-wrapped or in a freezer-safe container to prevent freezer burn.
-
Thawing: When you’re ready to enjoy your frozen No-Bake Protein Balls, simply transfer them to the fridge to thaw overnight before munching on them.
-
Reheating: These protein balls are best enjoyed cold or at room temperature. If you prefer them a bit softer, let them sit at room temperature for about 10 minutes before diving in!
What to Serve with No-Bake Protein Balls?
These delightful energy bites are perfect for creating a wholesome snacking experience that will satisfy both sweet cravings and nutritional needs.
-
Fresh Fruit Salad: The bright, juicy flavors enhance the Protein Balls’ sweetness while adding a refreshing and healthy balance.
-
Greek Yogurt Parfait: Layer creamy Greek yogurt and fruits with a sprinkle of granola for a protein-packed, satisfying breakfast or snack.
-
Nutty Trail Mix: Combine a mix of nuts and dried fruits for a crunchy contrast that complements the chewy texture of the Protein Balls.
-
Vegetable Sticks with Hummus: Enjoy a crunchy, savory snack option alongside your sweet Protein Balls. The dip adds a creamy element that rounds out your snack time.
-
Coconut Chia Pudding: This creamy pudding offers a delightful texture contrast with a touch of tropical flavor that pairs beautifully with the energy bites.
-
Herbal Tea: A warm cup of herbal tea provides a calming effect, creating a peaceful moment to enjoy your No-Bake Protein Balls as a delightful nibble.
-
Almond Milk Smoothie: Blend up a creamy smoothie with almond milk, spinach, and banana—a nutritious drink that flows seamlessly with the flavors of the Protein Balls.
No matter which combination you choose, these pairings will elevate your snacking experience while maintaining the wholesome benefits of No-Bake Protein Balls!
No-Bake Protein Balls Recipe FAQs
What type of oats should I use for No-Bake Protein Balls?
It’s best to use rolled oats as they provide structure and fiber. However, if you’re in a hurry, quick oats can be a suitable substitute. Just note that the texture might be slightly different, but they’ll still hold up beautifully in the recipe!
How should I store No-Bake Protein Balls, and how long do they last?
Store your No-Bake Protein Balls in an airtight container in the refrigerator for up to 1 week. If you want to keep them for longer, you can freeze them for up to 3 months. Just make sure they’re well-wrapped or placed in a freezer-safe container to avoid freezer burn.
Can I freeze No-Bake Protein Balls? If so, how?
Absolutely! To freeze your No-Bake Protein Balls, arrange them in a single layer on a parchment-lined baking sheet and place them in the freezer until solid. Once frozen, transfer them to a freezer-safe container or a zip-top bag, separating layers with parchment paper. When you want to enjoy them, thaw them overnight in the fridge.
What should I do if my No-Bake Protein Balls are too dry?
If you find your mixture is too dry and crumbly, simply add a splash of almond milk or more nut butter. Start with about a teaspoon at a time and mix well until you achieve a thick, sticky dough that holds together. This adjustment will ensure your balls form perfectly!
Are No-Bake Protein Balls safe for those with peanut allergies?
Great question! If you’re making No-Bake Protein Balls for someone with a peanut allergy, feel free to substitute natural peanut butter with almond butter or sunbutter. Both options provide similar textures and flavors, letting everyone enjoy these delicious snacks without worry.
Can I add other ingredients to my No-Bake Protein Balls?
The more, the merrier! You can customize your No-Bake Protein Balls by mixing in dried fruits like cranberries or raisins, seeds, or even different flavored protein powders. Just be mindful not to overload the mixture, as it could make it difficult to form the balls. Enjoy creating your perfect snack!
No-Bake Protein Balls: Chewy, Healthy Snacks You'll Love
Ingredients
Equipment
Method
- In a large mixing bowl, combine rolled oats, vanilla protein powder, chia seeds, and a pinch of salt. Stir well.
- Add peanut butter, honey, and vanilla extract to the dry mixture. Mix until a thick dough forms.
- Fold in mini chocolate chips gently until evenly distributed.
- Scoop tablespoon-sized portions and roll them into 1-inch balls.
- Line a baking sheet with parchment paper and refrigerate for at least 30 minutes to firm up.
- Store leftovers in an airtight container in the refrigerator for up to a week or freeze them for up to three months.
Leave a Reply