
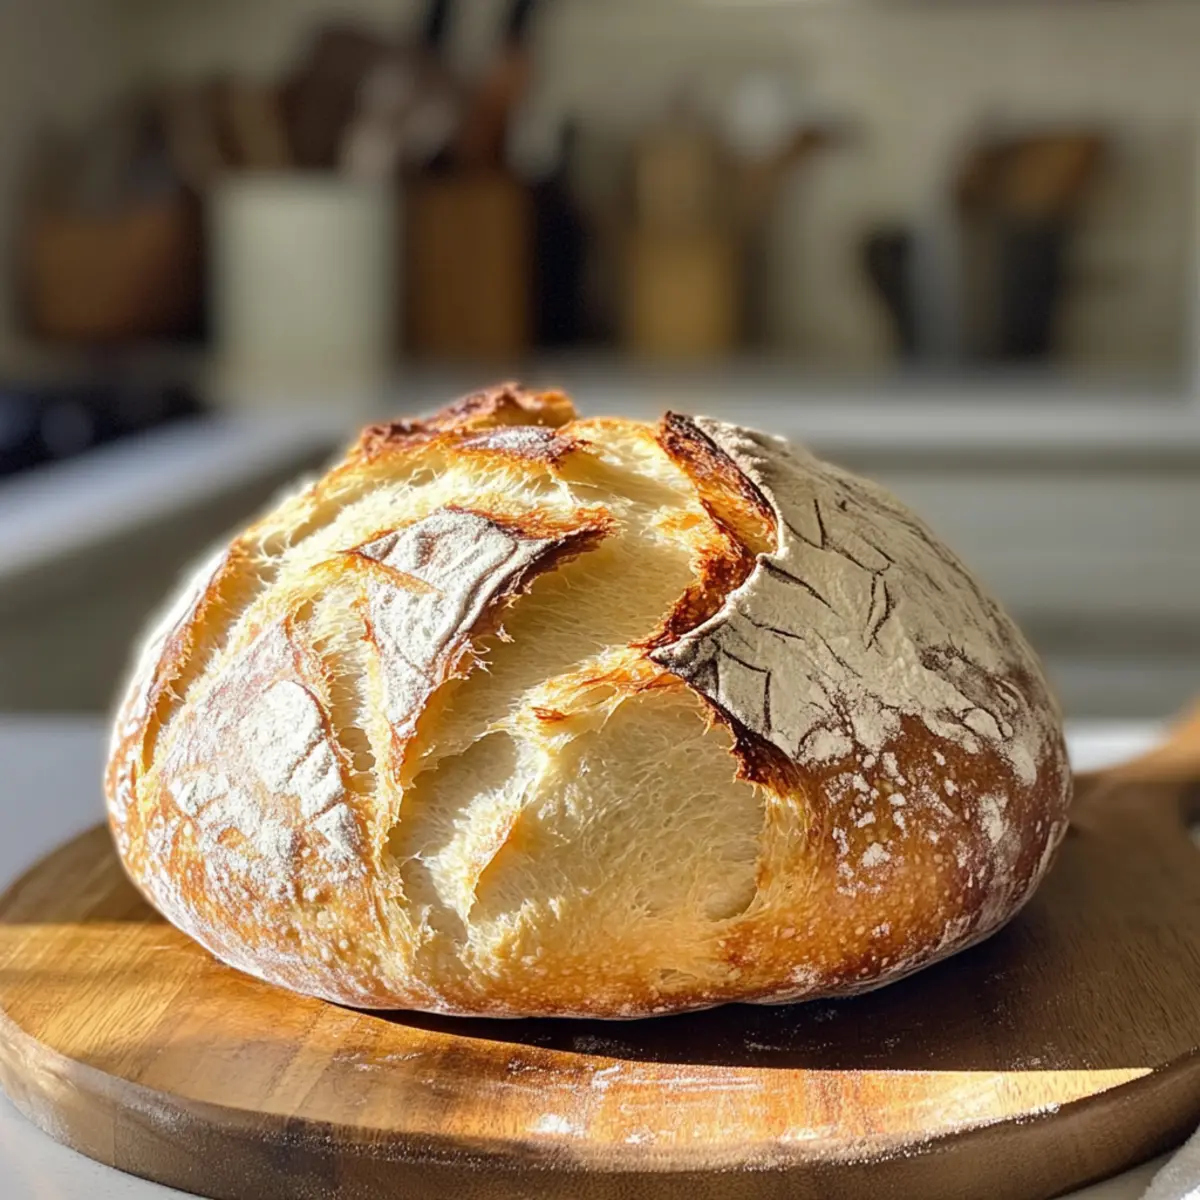
Have you ever stood before a warm loaf of bread, the steam swirling around, and thought, “I can’t believe I made this?” That’s exactly what happens when you try your hand at this 4-Ingredient Artisan Bread recipe. It’s astonishing to realize that with just a few simple ingredients—flour, yeast, salt, and water—you can create bakery-worthy bread right in your kitchen. This no-knead marvel not only saves you time but also elevates your meals, making it perfect for cozy dinners or casual get-togethers. Serve it warm with some butter for an irresistible treat, or pair it with your favorite soup or salad. So, what are you waiting for? Let’s dive into the world of artisan baking!
Why is this bread so irresistible?
Simplicity at Its Finest: With just four pantry staples—flour, yeast, salt, and water—you’ll be amazed at how easy homemade artisan bread can be.
No-Knead Magic: This recipe takes the labor out of bread-making while still delivering that delightful, bakery-style crust and fluffy interior.
Impressive Aroma: As it bakes, your kitchen will fill with a warm, inviting scent that draws everyone in, making it a perfect centerpiece for family meals.
Versatile Pairing: Whether alongside a comforting soup, as a base for a hearty sandwich, or simply warm with butter, this bread complements any dish beautifully.
Fun for All Levels: Perfect for novice bakers and seasoned pros alike, this recipe guarantees success. You can also explore variations by adding herbs or cheese, like in my Sprinkle Buttermilk Bread or Barefoot Contessa Bread recipes. Enjoy the journey of artisan baking!
Artisan Bread Ingredients
• Get ready to bake your dreams!
For the Dough
- Flour – all-purpose flour is ideal; it gives the bread its structure and texture.
- Instant Yeast – ensures a light and airy loaf; use active dry yeast as a substitute with proofing.
- Salt – enhances flavor; accurate measurement is crucial to ensure yeast functions effectively.
- Water – helps hydrate and activate the yeast; room temperature is best for optimal results.
Step‑by‑Step Instructions for 4-Ingredient No-Knead Artisan Bread
Step 1: Mix Dry Ingredients
In a large mixing bowl, combine 3 cups of all-purpose flour, 1 teaspoon of instant yeast, and 1 teaspoon of salt. Whisk these dry ingredients together until they are evenly blended. This is essential for ensuring that the yeast is distributed well. The flour should appear light and airy, with no clumps remaining, creating a great base for your artisan bread.
Step 2: Add Water
Pour in 1 and ½ cups of warm water (between 105-115°F) into the dry mixture. Stir with a wooden spoon or spatula until a shaggy, sticky dough forms. You want to see the dry flour incorporated but expect a rustic texture—it’s okay if it looks messy! The moisture is key for activating the yeast and giving your artisan bread its delightful crumb.
Step 3: First Rise
Cover the bowl tightly with plastic wrap or a clean kitchen towel, ensuring a warm, draft-free environment. Let the dough rise at room temperature for 12 to 18 hours. You’ll know it’s ready when it has doubled in size and is bubbly on the surface. This slow fermentation develops incredible flavor and the distinctive airy texture of your no-knead artisan bread.
Step 4: Shape Dough
After the dough has risen, sprinkle a light dusting of flour on a clean surface. Gently transfer the dough onto this floured area, being careful not to deflate it too much. With floured hands, fold the dough over itself a few times until it forms a rough round shape, super simple! This process strengthens the dough and helps it maintain its structure during the second rise.
Step 5: Second Rise
Place the shaped loaf onto a piece of parchment paper, cover it with a towel, and let it rest for 1 to 2 hours at room temperature. During this time, your artisan bread will puff up noticeably, looking fuller and airy. You’ll recognize it’s ready when it has expanded and feels soft to the touch—an important step before it meets the heat!
Step 6: Preheat Oven and Dutch Oven
About 30 minutes before you’re ready to bake, position a Dutch oven in your oven and preheat to 450°F (232°C). This step is crucial for achieving that crispy, golden crust characteristic of artisan bread. The heat from the Dutch oven will create steam, mimicking a professional baking environment and enhancing texture.
Step 7: Bake
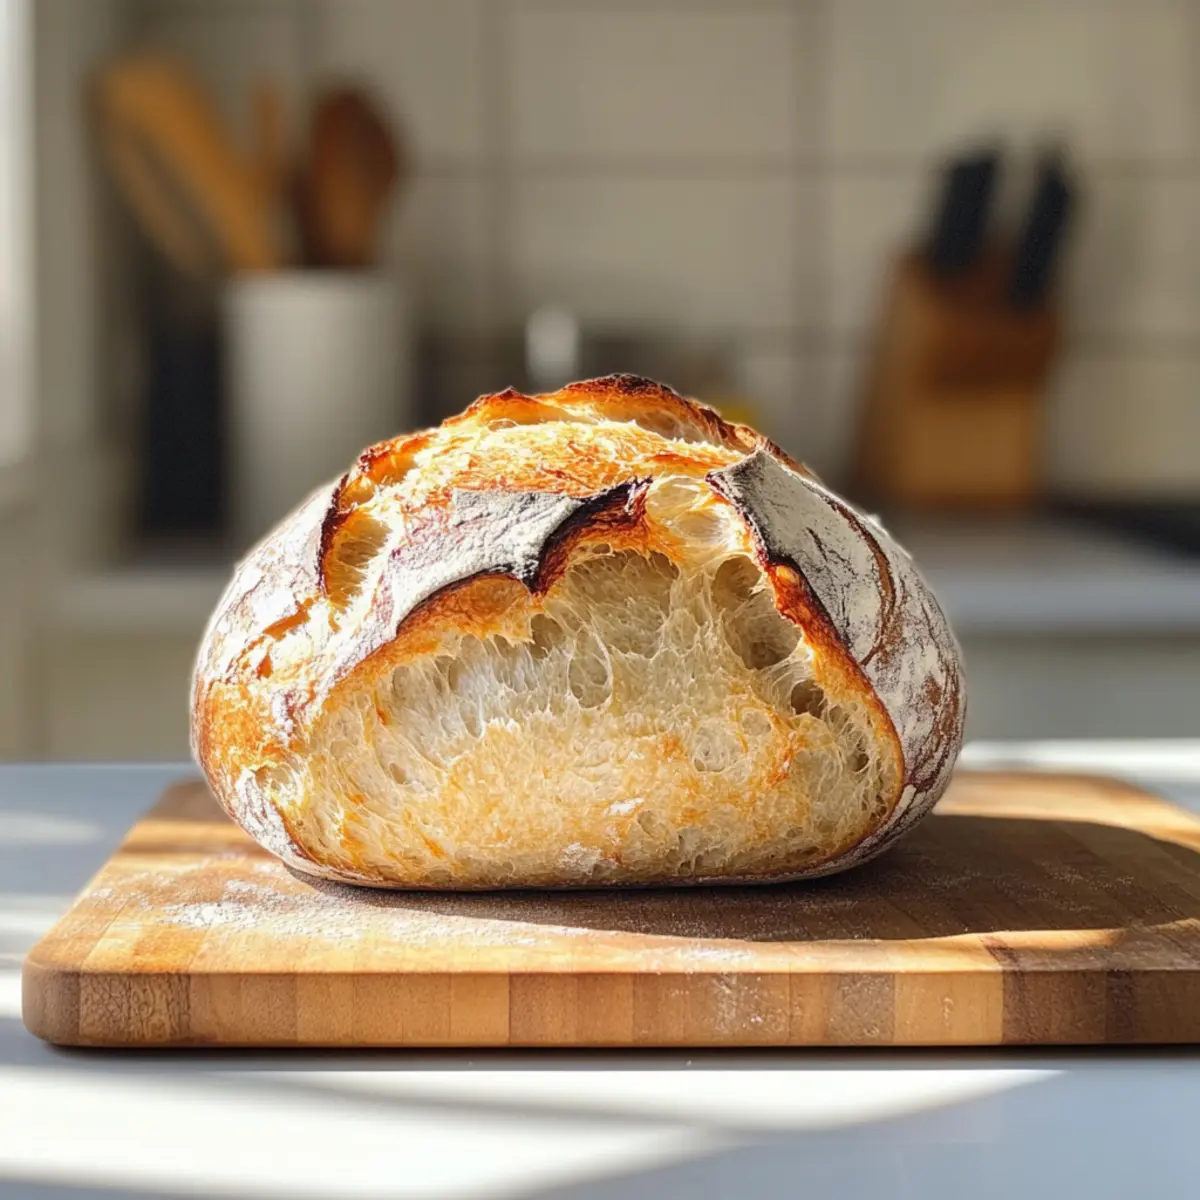
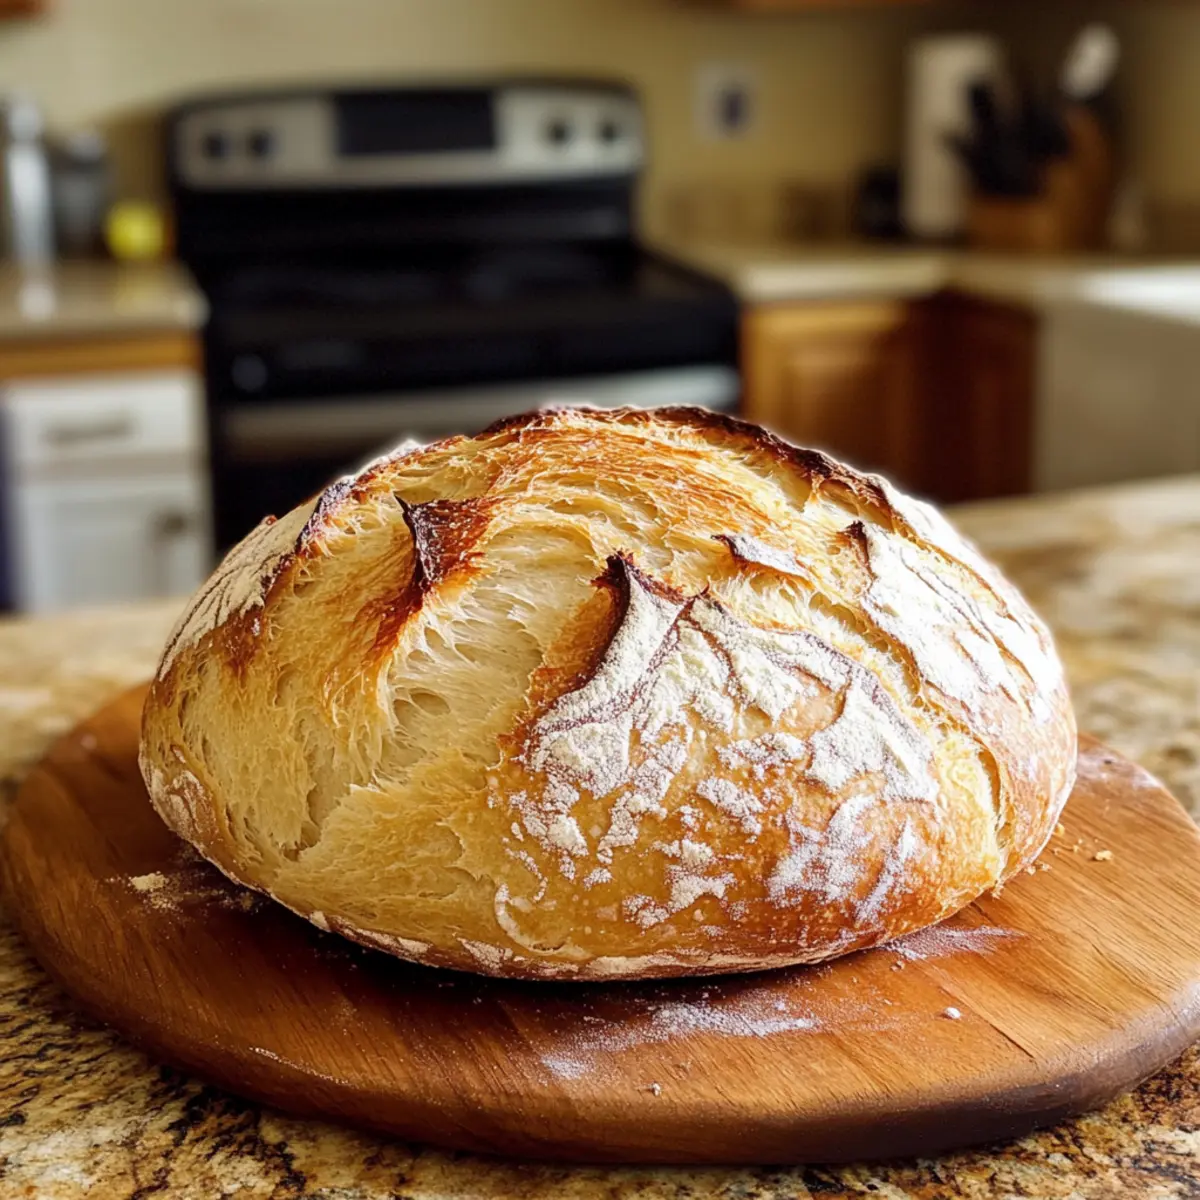
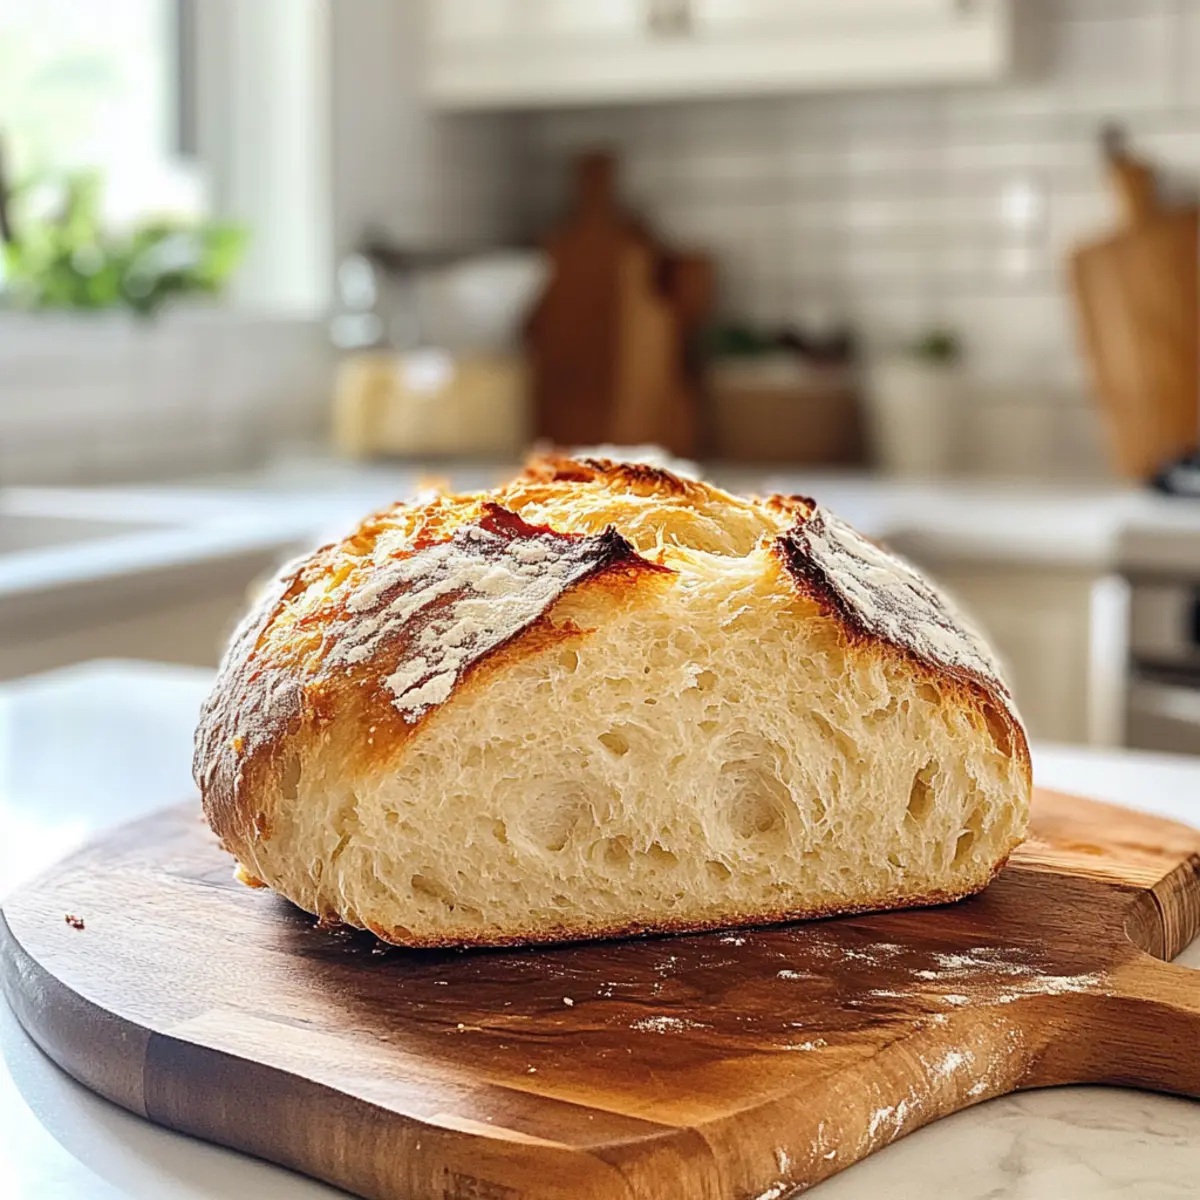
Carefully remove the preheated Dutch oven from the oven. Using the parchment paper, lift your loaf and place it directly into the hot pot. Cover with the lid and bake for 30 minutes. After that, remove the lid and bake for an additional 15 minutes, until the bread is deeply golden brown and produces a satisfying crackle when knocked gently on the bottom.
Step 8: Cool
Once baked to perfection, carefully transfer the artisan bread to a wire rack. Allow it to cool for at least 30 minutes before slicing. This cooling period lets the interior finish setting, ensuring the crumb is airy and delightful when you finally slice into your homemade creation. Enjoy the warm aromas wafting through your kitchen!
How to Store and Freeze Artisan Bread
Room Temperature: Store leftover artisan bread cut-side down on a cutting board or in a bread bag for up to 3 days. This keeps the crust crispy while preventing it from drying out.
Freezer: To keep artisan bread fresh for longer, slice it and wrap individual pieces tightly in plastic wrap and aluminum foil. Freeze for up to 3 months, and defrost at room temperature when ready to enjoy.
Reheating: To revive the bread, preheat your oven to 350°F (175°C), wrap the loaf in foil, and heat for about 10-15 minutes. This will help restore the crust’s crispiness while keeping the inside soft.
Avoid Moisture: Ensure the bread is completely cool before wrapping to avoid trapping moisture, which can lead to sogginess and spoilage. Store it properly to enjoy your artisan bread at its best!
Make Ahead Options
These 4-Ingredient Artisan Bread loaves are perfect for busy home cooks looking to save time on meal prep! You can mix the dry ingredients and store them in an airtight container for up to 3 days before baking, ensuring that your flour and yeast are ready to go. Additionally, the dough can rise in the fridge for up to 24 hours after mixing; simply cover it well with plastic wrap. When you’re ready to bake, take the dough out, allow it to come to room temperature, shape it, and proceed with the second rise as usual. This way, you maintain the bread’s delicious flavor and texture, giving you warm, fresh artisan bread without any last-minute hassle!
Artisan Bread Variations & Substitutions
Feel free to explore these delightful twists and turns to personalize your artisan bread!
-
Herb-Infused: Add 1-2 tablespoons of dried herbs like rosemary or thyme for an aromatic flavor that elevates the loaf. Imagine slicing into your bread, revealing a subtle herb fragrance wafting through the air.
-
Cheesy Delight: Mix in shredded cheese such as cheddar or Gruyère for a rich and savory twist. The melty pockets of cheese will create a beautiful flavor layer that pairs wonderfully with a hearty soup.
-
Seeds Galore: Sprinkle in a handful of seeds like sunflower or sesame for a delightful crunch and extra nutrients. They also provide an attractive texture, enhancing both flavor and presentation.
-
Nutty Addition: Consider adding chopped nuts, such as walnuts or pistachios, to give your bread an appealing earthy flavor. The satisfying crunch is a lovely surprise in every slice!
-
Savory Olives: Toss in pitted olives or roasted garlic for a Mediterranean-inspired twist. The briny notes from the olives or the rich sweetness of roasted garlic will transport your taste buds straight to a sun-soaked terrace.
-
Sweet Touch: If you’re in the mood for something sweeter, mix in a tablespoon of honey or sugar. This slight sweetness could complement a spread of butter, making perfect slices for breakfast.
-
Spicy Kick: For those who enjoy heat, integrate finely chopped jalapeños or red pepper flakes into the dough. Just imagine that fabulous moment when you take a bite, and a delightful warmth spreads through your senses.
As you embark on this artisan bread journey, don’t forget to enjoy delicious pairings like my Roasted Pear Flatbread or consider adding an olive oil dip for extra flavor. Let your creativity spark joy in your kitchen!
What to Serve with 4-Ingredient No-Knead Artisan Bread
Imagine the warmth of freshly baked bread enhancing your dining experience, inviting love and comfort to the table.
-
Creamy Tomato Soup: The acidity of tomatoes pairs beautifully with the bread’s crispy crust and soft interior, perfect for dipping.
-
Garlic Butter Shrimp: This dish’s vibrant garlic and herb flavors complement the bread, ideal for soaking up any delicious juices.
-
Mixed Green Salad: A fresh salad with vinaigrette adds crispness and balances the hearty bread, creating a well-rounded meal.
-
Classic French Onion Soup: The gooey, melted cheese and savory broth enhance the bread’s airy texture, making it a cozy winter favorite.
-
Herbed Olive Oil: A simple olive oil dip infused with fresh herbs ignites the senses, inviting you to tear off a piece with every bite.
-
Cheese Platter: Serve an assortment of cheeses alongside fruit and nuts; the bread’s rustic charm pairs wonderfully with various textures.
-
Chardonnay or Riesling: A chilled glass of white wine enhances the overall experience, adding elegance and refreshing zest to your meal.
-
Chocolate Fondue: A fun dessert option, where the bread’s crustiness contrasts perfectly with the silky, sweet chocolate, offering delightful bites!
Expert Tips for 4-Ingredient Artisan Bread
-
Check Your Yeast: Always verify the expiration date of your instant yeast. If using active dry yeast, remember to proof it first for best results.
-
Water Temperature Matters: Use room temperature water (105-115°F) to properly activate the yeast. Too hot can kill it, while too cold delays rising.
-
Creating Steam: If you don’t have a Dutch oven, mimic steam by placing a metal pan in your oven and adding hot water during baking for that perfect crust.
-
Avoid Overworking Dough: Remember, this is a no-knead recipe! Overworking will result in dense bread. Just mix until combined for a lovely artisan texture.
-
Storage Tips: Store leftover artisan bread cut-side down at room temperature for up to 3 days. For longer freshness, freeze slices wrapped tightly.
4-Ingredient No-Knead Artisan Bread Recipe FAQs
What type of flour should I use for artisan bread?
I recommend using all-purpose flour for this recipe, as it provides the perfect structure and texture for your artisan bread. If you want to experiment, bread flour can also be used for a chewier result, thanks to its higher protein content.
How should I store leftover artisan bread?
To keep your artisan bread fresh, store it cut-side down on a cutting board or in a bread bag at room temperature for up to 3 days. This technique helps maintain the crispy crust while preventing it from drying out. If you notice any dark spots or mold, it’s best to discard the bread.
Can I freeze artisan bread?
Absolutely! Slice the artisan bread and wrap individual pieces tightly in plastic wrap and aluminum foil. You can freeze it for up to 3 months. When you’re ready to enjoy, simply thaw at room temperature, or for a warm, crispy experience, pop it in a preheated oven at 350°F (175°C) for about 10-15 minutes.
What if my dough doesn’t rise properly?
If your dough isn’t rising, you may have used expired yeast, or the water temperature may have been incorrect—too hot can kill the yeast while too cold can slow down the rising process. Always check your yeast’s expiration date, and make sure the water is between 105°F and 115°F (40°C to 46°C) for optimal activation.
Can I use active dry yeast instead of instant yeast?
Yes, you can use active dry yeast as a substitute! However, you’ll need to proof it first. To do this, dissolve 1 teaspoon of active dry yeast in the warm water (105-115°F) before mixing it with the flour and salt. Allow it to sit for about 5-10 minutes until bubbly before incorporating it into the dough.
Is this bread suitable for those with gluten allergies?
Unfortunately, this artisan bread recipe is not gluten-free due to the use of all-purpose flour. If you’re looking for a gluten-free option, consider exploring recipes that specifically use gluten-free flour blends. Additionally, always check labels for potential allergens if serving to guests with dietary restrictions.
Artisan Bread Made Easy: 4-Ingredient No-Knead Wonder
Ingredients
Equipment
Method
- In a large mixing bowl, combine the flour, instant yeast, and salt. Whisk until evenly blended.
- Pour in the warm water and stir with a wooden spoon until a shaggy dough forms.
- Cover the bowl tightly and let the dough rise at room temperature for 12 to 18 hours.
- Sprinkle flour on a clean surface and gently transfer the dough, folding it over itself a few times.
- Place the shaped loaf onto parchment paper, cover with a towel, and let it rest for 1 to 2 hours.
- Preheat your Dutch oven to 450°F about 30 minutes before baking.
- Carefully place the loaf into the hot Dutch oven, cover, and bake for 30 minutes.
- Remove the lid and bake for an additional 15 minutes until golden brown.
- Transfer the bread to a wire rack and cool for at least 30 minutes before slicing.
Leave a Reply