
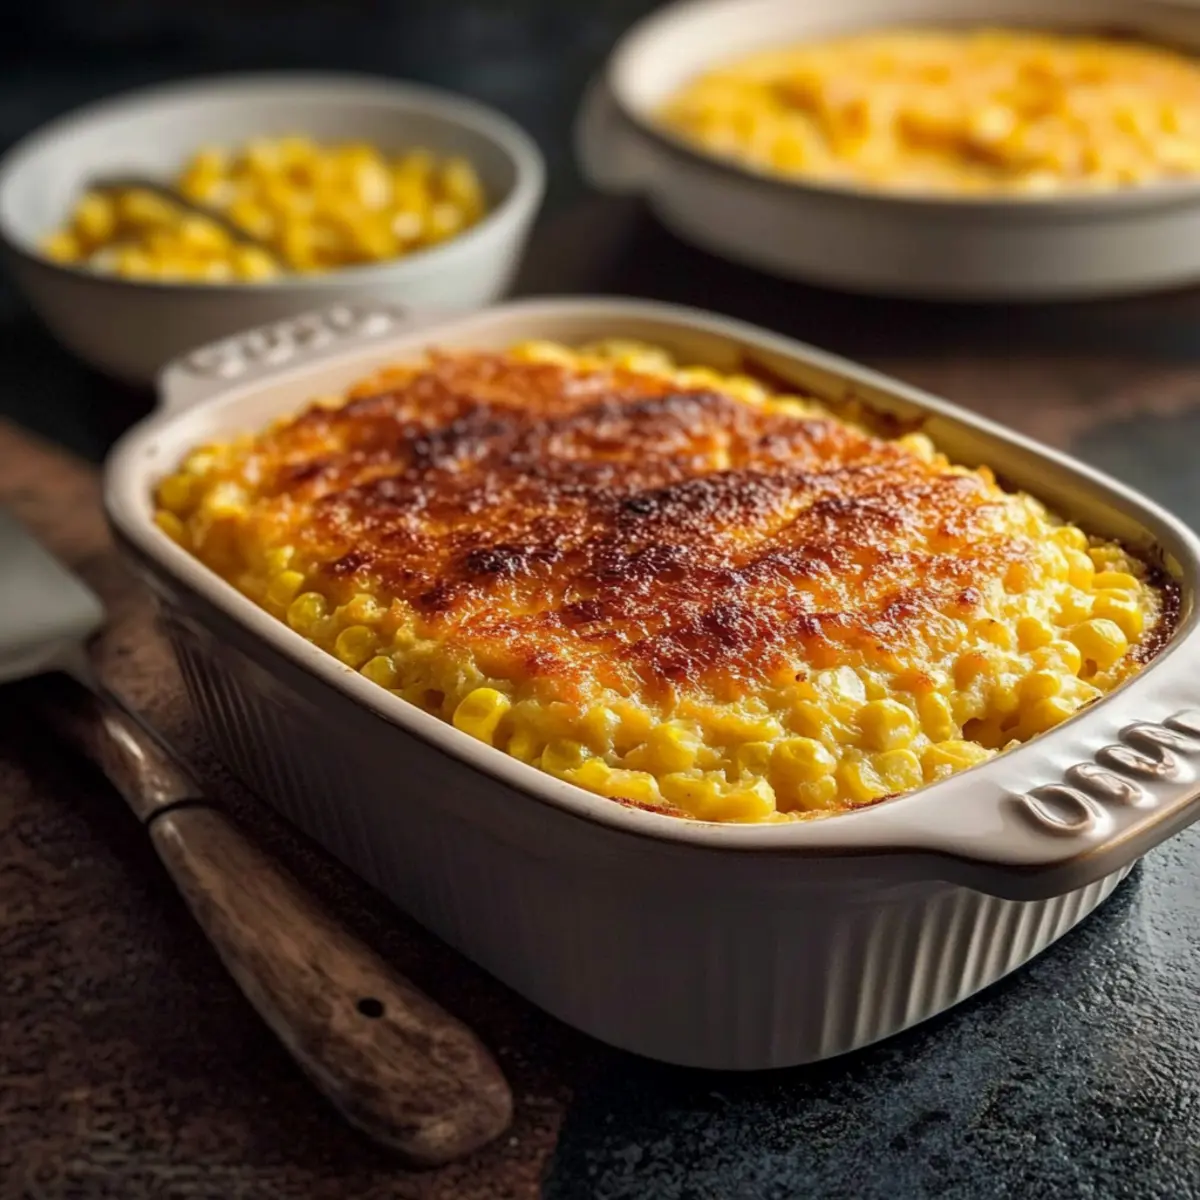
As the aroma of something delicious wafts through the air, you might find yourself questioning why we settle for ordinary when extraordinary is just a few steps away. Enter Ruth’s Chris Corn Pudding, a creamy side dish that transforms simple corn into a culinary indulgence. What I love about this comfort food is how it seamlessly combines a custard-like texture with just the right amount of sweetness, making it an elegant addition to any meal without requiring hours in the kitchen. It’s perfect for dinner parties or cozy family gatherings, offering a taste of steakhouse luxury right at home. Plus, it’s so easy to whip up that you’ll want to keep this recipe on speed dial. Ready to elevate your home cooking game? Let’s dive into this delightful recipe!
Why is Corn Pudding a Must-Try?
Elevated Comfort: This dish redefines comfort food, transforming simple corn into something extraordinary. Time-Saving Delight: With minimal prep, you can have a gourmet side ready in less than an hour! Versatile Pairing: It complements everything from grilled steaks to roasted veggies, making it a go-to for any meal. Creamy Indulgence: Expect a rich, custard-like texture that melts in your mouth, offering a luxurious taste experience. Crowd-Pleaser: Perfect for family gatherings or dinner parties, it’s sure to impress your guests! Don’t forget to check out my Creamed Corn Comfort for more ways to enjoy delicious corn dishes!
Corn Pudding Ingredients
• Elevate your dish with these key ingredients!
For the Pudding
- Whole Kernel Corn – Provides texture and a pop of sweetness; combine canned and fresh for the best flavor.
- Creamed Corn – Adds creaminess and moisture, enhancing the pudding-like quality.
- Corn Muffin Mix – Serves as a base, contributing flavor and structure; gluten-free mix works for a gluten-free option.
- Sour Cream – Adds tang and creaminess, balancing the sweetness; Greek yogurt can be used as a substitute.
- Butter (Melted) – Delivers richness and flavor; consider using plant-based butter for a dairy-free version.
- Eggs – Provide stability; make sure they’re at room temperature to mix well.
- Sugar – Enhances sweetness; feel free to adjust to your taste, depending on preference.
- Salt – Balances the sweetness, enhancing the overall flavor profile.
Whether you’re preparing this dish for a cozy dinner or a special occasion, these corn pudding ingredients will ensure a creamy, delightful experience that meets your comfort food cravings!
Step‑by‑Step Instructions for Corn Pudding
Step 1: Preheat and Prepare
Begin by preheating your oven to 350°F (175°C) to create the perfect baking environment for your corn pudding. While the oven heats up, grab a 9×13-inch baking dish and generously grease it with melted butter to prevent sticking. This step ensures your pudding will slide out smoothly when it’s time to serve.
Step 2: Mix the Corn
In a large mixing bowl, combine both whole kernel corn and creamed corn. Use a spatula to mix gently, allowing the flavors to meld without breaking down the corn too much. This mixture will serve as the flavorful base of your corn pudding, blending textures beautifully—aim for an even distribution of ingredients for the best result.
Step 3: Add the Muffin Mix
Next, sprinkle the corn muffin mix evenly over the corn mixture. Using a wooden spoon or spatula, stir just until combined, being careful not to overmix. The goal is a lumpy yet cohesive batter, which will contribute to the creamy texture of the final corn pudding, maintaining that deliciously rustic charm.
Step 4: Whisk the Wet Ingredients
In a separate bowl, beat the eggs until they are fluffy and vibrant. Then add the sour cream and melted butter, whisking them together until the mixture is smooth and creamy. This egg and dairy blend is crucial for establishing the pudding’s custardy texture, so ensure it is well combined before moving to the next step.
Step 5: Incorporate Sugar and Salt
Pour the sugar and salt into the wet mixture, blending well to combine. This addition helps balance the sweetness of the corn, enhancing the overall flavor profile of your corn pudding. Whisk until fully incorporated, paying attention to avoid lumps; a creamy consistency here makes all the difference!
Step 6: Combine All Ingredients
Gently fold the wet mixture into the corn and muffin mix in the large bowl. Use a spatula to combine everything, being careful to avoid overworking the batter. The right folding technique is essential to keeping your corn pudding light and airy, so incorporate until just combined with a few visible streaks remaining.
Step 7: Transfer to Baking Dish
Once combined, pour the corn pudding batter into your prepared baking dish, spreading it evenly to ensure even baking. Take a moment to smooth out the top with the back of a spatula, giving it a lovely finish that will be appealing when it’s golden and ready to serve.
Step 8: Bake to Perfection
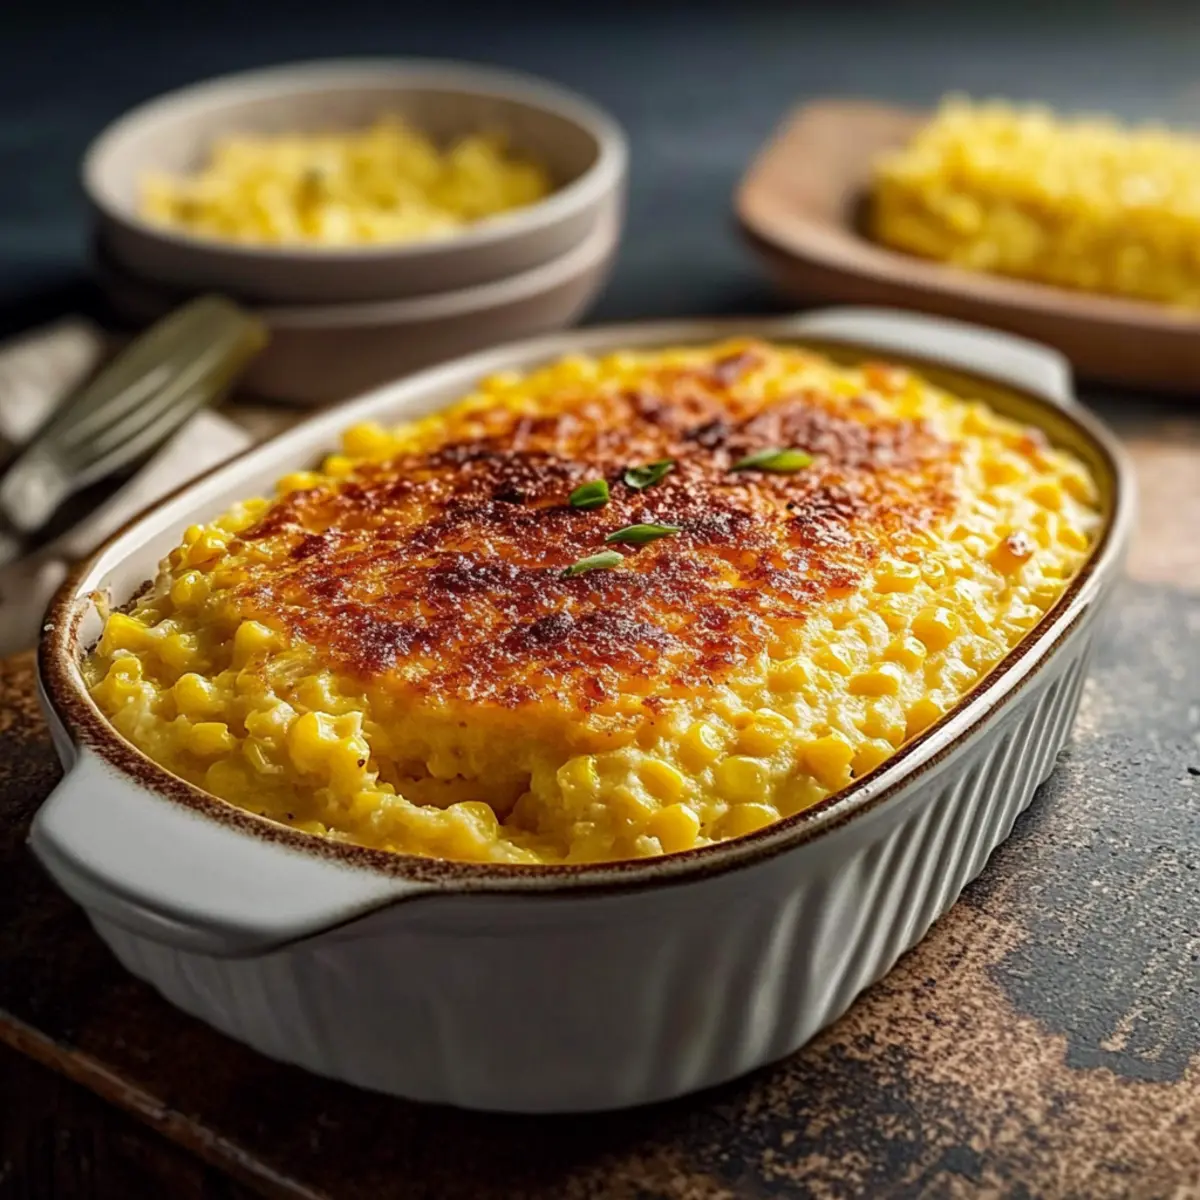
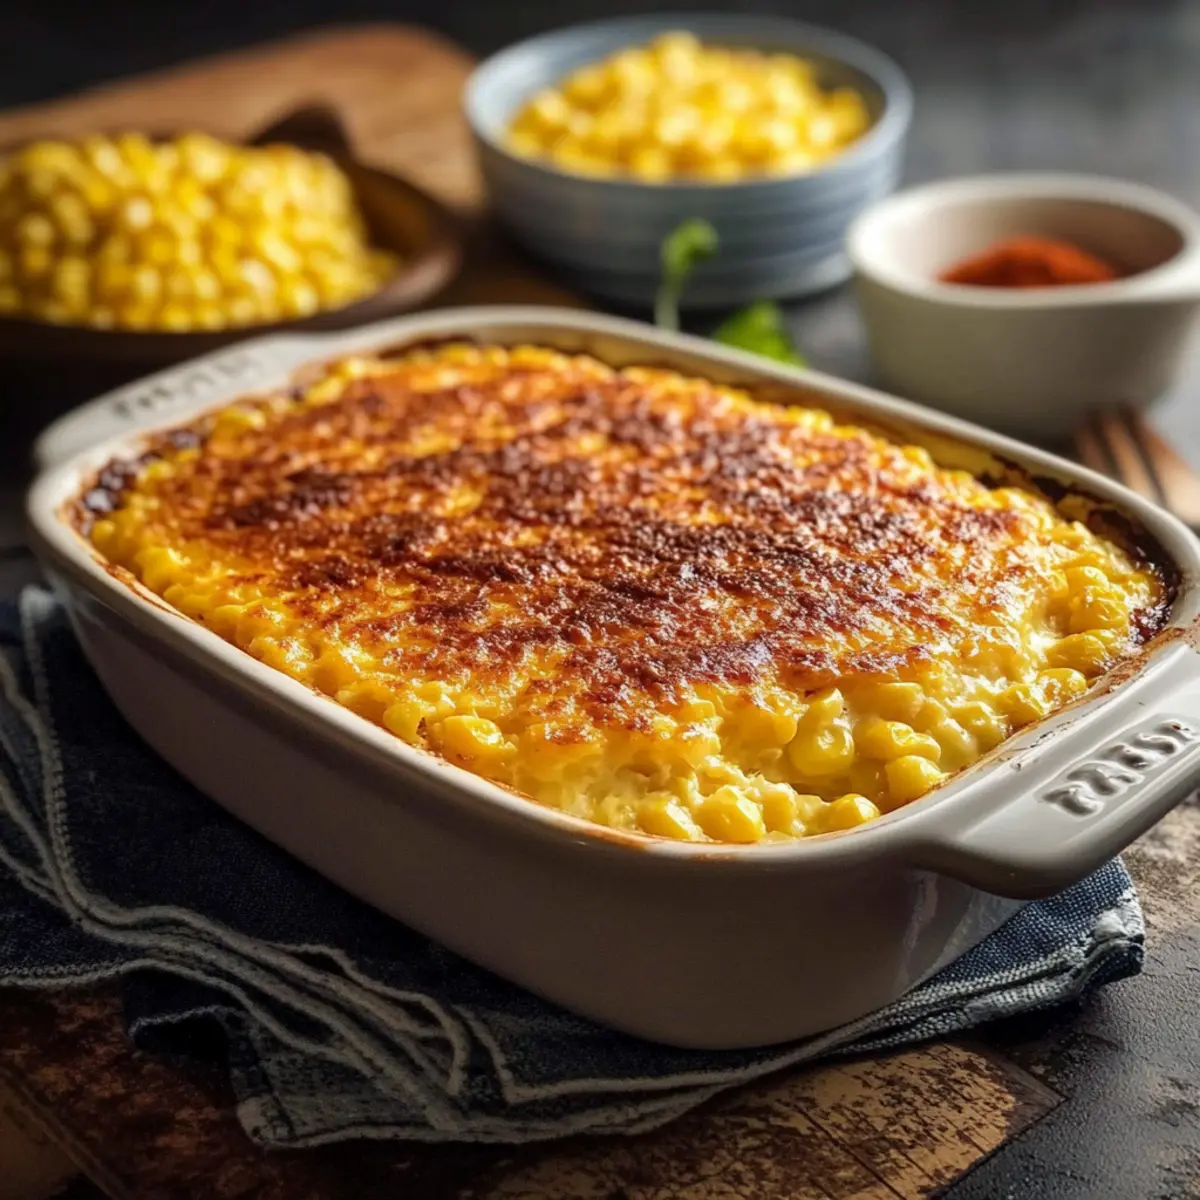
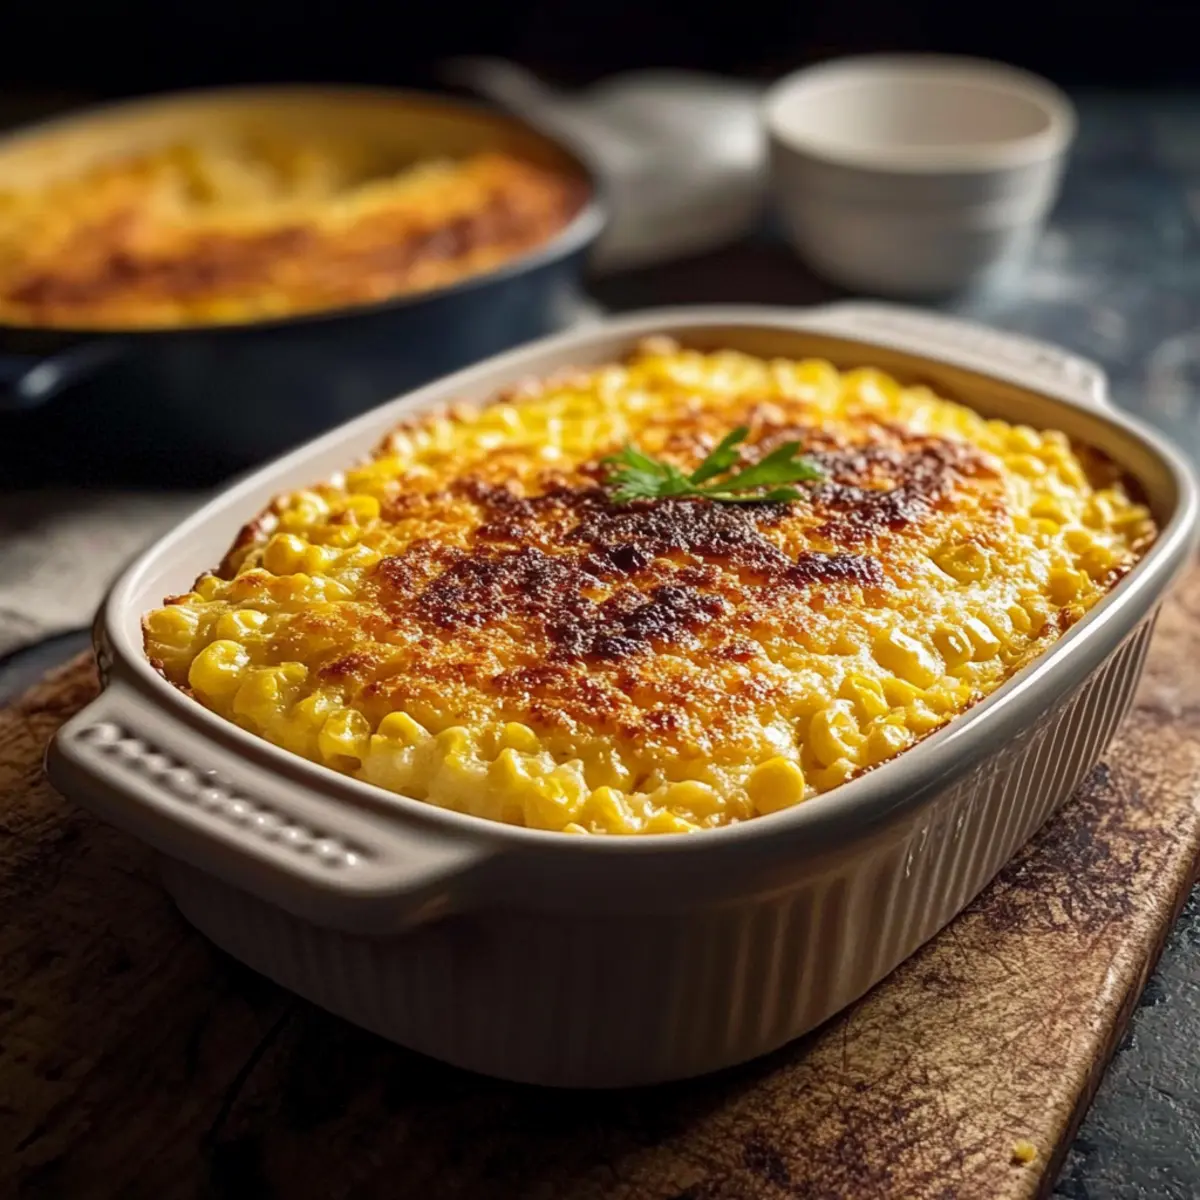
Place the baking dish in your preheated oven and bake for 45 to 50 minutes. You’ll know it’s ready when the top is beautifully golden brown, and a toothpick inserted in the center comes out clean. This step is crucial to achieving that perfectly custard-like consistency, where the edges may be slightly set but the center remains creamy.
Step 9: Cool Before Serving
Once baked, remove the corn pudding from the oven and let it cool for about 10 minutes before serving. This resting time allows the pudding to firm up slightly, making it easier to slice and serve. Enjoy this warm comfort food as a delightful side dish that elevates any meal!
Expert Tips for Corn Pudding
Measuring Matters: Accurate measuring is crucial to achieve the right consistency. Avoid excess liquid, which can lead to a watery corn pudding.
Gentle Folding: Fold the ingredients together carefully to maintain a light and airy texture. Overmixing can result in a dense pudding.
Oven Accuracy: Using an oven thermometer can help ensure you’re baking at the correct temperature, which is essential for consistent results in your corn pudding.
Cooling Time: Allow the corn pudding to cool for about 10 minutes before serving. This will help it set properly, making slicing and serving much easier.
Ingredient Room Temp: Ensure your eggs and sour cream are at room temperature for better incorporation into the mixture, resulting in a smoother final dish.
Make Ahead Options
Ruth’s Chris Corn Pudding is a fantastic dish for meal prep, allowing you to save time without sacrificing flavor! You can assemble the entire corn pudding mixture up to 24 hours in advance. Just prepare it as directed, cover it tightly with plastic wrap, and refrigerate it until you’re ready to bake. When it’s time to serve, simply pop it in the oven and bake as instructed. This approach helps the flavors meld beautifully while keeping the pudding just as delicious as if made fresh. For leftovers, store them in an airtight container in the fridge for up to 3 days, reheating gently before serving to maintain that creamy, custard-like texture.
How to Store and Freeze Corn Pudding
Fridge: Store any leftovers in an airtight container for up to 3 days to keep your corn pudding fresh and flavorful.
Freezer: If you want to save it longer, freeze the corn pudding by wrapping it tightly in plastic wrap and then aluminum foil. It can be frozen for up to 2 months.
Reheating: To enjoy the leftovers, thaw overnight in the fridge. Reheat gently in the oven at 350°F (175°C) until warmed through, about 20-25 minutes.
Make-Ahead: You can prepare this dish a day in advance; simply cover and refrigerate before baking. Enjoy a restaurant-quality side dish with minimal fuss!
Corn Pudding Variations & Substitutions
Feel free to get creative with your corn pudding and add your own personal touch for an even more delightful experience!
-
Cheesy Delight: Add shredded cheddar or Monterey Jack for a rich, gooey texture that enhances every bite. The cheese melts beautifully, creating a wonderful contrast to the sweet corn.
-
Spicy Twist: Incorporate diced jalapeños or bell peppers to bring a zesty kick. This adds not only heat but also beautiful color, making your dish visually appealing!
-
Smoky Flavor: Mix in some smoked paprika or even crumbled bacon for an unexpected depth of flavor. The smokiness complements the sweetness of the corn, creating a unique taste experience.
-
Herby Infusion: Fresh herbs like chives, parsley, or thyme can brighten your corn pudding. Add them just before baking, and you’ll appreciate the fresh aroma wafting through your kitchen!
-
Dairy-Free Option: Replace sour cream with coconut yogurt and use plant-based butter to make a delicious dairy-free version. It retains creaminess while offering a subtle hint of coconut flavor.
-
Sweet Corn Variety: Experiment with different types of corn, like sweet bi-color corn or even roasted corn. Each variety can bring a new layer of flavor, elevating your pudding to new heights!
-
Nutty Crunch: Toss in some toasted pecans or walnuts for texture. The nuts add a satisfying crunch that contrasts beautifully with the creamy filling.
-
Sweet Indulgence: Give it a dessert twist by adding a touch of cinnamon or nutmeg and a bit of extra sugar. This could turn your savory dish into a delightful sweet treat!
No matter how you choose to personalize your corn pudding, each variation promises to bring joy to your table—just like my beloved Creamed Corn Comfort, which offers more delicious corn-inspired ideas! Enjoy the process and happy cooking!
What to Serve with Ruth’s Chris Corn Pudding?
As you savor the creamy goodness of this delightful dish, consider pairing it with complementary options to create a memorable meal.
- Grilled Chicken: The smoky char adds depth, enhancing the sweetness of the corn pudding while keeping things simple yet satisfying.
- Roasted Asparagus: The fresh crunch and slight bitterness of asparagus provide a beautiful contrast to the rich and creamy texture of the pudding.
- Honey-Glazed Carrots: Their natural sweetness harmonizes beautifully with the corn, rounding out the meal for an extra touch of comfort.
- Herb-Seasoned Roast Potatoes: Crispy and fluffy, these potatoes complement the pudding’s softness while adding a delightful crunch to the plate.
- BBQ Ribs: The tangy sauce from the ribs contrasts with the sweet corn pudding, creating a comforting and hearty feast.
- Simple Green Salad: A mix of crisp greens with a light vinaigrette brightens up your plate, balancing the richness of the corn pudding.
- Chardonnay: This crisp white wine enhances the dish with its bright acidity, making it a refreshing pairing as you indulge in creamy bites.
- Chocolate Chip Cookies: For a sweet finish, these warm treats satisfy cravings and add a nostalgic touch to any meal.
- Fresh Fruit Salad: Juicy, vibrant fruits cut through the creaminess, refreshing the palate while complementing the dish’s sweet notes.
- Lemon Sorbet: Light and refreshing, this dessert cleanses the palate after a rich meal, making it an elegant ending to your dining experience.
Ruth’s Chris Corn Pudding Recipe FAQs
What kind of corn is best for this recipe?
Absolutely! For the best flavor and texture in your corn pudding, I recommend using a combination of whole kernel corn—both canned and fresh. Fresh corn offers a delightful sweetness, while canned corn provides consistent moisture. Make sure to drain canned corn well to prevent excess liquid.
How should I store leftovers after making corn pudding?
To keep your corn pudding fresh and delicious, store any leftovers in an airtight container in the fridge for up to 3 days. Be sure to let it cool completely before sealing to avoid excess moisture build-up that could affect the texture!
Can I freeze corn pudding, and if so, how?
Yes, you can freeze corn pudding to enjoy later! Start by allowing it to cool completely, then wrap it tightly in plastic wrap followed by aluminum foil to protect it from freezer burn. It can be stored for up to 2 months. When you’re ready to enjoy it again, thaw the dish overnight in the fridge, then reheat in the oven at 350°F (175°C) for about 20-25 minutes until warmed through.
What should I do if my corn pudding is too watery?
If your corn pudding turns out watery, it likely means too much liquid was added or the corn was not drained well. In the future, ensure all canned ingredients are well-drained, and be careful with measuring wet ingredients. If you find yourself with a soupy dish, you can try baking it a little longer to help set the liquid or adding a touch more corn muffin mix to absorb excess moisture.
Are there any dietary considerations for this recipe?
Very! If you have gluten sensitivities, simply substitute the corn muffin mix with a gluten-free variety. Additionally, for a dairy-free option, you can use plant-based butter instead of regular butter and Greek yogurt instead of sour cream. Just make sure to adjust seasonings, as some alternatives may alter the flavor slightly.
Can I make this corn pudding ahead of time?
Yes, you can absolutely prepare this comforting dish a day in advance! Simply prepare the corn pudding up until the baking step, cover it tightly with plastic wrap, and refrigerate. When you’re ready to serve, just pop it in the oven straight from the fridge, baking it according to the original instructions. Enjoy the ease of having a delicious dish ready without the last-minute rush!
Creamy Corn Pudding: Your New Favorite Comfort Food!
Ingredients
Equipment
Method
- Preheat your oven to 350°F (175°C) and grease a 9x13-inch baking dish with melted butter.
- Combine whole kernel corn and creamed corn in a large mixing bowl, mixing gently.
- Sprinkle the corn muffin mix over the corn mixture and stir until just combined.
- Beat the eggs in a separate bowl, then add sour cream and melted butter, and whisk until Smooth.
- Pour in sugar and salt into the wet mixture and whisk until fully incorporated.
- Fold the wet mixture into the corn and muffin mix until just combined.
- Pour the batter into the prepared baking dish and smooth the top.
- Bake for 45 to 50 minutes until golden brown and a toothpick comes out clean.
- Let cool for about 10 minutes before serving.
Leave a Reply