
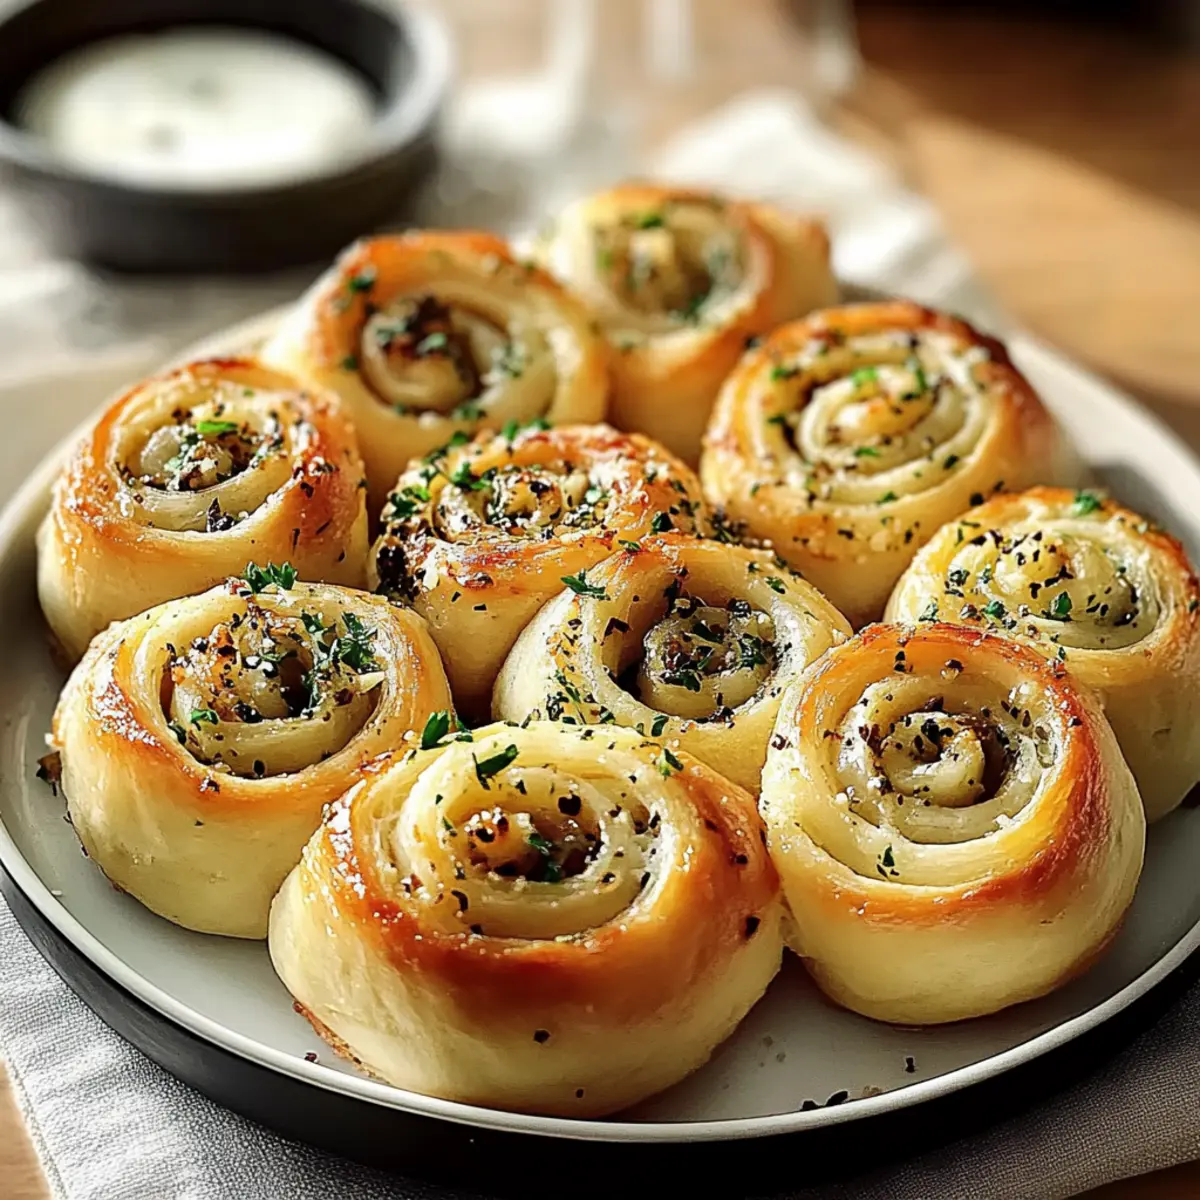
As I pulled a tray of Garlic Swirl Rolls from the oven, the warm, savory aroma enveloped my kitchen, instantly transporting me to a cozy family gathering. These rolls are a delightful blend of fluffy goodness and rich garlic butter—all in one bite. Perfect for feeding a crowd or simply enjoying as a snack, this recipe for Garlic Swirl Rolls is not only easy to make but also adaptable to your favorite flavors. Whether you’re hosting a dinner party or looking for a comforting side for soup, these rolls will make any meal feel special. Plus, they freeze beautifully, making them an ideal make-ahead option! Ready to elevate your home-cooking game? Let’s dive into the kneading and swirling, and soon you’ll be serving up your own batch of irresistible rolls.
Why are Garlic Swirl Rolls a Must-Try?
Irresistible Aroma: The moment these rolls come out of the oven, your home will fill with the mouthwatering scent of garlic and butter, making it impossible to resist.
Fluffy Texture: Each bite offers a soft, airy experience that’s a delight for your taste buds, perfect for pairing with your favorite soup or pasta dishes.
Versatile Options: Customize these rolls with herbs, cheese, or your choice of fillings to create a unique twist. For a cheesy variation, try adding mozzarella, like in Garlic Parmesan Duchess!
Effortlessly Crowd-Pleasing: Ideal for gatherings or family dinners, these rolls appeal to everyone. Imagine serving them at your next holiday feast alongside Baked Brie Garlic — a match made in heaven!
Time-Saving Friendliness: Make a batch ahead of time and freeze them for convenience. You’ll appreciate being able to pull out warm rolls on busy weeknights or last-minute gatherings.
Garlic Swirl Rolls Ingredients
• Elevate your baking game with these flavorful ingredients that will bring your Garlic Swirl Rolls to life!
For the Dough
- All-Purpose Flour – Essential for structure; can substitute gluten-free flour for a gluten-free alternative.
- Active Dry Yeast – This is your leavening agent; ensure it’s active by proofing before use.
- Warm Milk – Adds moisture and richness; use dairy or non-dairy (like almond milk) to suit your dietary needs.
- Granulated Sugar – Activates the yeast and adds sweetness; can be adjusted or substituted with honey if preferred.
- Unsalted Butter (melted) – Provides flavor and moisture; olive oil is a lighter substitute.
- Large Eggs – Contributes to the dough structure; can replace with a flax egg for a vegan option.
- Salt – Enhances overall flavor; be mindful, as too much can inhibit yeast activity.
For the Filling
- Unsalted Butter (softened) – Adds richness to the filling; consider mixing in additional herbs or cheese for a twist.
- Garlic (minced) – The star flavor of these rolls; adjust the amount based on how garlicky you like it.
- Fresh Parsley – Adds freshness and color; substitute with dried herbs if fresh isn’t available.
- Black Pepper – Enhances flavor; adjust to your taste or add chili flakes for extra heat.
- Parmesan Cheese (optional) – Brings umami to the filling; omit for a dairy-free version, or use nutritional yeast as a substitute.
Step‑by‑Step Instructions for Garlic Swirl Rolls
Step 1: Prepare the Dough
In a mixing bowl, combine 1 cup of warm milk with 2 tablespoons of sugar. Sprinkle 2 teaspoons of active dry yeast over the top and let it sit for about 5-10 minutes until frothy. Next, add 4 tablespoons of melted unsalted butter, 2 large eggs, and 1 teaspoon of salt. Gradually mix in approximately 4 cups of all-purpose flour until a soft dough forms. Knead for 5-7 minutes on a floured surface until smooth, then cover it and let it rise in a warm place until doubled, about 1 to 1.5 hours.
Step 2: Make the Filling
While the dough rises, prepare the filling for your Garlic Swirl Rolls. In a bowl, combine 6 tablespoons of softened unsalted butter, 4 cloves of minced garlic, 2 tablespoons of chopped fresh parsley, ½ teaspoon of salt, and freshly ground black pepper to taste. Mix everything until it’s well-blended and creamy, ensuring each ingredient is evenly distributed for a flavorful punch in every bite.
Step 3: Shape the Rolls
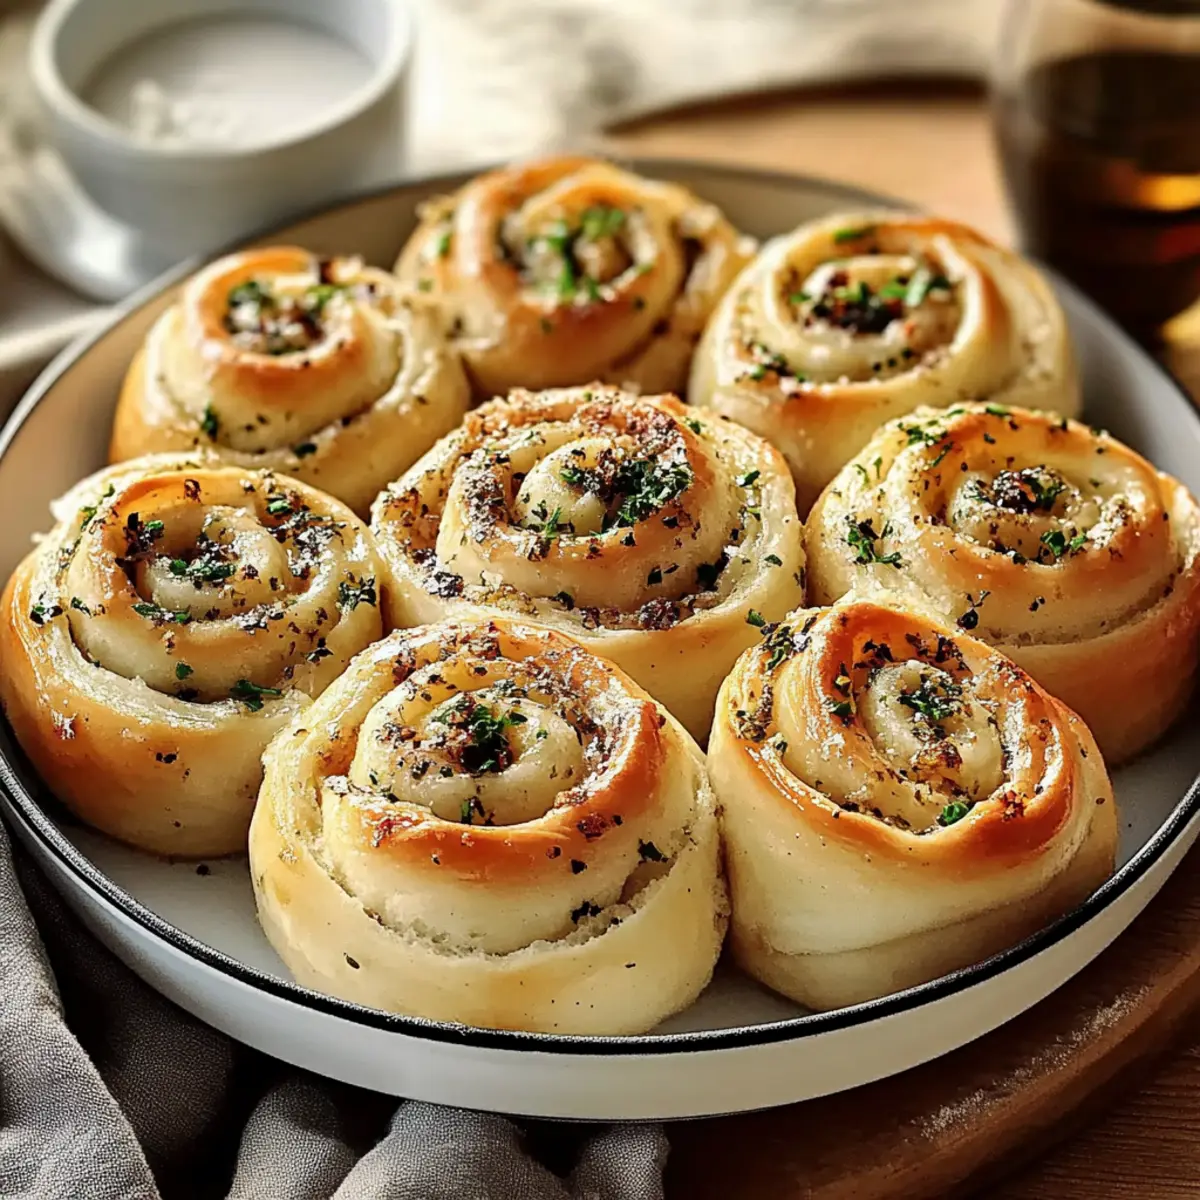
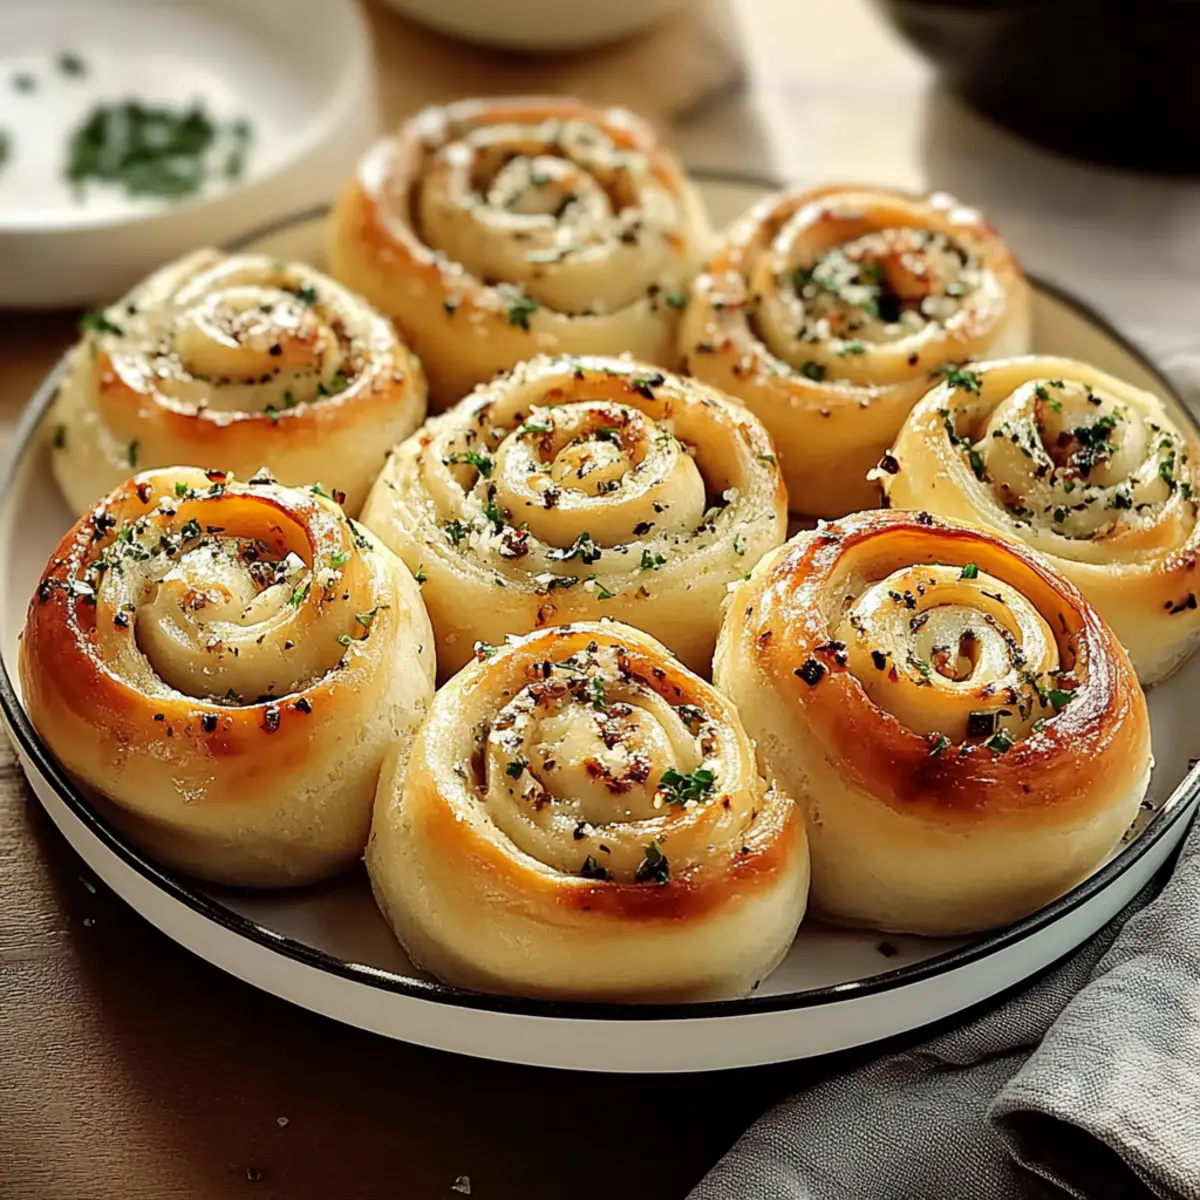
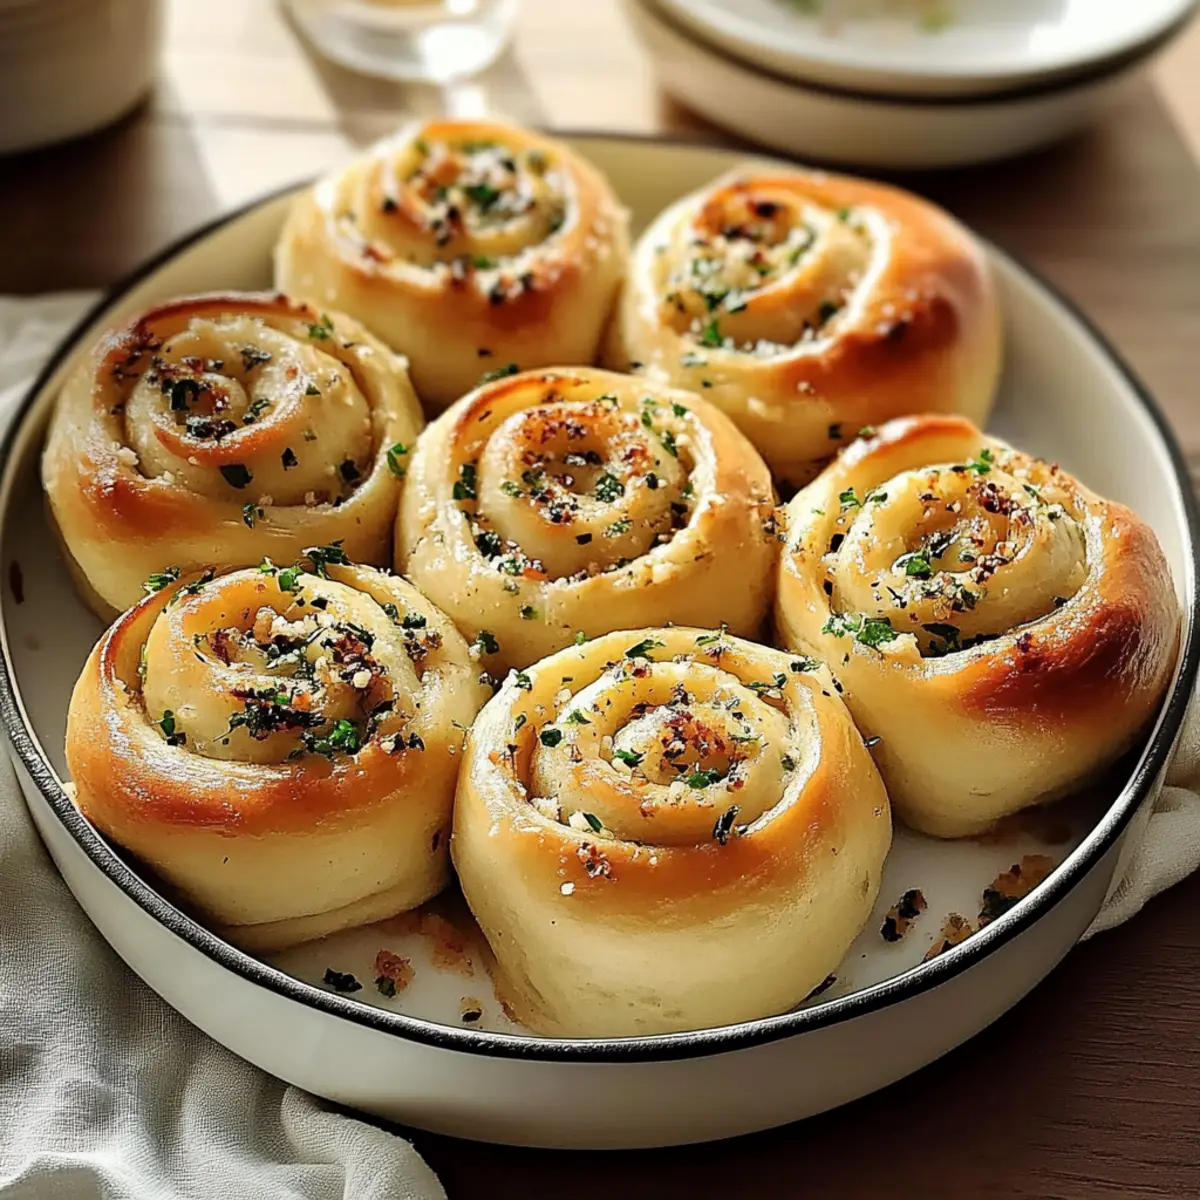
Once the dough has risen, punch it down and roll it out into a large rectangle, about 12×18 inches. Using a spatula, spread the prepared garlic filling evenly over the surface of the dough, leaving a small border around the edges. Tightly roll the dough up from one edge to the other to form a log. Slice the log into 12 equal pieces, placing each slice seam-side down on a greased baking dish.
Step 4: Second Rise
Cover the dish with a clean kitchen towel and allow the rolls to rise again in a warm spot for 30-45 minutes, or until they look puffy and nearly doubled in size. This second rise is crucial for achieving that fluffy texture in your Garlic Swirl Rolls, so be patient and let them do their thing while you preheat your oven to 350°F (175°C).
Step 5: Bake the Rolls
Once the rolls have risen, slide them into the preheated oven and bake for 20-25 minutes, or until they turn golden brown on top and give a light tap sound when you gently knock on the bottom. The aroma of garlic and butter will fill your kitchen, bringing everyone to the table. Once baked, let them cool slightly before serving, allowing their delicious flavors to meld.
How to Store and Freeze Garlic Swirl Rolls
Room Temperature: Store Garlic Swirl Rolls in an airtight container at room temperature for up to 2 days to maintain their soft texture.
Fridge: For longer storage, place the rolls in the refrigerator, where they can last up to a week. Be sure to use a sealed container to prevent them from drying out.
Freezer: Individually wrap the rolls in plastic wrap and place them in a freezer-safe bag for up to 3 months. To enjoy, simply thaw and reheat in the oven for a fresh taste.
Reheating: Preheat your oven to 350°F (175°C) and warm the rolls for about 10-15 minutes. This will revive their fluffy texture and delicious flavor.
Expert Tips for Garlic Swirl Rolls
-
Proof Yeast Properly: Always proof your yeast to ensure it’s active; skip this step and the rolls may not rise correctly, resulting in disappointment.
-
Kneading Technique: Knead the dough enough to develop gluten, but avoid over-kneading, which can lead to tough rolls instead of soft Garlic Swirl Rolls.
-
Warm Rising Environment: Create a cozy, warm spot for your dough to rise; a turned-off oven is a great option to help the dough double in size effectively.
-
Use Fresh Ingredients: Fresh garlic and good-quality butter can elevate the flavor of your roll filling significantly, making your Garlic Swirl Rolls irresistible.
-
Time your Second Rise: Don’t rush the second rise; this extra time helps achieve a puffy and airy texture, ensuring your rolls turn out light and fluffy.
Make Ahead Options
These Garlic Swirl Rolls are a fantastic option for meal prep enthusiasts! You can prepare the dough up to 24 hours in advance by following the first few steps, letting it rise, and then refrigerating it tightly covered to slow down the rising process. The filling can also be made ahead and stored in the refrigerator for up to 3 days, which means you can save time on busy days. When you’re ready to bake, simply bring the dough to room temperature, shape into rolls, and allow them to rise again for about 30-45 minutes before baking. This method ensures your rolls are just as delicious and fluffy when baked fresh!
What to Serve with Garlic Swirl Rolls
With their warm, buttery goodness and rich garlic flavor, these rolls can beautifully complement a variety of dishes that make every meal feel special.
-
Creamy Tomato Soup: The acidity of tomato soup balances the richness of the rolls, creating a delightful duo that warms the soul.
-
Garden Salad: Fresh greens tossed with a light vinaigrette offer a crisp contrast to the fluffy texture of the rolls, enhancing your dining experience.
-
Herbed Pasta Salad: A chilled pasta salad brings a refreshing touch to your table, while the garlic flavor in the rolls ties everything together beautifully.
-
Roasted Vegetables: The caramelized sweetness of roasted veggies pairs exceptionally well, making for a colorful and nutritious side dish alongside these aromatic rolls.
-
Spicy Marinara Dip: Serve the rolls with a side of warm spicy marinara for dipping. The kick from the spices will elevate each bite of garlic goodness.
-
Savory Meatballs: Pairing with classic Italian meatballs creates a comforting meal that’s perfect for family gatherings, making the rolls a perfect addition to soak up that sauce.
-
Pinot Grigio: This light, crisp white wine enhances the garlic flavor in the rolls and adds a touch of elegance to your dining table.
-
Chocolate Chip Cookies: For a sweet finish, serve these delightful rolls alongside warm chocolate chip cookies for a cozy dessert option that invites indulgence.
Garlic Swirl Rolls Variations & Substitutions
Feel free to play with these Garlic Swirl Rolls ideas and let your creative flavors shine!
-
Cheesy Infusion: Add shredded mozzarella or cheddar to the filling for a melty surprise. Imagine biting into your roll to find oozy cheese nestled among the garlic goodness!
-
Herb Paradise: Substitute fresh parsley with rosemary, thyme, or even an Italian herb blend. Each herb contributes its own unique warmth and aromatic bouquet to your rolls—truly delightful!
-
Roasted Garlic: Swap fresh minced garlic for roasted garlic to create a milder, sweeter flavor. Roasting mellows the garlic, adding a luscious depth to the filling.
-
Veggie Boost: Incorporate finely chopped caramelized onions or sautéed spinach to the filling for additional texture and richness. These veggies add delightful layers of flavor and nutrients, making your rolls even heartier.
-
Spicy Twist: Add a pinch of chili flakes or diced jalapeños to the filling if you crave some heat! This extra kick will balance the savory garlic, providing a delightful contrast.
-
Sweet Surprise: Brush a mix of honey or maple syrup over the baked rolls for a sweet glaze. This unexpected touch pairs beautifully with the savory flavors for a unique dessert-like experience.
-
Gluten-Free Option: Use a gluten-free all-purpose flour blend to make these rolls safe for gluten-sensitive friends. They can still enjoy fluffy rolls without sacrificing taste!
-
Flax Egg Substitute: For a vegan option, substitute each large egg with a flax egg (1 tablespoon ground flaxseed + 2.5 tablespoons water). This will help bind your ingredients while keeping the rolls deliciously fluffy.
Indulge in these variations and don’t forget to serve your Garlic Swirl Rolls alongside a comforting bowl of Creamy Tomato Soup or a luscious Garlic Aioli for an unforgettable dining experience!
Garlic Swirl Rolls Recipe FAQs
How do I choose the right garlic for my Garlic Swirl Rolls?
Absolutely! When selecting garlic, look for firm, plump bulbs that feel heavy for their size. Avoid any garlic with dark spots or sprouting, as these can affect the flavor. Fresh garlic provides the best savory punch—if you want a sweeter touch, consider using roasted garlic instead.
What is the best way to store Garlic Swirl Rolls?
For optimal freshness, store your Garlic Swirl Rolls in an airtight container at room temperature for up to 2 days. They can also be refrigerated, where they will last about a week. If you’d like to keep them longer, I recommend wrapping each roll individually in plastic wrap and placing them in a freezer-safe bag. They’ll keep well for up to 3 months in the freezer!
Can I freeze Garlic Swirl Rolls?
Absolutely! To freeze your Garlic Swirl Rolls, allow them to cool completely after baking. Then, wrap each roll tightly in plastic wrap and place them in a freezer bag, squeezing out as much air as possible. When you’re ready to enjoy them, simply thaw at room temperature for a couple of hours, then reheat in a 350°F (175°C) oven for about 10-15 minutes until warm.
What should I do if my dough doesn’t rise?
Very often, dough won’t rise if the yeast is inactive. Make sure your milk is warm but not hot to the touch—about 110°F (43°C)—when mixing it with the yeast to activate it. If you’re unsure, performing the proofing step is essential. Ensure your dough is kept in a warm, draft-free area for rising, like a turned-off oven, which helps create the right environment for the yeast to do its work!
Can I make Garlic Swirl Rolls vegan?
Yes, you can absolutely make these rolls vegan! To do so, substitute the eggs with a flax egg (1 tablespoon of flaxseed meal mixed with 2.5 tablespoons of water, let it sit until it thickens). Use plant-based butter and non-dairy milk like almond or oat milk in the dough as well. These adjustments will still yield delicious and fluffy Garlic Swirl Rolls that everyone will love!
Irresistibly Soft Garlic Swirl Rolls for Savory Moments
Ingredients
Equipment
Method
- In a mixing bowl, combine warm milk with sugar. Sprinkle yeast and let sit for 5-10 minutes until frothy.
- Add melted butter, eggs, and salt. Mix in flour gradually until a soft dough forms.
- Knead for 5-7 minutes until smooth, then let it rise in a warm place until doubled in size.
- Mix softened butter, minced garlic, parsley, salt, and pepper in a bowl until well-blended.
- Roll out dough into a rectangle, spread garlic filling, roll tightly, and slice into pieces.
- Let the rolls rise again for 30-45 minutes until puffy, then preheat the oven.
- Bake in preheated oven for 20-25 minutes until golden brown.
Leave a Reply