
As I stood in my kitchen, the tantalizing aroma of baking bread began to fill the air, sparking anticipation for a warm and delightful treat. These 2-Ingredient Greek Yogurt Rolls are not just simple to make; they’re a game-changer for anyone tired of lifeless store-bought bread. With zero yeast required, you can have fresh, fluffy rolls ready in no time, making them a perfect companion for any meal. Plus, they can easily be adapted for gluten-free or dairy-free diets without sacrificing taste or texture. Whether you’re a seasoned home-chef or just starting your culinary journey, these rolls are a quick triumph that will leave your kitchen smelling heavenly. Curious about how to bring this deliciousness to life? Let’s dive in!
Why are Greek Yogurt Rolls a must-try?
Simplicity at Its Finest: These 2-Ingredient Greek Yogurt Rolls require no yeast, making the process incredibly quick and accessible for all skill levels.
Versatile & Adaptable: With easy substitutions to fit gluten-free and dairy-free needs, everyone can enjoy these fluffy delights.
Amazing Flavor: The unique tangy taste from Greek yogurt elevates the rolls, making them perfect for pairing with soups or even topped with your favorite spreads.
Quick Fix for Bread Cravings: Ready in just 30 minutes, these rolls are an excellent solution for those last-minute meal preparations—ideal for when you crave homemade goodness without the wait.
Crowd-Pleasing Treat: Whether at brunch or dinner, these rolls are sure to impress your family or guests. Pair them with a warm soup or fresh butter, and they become the star of your meal! For more delightful sides, check out the Rosemary Dinner Rolls or Garlic Swirl Rolls.
Greek Yogurt Rolls Ingredients
• Get ready to discover the key components for making these fluffy Greek Yogurt Rolls!
For the Dough
- Greek Yogurt – This ingredient is vital for moisture and a subtle tang; opt for thick plain yogurt for the best results.
- Self-Rising Flour – The magic ingredient that provides lift and structure; if gluten-free, mix a gluten-free flour blend with 1½ teaspoons of baking powder per cup.
Optional Ingredients
- Beaten Egg – Adds moisture and a lovely glossy finish on top; for a vegan variant, use 3 tablespoons of aquafaba or ¼ cup of unsweetened applesauce instead.
Step‑by‑Step Instructions for Greek Yogurt Rolls
Step 1: Preheat Your Oven
Begin by preheating your oven to 400°F (200°C). While the oven warms up, prepare a baking sheet by lining it with parchment paper. This will prevent the Greek yogurt rolls from sticking and make cleanup a breeze. A ready baking sheet ensures that you can transfer your rolls straight into the oven for optimal baking.
Step 2: Prepare the Yogurt
Drain any excess liquid from the Greek yogurt to ensure your dough is not too wet. Measure 1 cup of the thick yogurt into a mixing bowl. This step is crucial for achieving the right texture in your Greek yogurt rolls, as the moisture content directly affects the dough’s consistency and fluffiness.
Step 3: Mix the Dough
In the same bowl, add 1 cup of self-rising flour to the Greek yogurt. Using a spatula or your hands, mix the ingredients until a cohesive dough forms. This may take about 1–2 minutes. The dough should be slightly sticky but manageable, feeling soft and pliable. Don’t worry if it seems a bit rough; it will come together during kneading.
Step 4: Knead the Dough
Sprinkle a minimal amount of flour onto a clean work surface and turn your dough out onto it. Knead the dough gently for about 30 seconds, adding just enough flour to prevent sticking. You’re looking for a smooth texture; avoid over-kneading to keep the rolls tender. The dough is ready when it feels soft and elastic.
Step 5: Shape the Rolls
Divide the dough into six equal portions and roll each piece into a ball. Aim for uniformity in size to ensure even baking. As you shape your Greek yogurt rolls, enjoy the creamy feel of the dough and imagine how fluffy they will turn out once baked.
Step 6: Let the Rolls Rest
Place the formed rolls onto the prepared baking sheet, ensuring there is enough space between them for rising. Allow them to rest for about 15 minutes. This step helps the rolls puff slightly before they go into the oven, providing extra fluffiness once baked.
Step 7: Add Toppings (Optional)
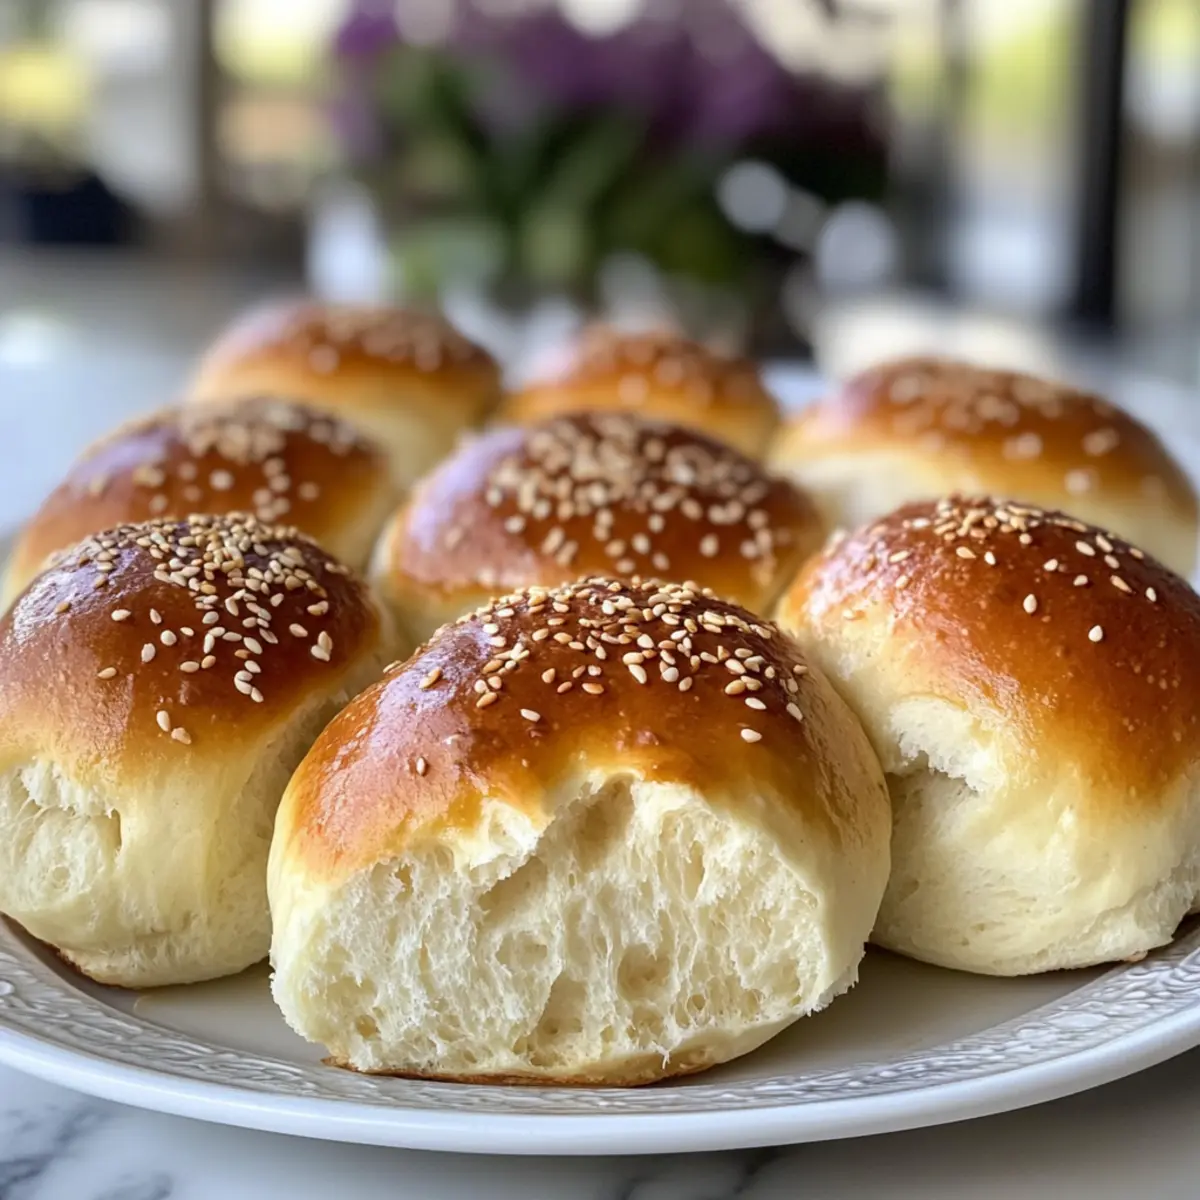
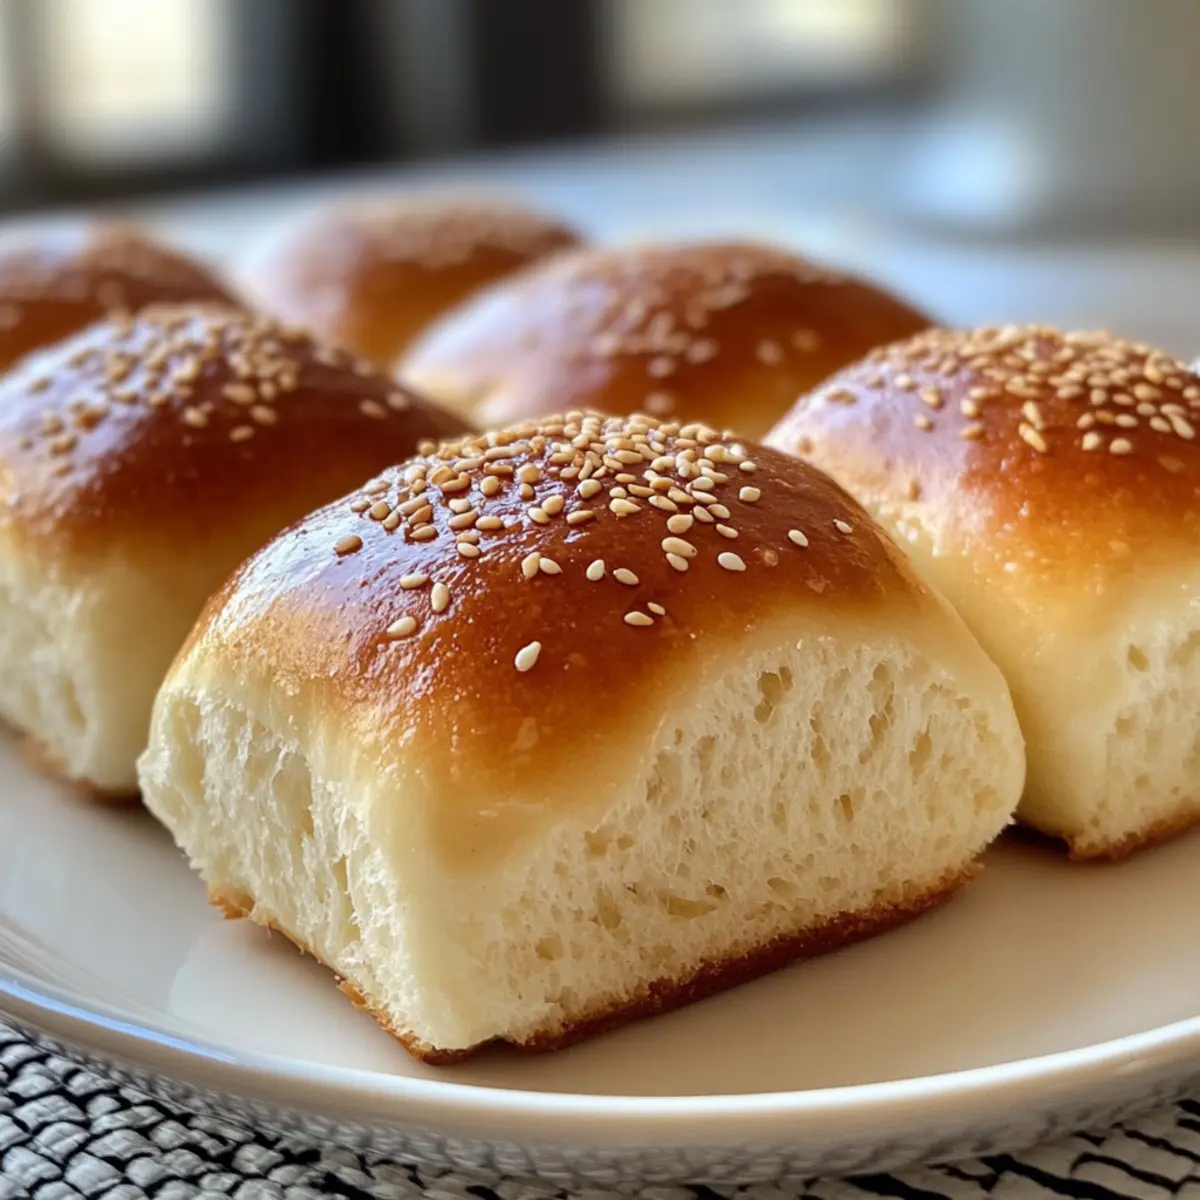
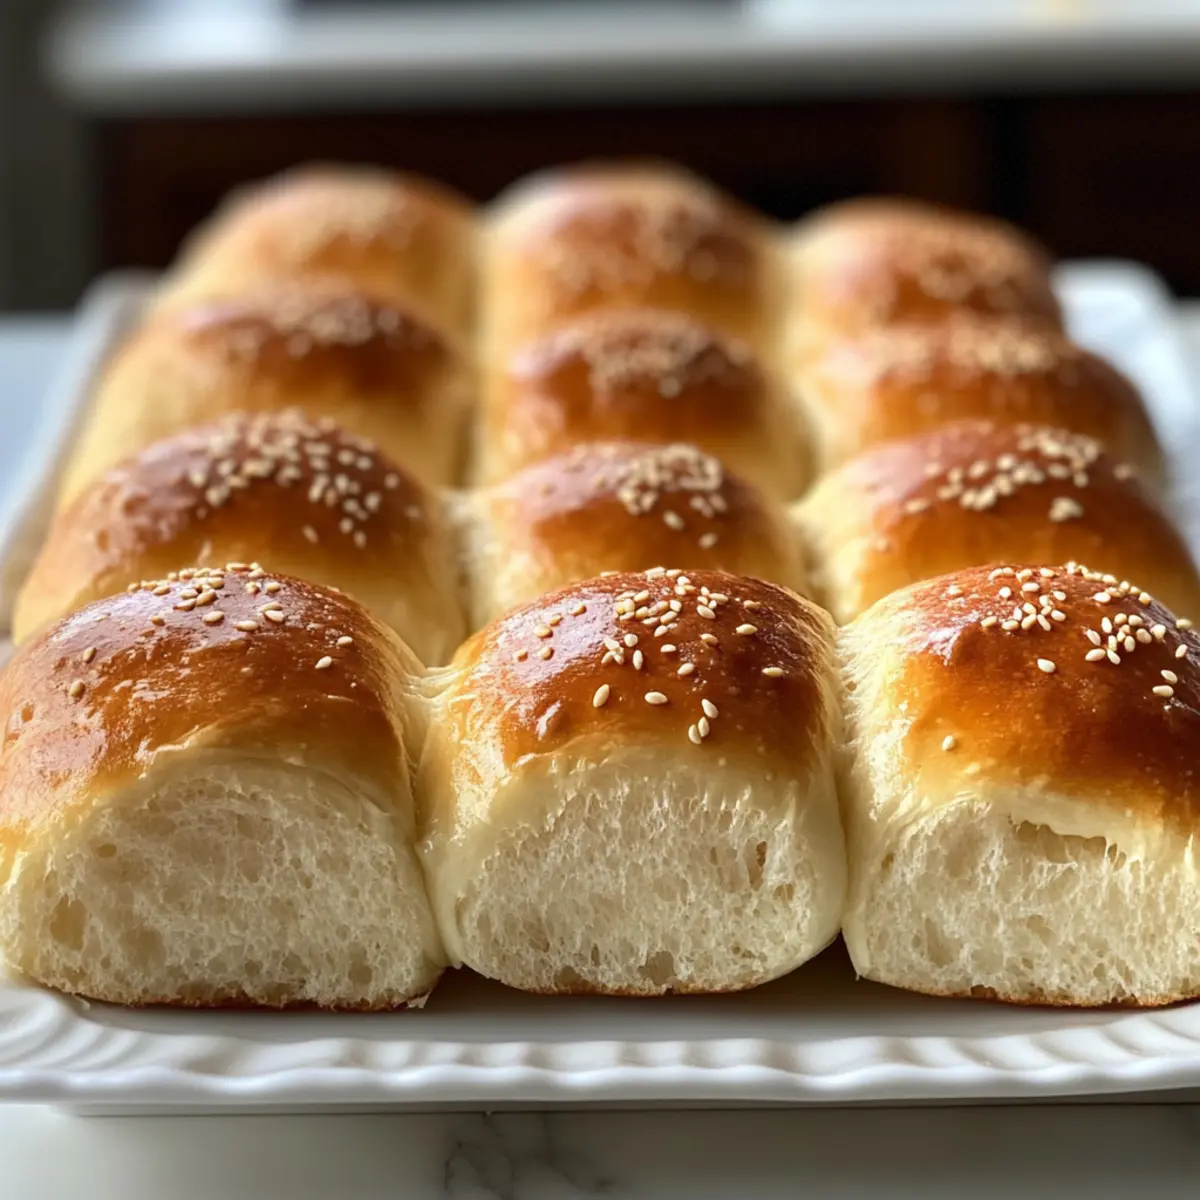
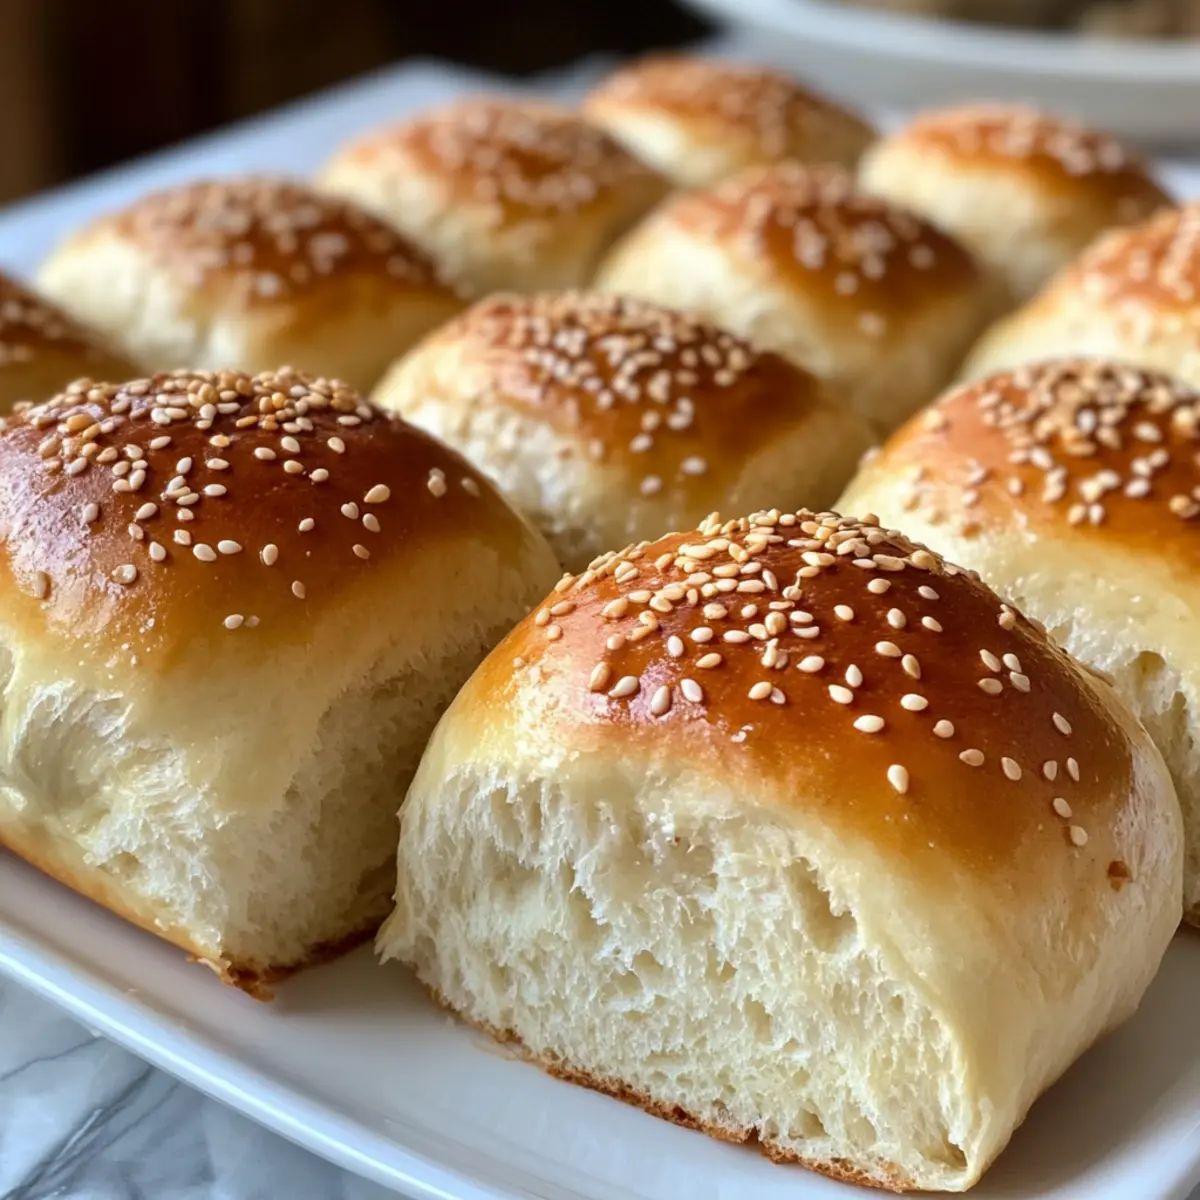
If desired, brush the tops of your rolls with a beaten egg for a nice sheen. This optional step can enhance the visual appeal and create a beautiful golden crust. Feel free to sprinkle sesame seeds or any preferred toppings to add extra flavor before baking your Greek yogurt rolls.
Step 8: Bake the Rolls
Slide the baking sheet into your preheated oven and bake the rolls for 25–30 minutes. Halfway through, rotate the baking sheet to ensure even browning. Keep an eye on them; they should turn lightly golden on top and puff up beautifully.
Step 9: Cool Before Serving
Once the rolls have finished baking and are golden brown, take them out of the oven. Allow them to cool on the baking sheet for a few minutes before transferring to a wire rack. This helps maintain their soft and fluffy texture. Serve warm and enjoy the delightful flavor of your freshly made Greek yogurt rolls!
Expert Tips for Greek Yogurt Rolls
Thick Yogurt Essential: Ensure your Greek yogurt is thick, as excess liquid can result in flat rolls. Drain any surplus moisture before measuring.
Knead Gently: Over-kneading can lead to tough rolls. Aim for just 30 seconds to maintain a soft texture.
Watch Flour Amount: Use minimal flour when shaping dough; too much can make rolls dense instead of fluffy.
Know Your Oven: Every oven is different, so monitor baking closely to ensure a perfect golden crust.
Rest Time is Key: Allowing the rolls to rest before baking helps them puff up, contributing to that light, airy texture you desire.
Experiment with Flavors: Don’t hesitate to add herbs or spices to the dough for extra flavor; this little touch elevates your Greek yogurt rolls even more!
Make Ahead Options
These Greek Yogurt Rolls are a fantastic meal prep solution for busy days! You can prepare the dough up to 24 hours in advance by mixing the Greek yogurt and self-rising flour, then refrigerate the dough tightly wrapped in plastic wrap. This not only saves you time but allows the flavors to meld. Just remember, it’s essential to bring the dough to room temperature before shaping and baking, as chilled dough can be harder to work with. Once shaped and placed on the baking sheet, allow the rolls to rest for about 15 minutes before popping them in the oven. Enjoy warm, fluffy rolls any time with minimal effort!
Greek Yogurt Rolls Variations & Substitutions
Feel free to add your personal touch to these rolls, transforming them into something uniquely yours with simple tweaks!
-
Gluten-Free: Use a gluten-free flour blend with 1½ teaspoons of baking powder per cup for a satisfying roll without gluten. Embrace the chance to indulge in fluffy rolls that everyone can enjoy!
-
Dairy-Free: Swap Greek yogurt for plain coconut yogurt; just make sure it’s thick and strain any excess liquid. This change will maintain the rolls’ delightful texture while catering to a dairy-free diet.
-
Vegan: Replace the optional beaten egg with 3 tablespoons of aquafaba or ¼ cup of unsweetened applesauce for a delectable vegan option. Your rolls will still emerge golden and delicious!
-
Herbed Rolls: Toss in a teaspoon or two of your favorite dried herbs like oregano or rosemary for a burst of flavor that pairs beautifully with soups and salads. The aromatic profile will elevate your rolls to another level!
-
Cheesy Delight: Fold in shredded cheese like feta or mozzarella into the dough for a savory twist that cheese lovers will adore. Imagine the warm, gooey goodness when you break into the roll!
-
Sweet Touch: Add a splash of honey or maple syrup to the dough for a hint of sweetness. These rolls make for a perfect treat when served with butter or jam.
-
Spicy Kick: Mix in crushed red pepper flakes or finely chopped jalapeños for a fiery variant that’s sure to surprise and delight! These spicy rolls can become an unexpected favorite at your dinner table.
-
Seed Toppings: Before baking, top your rolls with a mix of sesame, poppy, or chia seeds for added crunch and nutrition. Not only do they enhance the visual appeal, but they also add a lovely nutty flavor.
For delightful dinner pairings, consider serving these rolls alongside a comforting soup or check out some great side options like the Garlic Swirl Rolls. Your taste buds will be in for a treat!
How to Store and Freeze Greek Yogurt Rolls
Room Temperature: Keep your Greek yogurt rolls in an airtight container at room temperature for up to 2 days to maintain their softness. Reheat if desired before serving.
Fridge: If you need to store them longer, place the rolls in the fridge for up to 4 days. Seal them tightly to avoid drying out, and enjoy them reheated for a warm treat.
Freezer: For extended storage, freeze the rolls individually wrapped in plastic wrap or in a freezer-safe bag for up to 3 months. Thaw in the refrigerator overnight before reheating.
Reheating: To restore freshness, warm the rolls in a preheated oven at 350°F (175°C) for about 10 minutes. This will revive their fluffy texture and tantalizing aroma!
What to Serve with Quick & Easy 2-Ingredient Greek Yogurt Rolls?
Nothing pairs quite as perfectly with warm, fluffy rolls as a thoughtful selection of sides and delights that elevate your meal experience.
-
Hearty Vegetable Soup: The warmth and richness of a vegetable soup complement the tangy flavor of the rolls, creating a heartwarming combination.
-
Fresh Garden Salad: Crisp greens and vibrant vegetables provide a refreshing contrast, enhancing the soft, fluffy texture of the rolls while adding a nutritious touch.
-
Savory Butter and Jam: A dollop of creamy butter or your favorite fruit jam can elevate each bite, making them perfect for breakfast or a delightful snack any time of day.
-
Baked Chicken: Juicy, roasted chicken seasoned to perfection pairs beautifully with the rolls, soaking up all the delicious juices for a satisfying meal.
-
Creamy Macaroni and Cheese: Indulge your taste buds! The gooey richness of mac and cheese is a comforting combination that kids and adults alike will relish beside your Greek yogurt rolls.
-
Herb-Infused Olive Oil: Drizzling warm Greek yogurt rolls in aromatic olive oil mixed with herbs adds an earthy touch, perfect for dipping as an appetizer.
-
Sweet Potato Mash: Creamy and subtly sweet, this mash enhances the tang of the rolls while providing a delightful side that’s sure to be a hit!
-
Warm Spiced Apple Cider: For drinks, warm spiced apple cider perfectly complements the flavors of the rolls and creates a cozy ambiance, especially during fall.
-
Chocolate Chip Cookies: Finish off a delightful meal with a sweet note. These homemade cookies can be a fun dessert option for the whole family!
Greek Yogurt Rolls Recipe FAQs
How do I select the right Greek yogurt?
Absolutely! For the best results, choose a thick, high-quality Greek yogurt with no added sugars or flavors. Look for brands that say “strained” on the label—this ensures the yogurt is dense enough to give your rolls the right texture. If you see any excess liquid sitting on top, simply strain it out before use.
How should I store leftover Greek yogurt rolls?
I recommend keeping your Greek yogurt rolls in an airtight container at room temperature for up to 2 days. They can also be stored in the fridge for up to 4 days; just make sure they’re sealed well to avoid drying out. To enjoy them warm again, simply pop them in a preheated oven for a few minutes—it’s like they just came out of the oven!
Can I freeze the Greek yogurt rolls?
Yes, you can! To freeze your rolls, wrap each one tightly in plastic wrap or place them in a freezer-safe bag. They can be stored this way for up to 3 months. When you’re ready to enjoy them, thaw them overnight in the fridge and warm them in the oven at 350°F (175°C) for about 10 minutes to bring back their fluffy texture.
What if my dough is too sticky?
No worries! If your dough feels overly sticky after mixing, you can sprinkle a little extra self-rising flour onto your work surface and knead it in gently. Be cautious, though—adding too much flour can make the rolls dense. Aim for a soft, pliable dough that isn’t too wet!
Are there dietary considerations I should be aware of?
Absolutely! For a gluten-free option, mix a gluten-free flour blend with baking powder as mentioned in the ingredients. If you’re vegan, use plain coconut yogurt and replace the beaten egg with 3 tablespoons of aquafaba or ¼ cup of unsweetened applesauce. Always check labels for allergens, especially if serving to guests with dietary restrictions.
How can I enhance the flavor of my Greek yogurt rolls?
The more the merrier! Try adding fresh herbs like rosemary or chives to the dough for a savory twist. You can also sprinkle sesame seeds, poppy seeds, or even a dash of garlic powder on top before baking to give them an extra flavor kick. Your family and guests will be asking for seconds!
Fluffy Greek Yogurt Rolls That Are Quick and No-Yeast
Ingredients
Equipment
Method
- Preheat your oven to 400°F (200°C) and line a baking sheet with parchment paper.
- Drain any excess liquid from the Greek yogurt and measure 1 cup into a mixing bowl.
- Add 1 cup of self-rising flour to the yogurt and mix until a cohesive dough forms.
- Sprinkle a minimal amount of flour onto a clean surface and knead the dough gently for about 30 seconds.
- Divide the dough into six equal portions and shape into balls.
- Place the rolls on the prepared baking sheet and let them rest for about 15 minutes.
- Optional: Brush the tops with beaten egg and sprinkle with toppings if desired.
- Bake the rolls for 25-30 minutes, rotating halfway through for even browning.
- Allow the rolls to cool on the baking sheet for a few minutes before transferring to a wire rack.
Leave a Reply